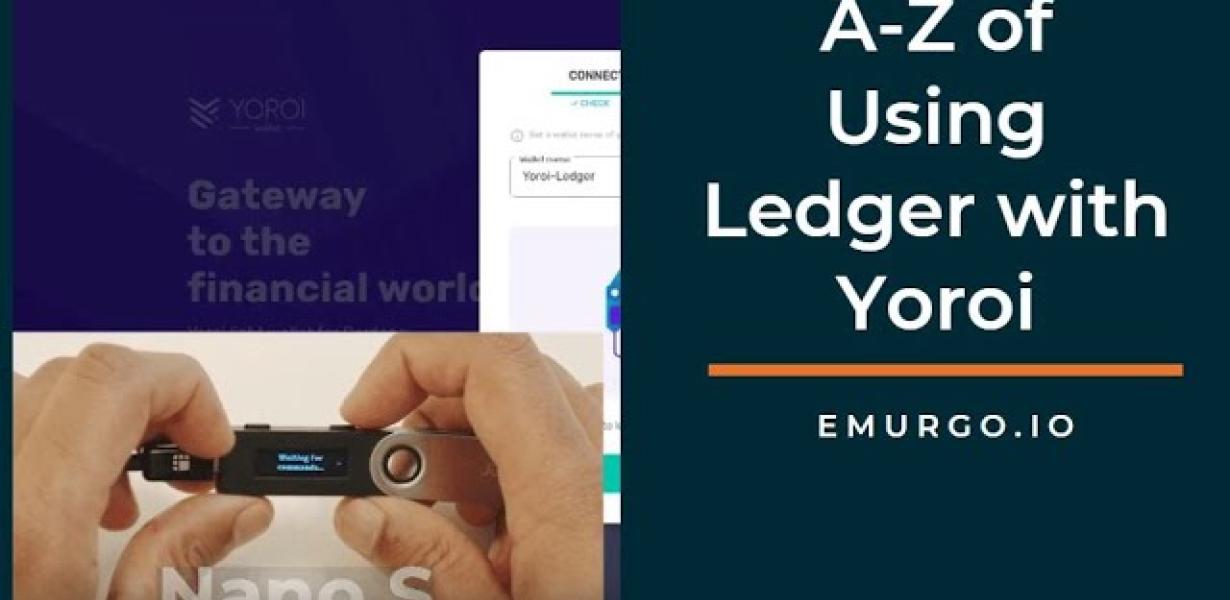
How to set up your Yoroi wallet with a Ledger.
Assuming you would like a brief description of the article: The article explains how to set up a Yoroi wallet with a Ledger device. It starts by explaining what a Ledger is and why you might want to use one. It then goes through the process of setting up the wallet, including downloading the necessary software and connecting the Ledger to your computer. Finally, it offers some tips on how to use and manage your Yoroi wallet.
How to set up your Ledger Nano S with the Yoroi Wallet
1. Download the Yoroi Wallet app from the App Store or Google Play.
2. Open the Yoroi Wallet app and sign in.
3. Tap on the “Add a new wallet” button.
4. Select Ledger Nano S as your wallet type.
5. Enter your 12-word seed phrase to generate your wallet address.
6. Tap on the “Create new account” button.
7. Enter your email address and create a password.
8. Tap on the “Submit” button.
9. Your Ledger Nano S will be set up and you will be able to start using it!
Step-by-step guide to setting up your Ledger Nano S with Yoroi Wallet
1. Open the Yoroi Wallet app and create a new account. You’ll need to provide your email address and a secure password.
2. On the main screen of the Yoroi Wallet app, tap on the three lines in the top left corner. This will open the Settings menu.
3. Under the Accounts section, select Add Account.
4. In the Add Account window, enter the email address and password you created in Step 1.
5. Select Ledger Nano S from the list of supported devices.
6. Select Create New Wallet.
7. In the New Wallet window, enter a name for your wallet and select Save.
8. Tap on the three lines in the top left corner to return to the main screen of the Yoroi Wallet app.
9. In the main screen, under the Transactions section, tap on the + icon to add a new transaction.
10. Enter the details of your transaction, including the amount of Bitcoin (BTC) or Ethereum (ETH) you are transferring and the address of the recipient.
11. Tap on Send Transaction.
12. After your transaction has been sent, you will receive a notification in the Yoroi Wallet app.
13. To view your transaction details, tap on the transaction you wish to view. This will open the transaction details page.
How to use a Ledger Nano S with Yoroi Wallet
1. Download the Yoroi Wallet app from the App Store or Google Play.
2. Open the Yoroi Wallet app and create a new wallet.
3. Copy the seed phrase to a safe place.
4. Click on the "Add a new account" button.
5. Enter the email address and password of the account you wish to use with the Ledger Nano S.
6. Select the Ledger Nano S as your device.
7. Click on the "Create account" button.
8. Paste the seed phrase into the "Account seed" field and click on the "Next" button.
9. Select the amount of tokens you wish to add to your wallet and click on the "Next" button.
10. Review the account details and click on the "Next" button.
11. Click on the "Create transaction" button to create a new transaction.
12. Enter the details of the transaction and click on the "Next" button.
13. Click on the "Submit transaction" button to submit the transaction to the network.
14. Click on the "View transaction" button to view the transaction details.
Setting up your Ledger Nano S for the Yoroi Wallet
To use the Yoroi Wallet, you will first need to set up your Ledger Nano S.
To do this, open the Ledger Nano S app and click on the "Create New Wallet" button.
Next, enter the required details for your new wallet, including a unique 12-word seed phrase.
Finally, select the "Yoroi Wallet" option and confirm your choice.
How to configure your Ledger Nano S for the Yoroi Wallet
To configure your Ledger Nano S for the Yoroi Wallet, follow these steps:
1. Click on the "Settings" button on your Ledger Nano S.
2. Under "Wallet," click on the "Yoroi" button.
3. Under "Configure Yoroi Wallet," fill in the required information.
4. Click on the "Save" button.
5. Your Ledger Nano S is now configured for the Yoroi Wallet.
How to get started with the Yoroi Wallet on your Ledger Nano S
1. Download the Yoroi Wallet from the Ledger website.
2. Connect your Ledger Nano S to your computer.
3. Open the Yoroi Wallet application on your computer.
4. Click on the “Create New Wallet” button.
5. Enter a name for your new wallet, and click on the “Create” button.
6. Your new wallet will be generated and displayed in the application.
7. Click on the “Import Your Wallet” button to import your existing Ledger Nano S wallet.
8. Click on the “Add Funds” button to add funds to your new wallet.
9. Click on the “Send” button to send funds from your new wallet to another account or to spend them.
Complete guide to using a Ledger Nano S with Yoroi Wallet
If you want to use a Ledger Nano S with the Yoroi Wallet, you will first need to install and set up the Yoroi Wallet.
Once the Yoroi Wallet is installed, open it and click on the “Add a new account” button.
In the “Account Name” field, enter your desired account name.
In the “Account Address” field, enter your desired account address.
In the “Password” field, enter your desired password.
Click on the “Create Account” button.
Once your account has been created, click on the “Send” button.
In the “To Address” field, enter the address to which you want to send your tokens.
In the “Amount” field, enter the amount of tokens you want to send.
In the “Send To” field, enter the email address to which you want to send your tokens.
Click on the “Send” button.
Your tokens will be sent to the address that you entered in the “Send To” field.
How to maximize security when using a Ledger Nano S with Yoroi Wallet
There are a few things you can do to increase the security of your Ledger Nano S when using the Yoroi Wallet. First, make sure to keep your Ledger Nano S and Yoroi Wallet stored in a secure location. Second, make sure to use a strong password when setting up your Yoroi Wallet. Third, always keep your Ledger Nano S and Yoroi Wallet plugged into a power source when not in use. Fourth, never allow anyone else to access your Ledger Nano S or Yoroi Wallet. Finally, always keep your Ledger Nano S and Yoroi Wallet updated to the latest firmware releases.
Tips for using a Ledger Nano S with Yoroi Wallet
To use a Ledger Nano S with Yoroi Wallet, first install the Yoroi Wallet application on your device.
Once the Yoroi Wallet application is installed, open it and select "Add Wallet."
Select "Ledger Nano S" from the list of wallets and follow the instructions on the screen to create a new wallet.
To use a Ledger Nano S with Yoroi Wallet, first install the Yoroi Wallet application on your device.
Once the Yoroi Wallet application is installed, open it and select "Add Wallet."
Select "Ledger Nano S" from the list of wallets and follow the instructions on the screen to create a new wallet.
Next, enter your recovery phrase into the "Recovery Phrase" field and click "Next."
On the next screen, you will be asked to choose a name for your wallet.
You can also choose to create a new password for your wallet.
Click "Create" to create your wallet and start using it!

Frequently Asked Questions about using a Ledger Nano S with Yoroi Wallet
Q: What is a Ledger Nano S?
A: The Ledger Nano S is a small, powerful hardware wallet that supports Bitcoin, Ethereum, and other cryptocurrencies. It was created by Ledger Ltd., a French company, and is now available in different models and colors.
Q: What do I need to use the Ledger Nano S?
A: You will need a computer with a USB port and a free software application to manage your cryptocurrencies. The application can be downloaded from the Ledger website.
Q: How do I set up the Ledger Nano S?
A: First, make sure that your computer is connected to the internet. Then, install the free software application on your computer. Once the application is installed, open it and click on the "Add New Wallet" button. Next, select "Ledger Nano S" from the list of wallets and click on the "Next" button. Finally, enter a strong password and click on the "Next" button again.
Q: What are the main features of the Ledger Nano S?
A: The main features of the Ledger Nano S include:
-The ability to store a maximum of 24 digital assets on the device
-The ability to generate secure random numbers
-The ability to connect to a computer or mobile device using a USB cable
-The ability to resist cyber-attacks
Best practices for using a Ledger Nano S with Yoroi Wallet
To use a Ledger Nano S with the Yoroi Wallet, follow these steps:
1. Connect your Ledger Nano S to your computer.
2. Open the Yoroi Wallet app and click on the “Add Account” button.
3. Enter your Ledger Nano S’s address and click on the “Next” button.
4. On the next screen, you will need to authorize the app to access your device’s storage. Click on the “Authorize” button.
5. Select the “Ledger Nano S” account from the list and click on the “Next” button.
6. Enter your Ethereum address and click on the “Next” button.
7. On the next screen, you will need to select the amount of Ethereum you want to deposit into your wallet. Click on the “Deposit” button.
8. Enter the password for your Ethereum account and click on the “Next” button.
9. On the next screen, you will be asked to confirm your deposit. Click on the “Confirm” button.
10. Your Ethereum balance will now be displayed in the Yoroi Wallet app.
How to get the most out of your Ledger Nano S by using it with Yoroi Wallet
The Ledger Nano S is a great device for storing your cryptocurrencies. However, it is also possible to use the device to store other types of digital assets.
One way to get the most out of your Ledger Nano S is to use it with the Yoroi Wallet. This wallet is designed specifically for the Ledger Nano S and provides a number of features that make it easy to use your device to store your cryptocurrencies and other digital assets.
To use the Yoroi Wallet with your Ledger Nano S, first install the app on your device. After you have installed the app, open it and click on the button that says “add a new wallet.”
Next, enter the following information into the “add new wallet” screen:
1. The name of the wallet
2. The address of the wallet
3. The password for the wallet
4. The type of wallet (cryptocurrency, token, or asset)
5. The amount of coins you want to add to the wallet
6. Click on the “create” button to create the wallet.
After you have created the wallet, you will need to add your cryptocurrencies to it. To add your cryptocurrencies to the wallet, first click on the “coins” tab in the Yoroi Wallet.
Next, click on the “add coin” button and select the cryptocurrencies you want to add to the wallet. You can add as many cryptocurrencies to the wallet as you want.
After you have added your cryptocurrencies to the wallet, you will need to generate a new pair of keys. To do this, click on the “keys” tab in the Yoroi Wallet and click on the “generate new keypair” button.
After you have generated your new keys, you will need to store them somewhere safe. You can store your keys on the Yoroi Wallet or on another secure location.