How to buy on Coinbase wallet?
If you're looking to buy cryptocurrencies like Bitcoin or Ethereum, you'll need to create a Coinbase account and store your coins in a Coinbase wallet. In this article, we'll show you how to do just that.
How to buy on Coinbase Wallet:
Go to Coinbase and sign in. Click on the "wallet" link in the top left corner. On the wallet page, click on the "buy" button in the top right corner. Enter the amount of bitcoin you want to purchase and click on the "buy" button. You will be taken to a confirmation page. Click on the "confirm" button. Your bitcoin will be transferred to your Coinbase account.
Create a Coinbase account.
1. Go to Coinbase.com and sign up.
2. Enter your name, email address, and create a password.
3. Click on the “Create Account” button.
4. On the next page, enter your full name, address, and phone number.
5. Click on the “Create Account” button again.
6. You will be redirected to a verification page. Click on the “Verify” button.
7. You will now be asked to upload a government-issued ID or driver’s license. Click on the “Upload” button.
8. You will now be asked to upload a selfie. Click on the “Upload” button.
9. You will now be asked to verify your account by clicking on the “Verify” button.
10. Congratulations! You have now created a Coinbase account.
Verify your identity.
I am ____________.
Connect your bank account, debit card, or credit card.
To connect your bank account, debit card, or credit card:
1. Open the Google Wallet app on your phone.
2. Tap the three lines in the top left corner.
3. On the " Accounts " screen, select " Add Account ".
4. Select your bank account, debit card, or credit card.
5. Enter your bank account number, debit card number, or credit card number.
6. Verify your information.
7. If you're using a bank account, enter your bank's routing number.
8. If you're using a debit card, enter your card's account number and the 3-digit security code.
9. If you're using a credit card, enter your card's name and the 4-digit number on the back.
10. Confirm your connection.
11. On the " Transactions " screen, tap " View Transactions ".
12. Review your recent transactions.

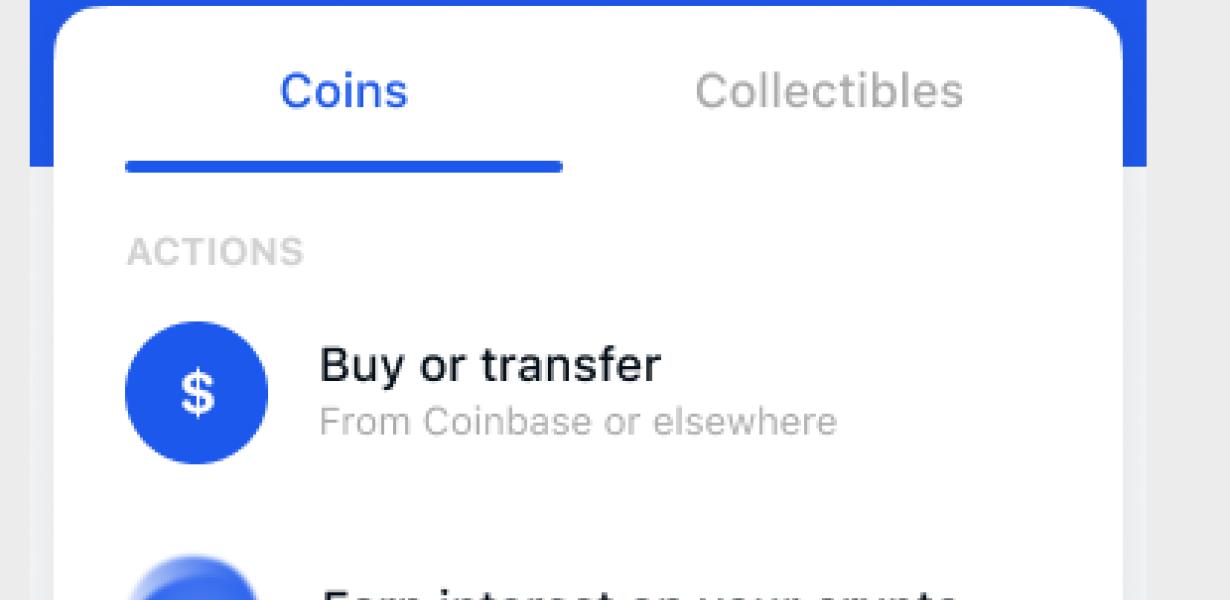
Buy Bitcoin, Ethereum, Litecoin, or Bitcoin Cash on Coinbase.
Coinbase lets you buy, sell, and store bitcoin, Ethereum, Litecoin, and Bitcoin Cash. You can also use Coinbase to buy goods and services with bitcoin, Ethereum, and Litecoin.
Send your cryptocurrency to your personal wallet.
1. Click on the three lines in the top left corner of the Coinbase website.
2. On the left side of the window that opens, click on "Accounts."
3. On the Accounts page, click on "Send."
4. In the "To" box, enter the address of your personal wallet.
5. In the "Amount" box, enter the amount of cryptocurrency you want to send.
6. Click on "Send."
7. Once the transfer is complete, you will be redirected to your personal wallet page.

Start using your cryptocurrency!
If you have some cryptocurrency saved up, now is the time to start using it! Cryptocurrencies are digital or virtual tokens that use cryptography to secure their transactions and to control the creation of new units. Bitcoin, the first and most well-known cryptocurrency, was created in 2009.
What to do next…
If you have a personal computer, you can:
1. Open the Google Chrome web browser.
2. In the address bar at the top of the screen, type:
chrome://settings/content
3. Click on the "Content Settings" link in the results.
4. Under "Site content", click on the "Enable HTML5 audio and video" checkbox.
5. Under "Site settings", click on the "Advanced" button.
6. In the "Media" section, make sure that the "Enable HTML5 audio and video" checkbox is checked.
7. Click on the "Save changes" button.
8. Reload the page.
If you do not have a personal computer, you can:
1. Visit the Google Chrome web browser homepage.
2. Under the "Menu" heading, click on the "Settings" link.
3. Under the "Advanced" heading, click on the "HTML5 audio and video" checkbox.
4. Click on the "Save changes" button.
5. Reload the page.
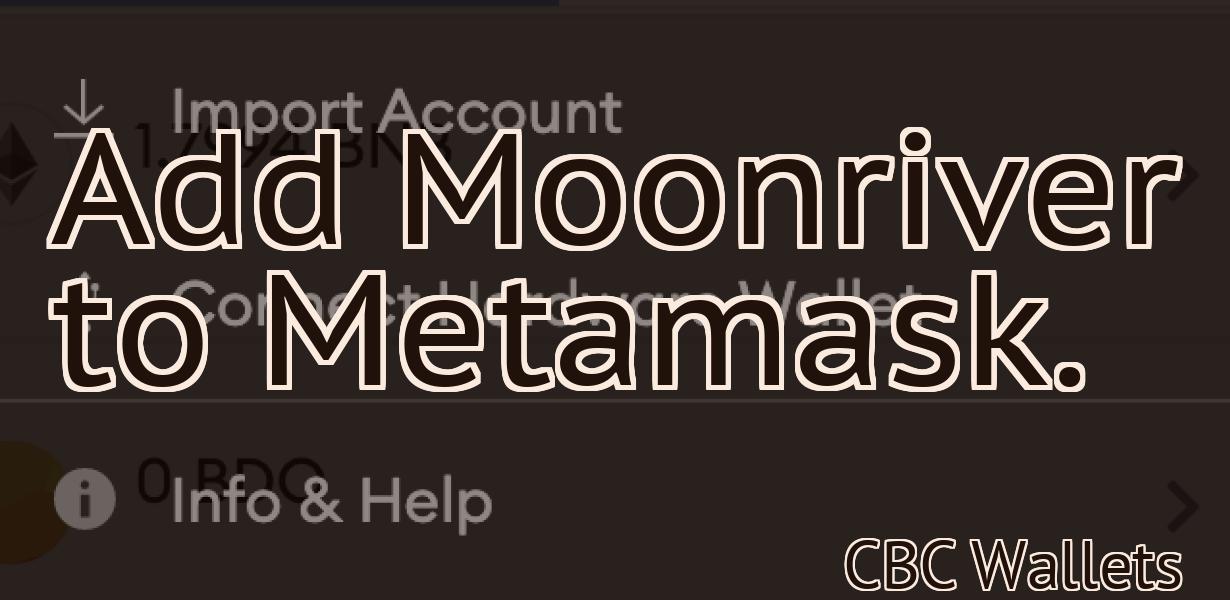
Using a Hardware Wallet with Coinbase
If you want to use a hardware wallet with Coinbase, you first need to create an account with Coinbase. After creating your account, you can then add a hardware wallet to your account. To do this, click on the "Hardware wallets" link in the navigation bar at the top of the Coinbase website. On the Hardware wallets page, you will need to click on the "Add a hardware wallet" link. This will take you to a page where you can add your hardware wallet. To add your hardware wallet, you will need to provide your device's username and password. After providing these details, you will be prompted to confirm your addition. Once your hardware wallet has been added, you can begin using it with Coinbase.
FAQs
Q: What is the difference between a waiver and a release?
A waiver is a document that allows an individual or entity to exempt themselves from a legal requirement. A release is a document that allows another person or entity to relinquish their rights to sue or take other legal action.