Ledger To Metamask
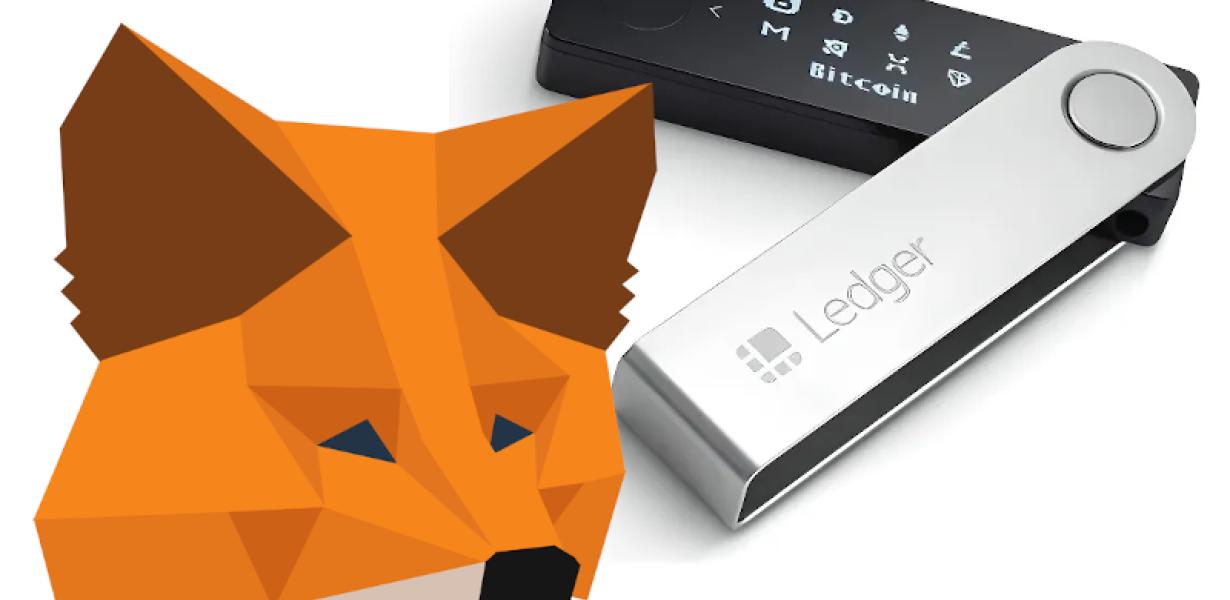
If you're a fan of the popular cryptocurrency wallet Ledger, you may be happy to know that there's now a way to use it with the popular Ethereum wallet Metamask. Ledger To Metamask is a new extension that allows Ledger users to connect their wallets to Metamask, making it easy to manage your ETH and ERC20 tokens in one place. The extension is currently in beta, but you can try it out by installing it from GitHub.
How to connect your Ledger to MetaMask
To connect your Ledger to MetaMask, you'll need the following:
A Ledger device
A MetaMask account
A computer with an internet connection
To connect your Ledger to MetaMask:
1. Open the MetaMask app on your computer.
2. Click on the three lines in the top left corner of the MetaMask window.
3. Select Settings.
4. Under "Connections," click on the blue "Connect to a network" button.
5. Enter the network name and password of your Ledger device.
6. Click on the blue "Connect" button.
Using Ledger with MetaMask
The MetaMask extension for Firefox and Chrome allows you to manage your Ethereum and ERC20 tokens without ever leaving the web browser. Once you have installed the MetaMask extension, open it and click on the three lines in the top right corner. In the drop-down menu that appears, select "Add Wallet."
In the "Create New Wallet" dialog that pops up, enter the following information:
1. Your Ethereum address: This is the address where you will be storing your tokens.
2. Your ERC20 token address: This is the address of the token that you want to add to your wallet.
3. Your password: This will be the password for your wallet.
Once you have entered these details, click on the "Create Wallet" button. MetaMask will now create a new wallet for you, which you can access by clicking on the "My Wallets" tab in the MetaMask extension.
To add a token to your MetaMask wallet, first click on the "Receive" tab and enter the Ethereum address of the token issuer into the "To" field. Next, paste the ERC20 token address into the "Address" field and click on the "Send" button. MetaMask will now send the tokens to the token issuer's address.
How to set up Ledger with MetaMask
1. Open the Ledger app on your computer.
2. Click on the "Ledger" icon in the top left corner of the app.
3. Click on "Settings" in the top right corner of the Settings panel.
4. Click on "Add a new account" in the bottom right corner of the Settings panel.
5. Enter the following details:
a. Name: This should be your desired account name.
b. Email: Enter your desired email address.
c. Password: Confirm your desired password.
6. Click on "Next" in the bottom right corner of the Settings panel.
7. Click on "Add account" in the bottom left corner of the Add Account panel.
8. Enter the following details:
a. Address: Enter your desired address.
b. Phone Number: Enter your desired phone number.
c. 2FA Code: Enter your desired 2FA code.
9. Click on "Next" in the bottom right corner of the Add Account panel.
10. Click on " Finish " in the bottom left corner of the Add Account panel.
11. Click on the "Ledger" icon in the top left corner of the app.
12. Click on "Accounts" in the top right corner of the Accounts panel.
13. Select your desired account from the list of accounts displayed in the Accounts panel.
14. Click on "Settings" in the top right corner of the Settings panel.
15. Click on "Set up your Ledger" in the Settings panel.
16. Select your desired device type from the list of device types displayed in the Set up your Ledger panel.
17. Click on "Next" in the bottom right corner of the Set up your Ledger panel.
18. Click on "Enable USB connection" in the Enable USB connection panel.
19. Click on "Next" in the bottom right corner of the Enable USB connection panel.
20. Click on "Finish" in the bottom left corner of the Enable USB connection panel.
21. Click on the "Ledger" icon in the top left corner of the app.
22. Click on "Ledger Wallet" in the top right corner of the Ledger Wallet panel.
23. Click on "Import Bitcoin Address" in the Import Bitcoin Address panel.
24. Enter your desired Bitcoin address into the Bitcoin address field and click on "Next".
25. Click on "Confirm Bitcoin Address" in the Confirm Bitcoin Address panel and click on "Next".
26. Click on "Import ERC20 Token Address" in the Import ERC20 Token Address panel and enter your desired ERC20 token address into the ERC20 token address field and click on "Next".
Getting started with Ledger and MetaMask
If you don't have a Ledger or MetaMask device, you can create one by following these instructions:
1. Go to https://www.ledger.com/en/products/hardware 2. Click on "Get Started" 3. Follow the instructions to create a new account 4. Download the Ledger app (available for both Android and iOS) 5. Install the app 6. Connect your Ledger device to your computer 7. In the Ledger app, click on "Add New Bitcoin Wallet" 8. In the "Create a new Bitcoin wallet" window, enter a strong password and click on "Next" 9. On the next screen, click on "I already have a Bitcoin wallet" and select the Ledger wallet file you downloaded 10. Click on "Next" and confirm the settings
Once you've set up your Ledger and MetaMask devices, you'll need to add some Bitcoin addresses into them. To do this, open the Ledger app and click on "Ledger Wallet Services." Then, click on "Addresses."
To add a new address, enter the Bitcoin address into the "Address" field and click on "Next." You'll then need to specify a nickname for the address and a passphrase for protection. Click on "Next" again to finish setting up the address.
To add a new Bitcoin transaction, open the Ledger app and click on "Ledger Wallet Services." Then, click on "Transactions."
In the "Transactions" window, click on the "New transaction" button. Then, enter the details of your transaction, including the amount of Bitcoin you're sending and the Bitcoin address that you're sending it to. Click on "Next" to finish setting up your transaction.
When you're ready to send your Bitcoin transaction, click on the "Send" button in the "Transactions" window. You'll then need to confirm the transaction by clicking on the "Confirm" button.
How to use Ledger Nano S with MetaMask
To use Ledger Nano S with MetaMask, you first need to set up a MetaMask account. After you have created a MetaMask account, you can install the Ledger Nano S application on your computer.
Once you have installed the Ledger Nano S application, you can open it and connect your Ledger Nano S to your computer. Next, you will need to import your MetaMask account information. To do this, click on the "Import Account" button and enter your MetaMask account credentials.
After you have imported your MetaMask account information, you will need to create a new wallet. To do this, click on the "Create New Wallet" button and enter your desired wallet name and password. After you have created your wallet, you will need to add some Ethereum or ERC20 tokens to it. To do this, click on the "Add Custom Token" button and enter the details for the token you wish to add to your wallet.
After you have added your tokens to your wallet, you will need to connect your Ledger Nano S to your computer so that you can start mining Ethereum or ERC20 tokens. To do this, click on the "Connect" button and follow the instructions that appear on the screen.
How to use Ledger Nano X with MetaMask
To use Ledger Nano X with MetaMask, first open MetaMask and sign in. Then click on the three lines in the top right corner of the window to open the settings menu. Under "Accounts," click on the New Account button.
On the next screen, enter your name and email address, and click on the Create Account button.
Now open Ledger Nano X and click on the three lines in the top right corner of the window to open the settings menu. Under "Hardware wallets," click on the Add Account button.
On the next screen, enter your name and email address, and click on the Add Account button.
Now open MetaMask and sign in. Then click on the three lines in the top right corner of the window to open the settings menu. Under "Accounts," click on the New Account button.
On the next screen, enter your name and email address, and click on the Create Account button.
Now open Ledger Nano X and click on the three lines in the top right corner of the window to open the settings menu. Under "Hardware wallets," click on the Add Account button.
On the next screen, enter your name and email address, and click on the Add Account button.
Now enter your MetaMask private key in the Ledger Nano X settings, and click on the OK button.
Now you will be asked to confirm your account. Click on the Confirm Account button.
Setting up Ledger Live with MetaMask
To use Ledger Live with MetaMask, you will first need to install the MetaMask browser extension.
Once the MetaMask extension is installed, open it and click on the three lines in the top right corner. Under "Settings," click on the "Add a new account" button.
Enter the following details into the "Account name" field and click on the "Create account" button.
Once your account has been created, click on the "Connect" button in the MetaMask extension to connect it to your Ledger Live account.
Now that your MetaMask account has been connected, open Ledger Live and click on the "My Accounts" button. Under the "Accounts" tab, you will see your newly created Ledger Live account.
To use your Ledger Live account with MetaMask, click on the "Connect" button next to it and enter your MetaMask credentials.
Your Ledger Live account will now be connected and you can start trading cryptocurrencies!
Connecting Trezor to MetaMask
Trezor is a hardware wallet that connects to the MetaMask browser extension. After installing the MetaMask extension, you will need to create a new account.
Once you have logged in, you can click on the “Account” option in the top right corner of the main screen.
Then, click on the “Connect to MetaMask” button.
On the next screen, you will need to enter your MetaMask credentials. After you have entered them, click on the “Connect” button.
Now, your Trezor device will be connected to your MetaMask account.

Using KeepKey with MetaMask
If you want to use KeepKey with MetaMask, you will first need to install the MetaMask extension. Once it is installed, open it and click on the three lines in the top right corner. In the drop-down menu that appears, select Addresses. In the Addresses field, enter the following address:
https://metamask.io/en/key/add
In the Password field, enter your MetaMask password. In the Confirm Password field, enter your MetaMask password again. Click on the blue button to add the address to your MetaMask account.
Next, open the KeepKey app on your computer. In the top left corner of the KeepKey window, click on the three lines in the top right corner. In the drop-down menu that appears, select Accounts. In the Accounts field, click on the blue button next to your MetaMask account.
Click on the KeepKey icon in the top left corner of the KeepKey window. In the KeepKey window that appears, click on the Addresses tab. In the Addresses field, enter the following address:
https://metamask.io/en/key/add
In the Password field, enter your MetaMask password. In the Confirm Password field, enter your MetaMask password again. Click on the blue button to add the address to your MetaMask account.
Click on the Use button next to the KeepKey icon in the top left corner of the KeepKey window. In the Use window that appears, select your desired wallet type from the drop-down menu. For this example, we will select Bitcoin. Click on the blue button to add a Bitcoin wallet to your KeepKey account.
Adding a digital signature to MetaMask with Ledger
Once you have setup your MetaMask account and downloaded the Ledger app, open it and click on the three lines in the top right corner.
Click on the “Add account” button and select “MetaMask” from the list.
Click on the “Sign” button and enter your MetaMask password.
Click on the “Signature” button and select the “Digital signature” option.
Click on the “Sign” button again.
Your signature will now be added to your MetaMask account.