xlm metamask
The article "xlm metamask" describes how to add the XLM cryptocurrency to your Metamask wallet.
How to Install and Use MetaMask for XLM
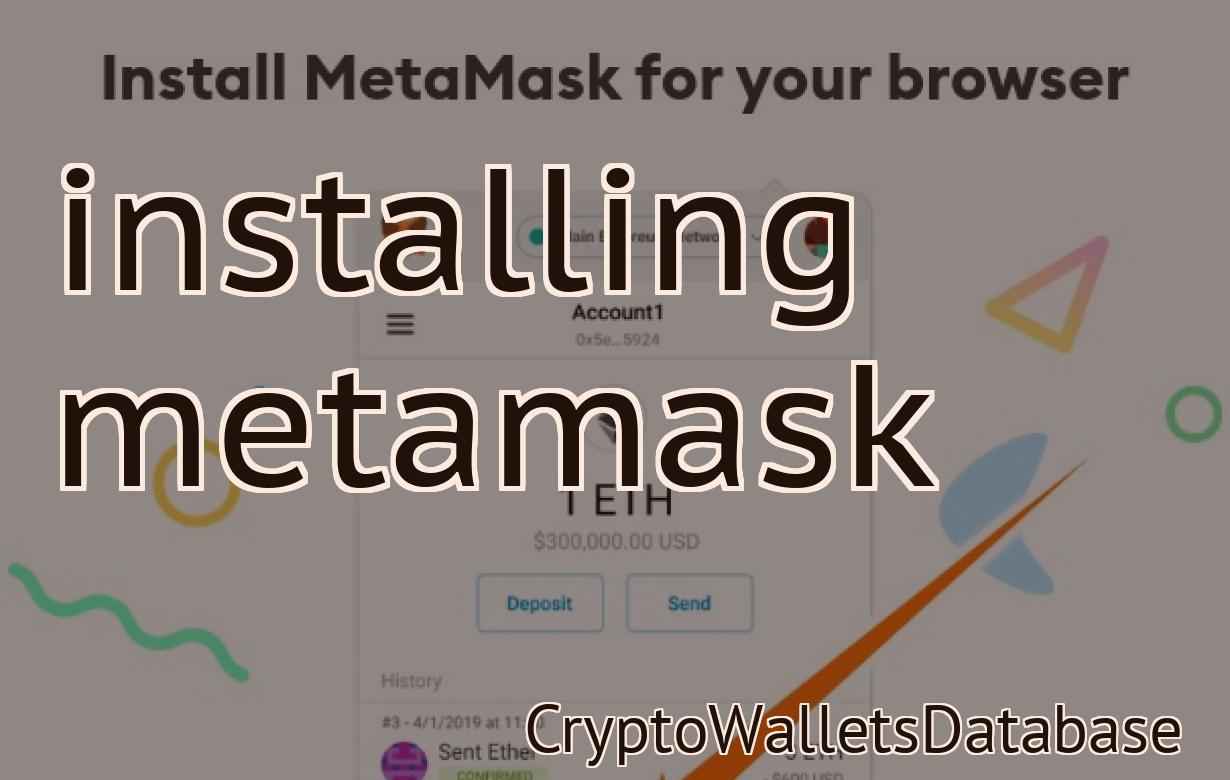
To install MetaMask, open the Google Chrome browser and click on the three lines in the top left corner (“Settings”, “Extensions”, and “Add new”). In the “Add new” window, select the “Web extensions” tab and click on the “Install from Chrome Web Store” button.
On the next page, enter the extension’s name and click on the “Install” button. When the extension is installed, click on the icon in the top right corner to open it.
To use MetaMask, first click on the “Menu” button and select the “Settings” menu item. In the “Settings” window, click on the “Add new” button and select the “MetaMask” extension.
In the “MetaMask” extension window, enter your XLM address and password and click on the “Connect” button. When you’re connected, MetaMask will display your current balance and transactions.
MetaMask - The Official Wallet of the XLM Network
What is a Mask?
A Mask is a piece of software that helps you anonymize your online activity. When you use a Mask, all of your online activity is hidden from the people you are communicating with.
Why use a Mask?
There are many reasons to use a Mask. For example, you might want to protect your privacy or keep your identity secret. You also might use a Mask to protect your online activity from snooping by your government or other third parties.
How to Secure Your XLM With MetaMask
To secure your XLM with MetaMask, follow these steps:
1. Open the MetaMask app on your computer.
2. Click on the three lines in the top left corner of the application.
3. In the "Addresses" section, select "Manage Addresses."
4. In the "View Transactions" section, select "History."
5. In the "History" section, click on the XLM address you want to secure.
6. On the right side of the window, click on the lock icon.
7. Enter your personal keystore password.
8. Click on the "Lock Address" button.
9. Click on the "Create New XLM Transaction" button.
10. In the "Transaction Type" field, select "Payment."
11. In the "Amount" field, enter the amount of XLM you want to send.
12. In the "Destination" field, enter the address of the recipient for the XLM payment.
13. In the "Currency" field, select "XLM."
14. Click on the "Create Transaction" button.
15. Review your XLM transaction details.
16. Click on the "Send XLM" button to send your XLM payment to the recipient address.
MetaMask - The Best Way to Store Your XLM
Coinbase - The Best Way to Store Your XLM
Binance - The Best Way to Store Your XLM
How to Use MetaMask to Send and receive XLM
1. Open MetaMask and click the three lines in the top left corner.
2. Click Add Wallet.
3. Click XLM.
4. Copy the XLM address.
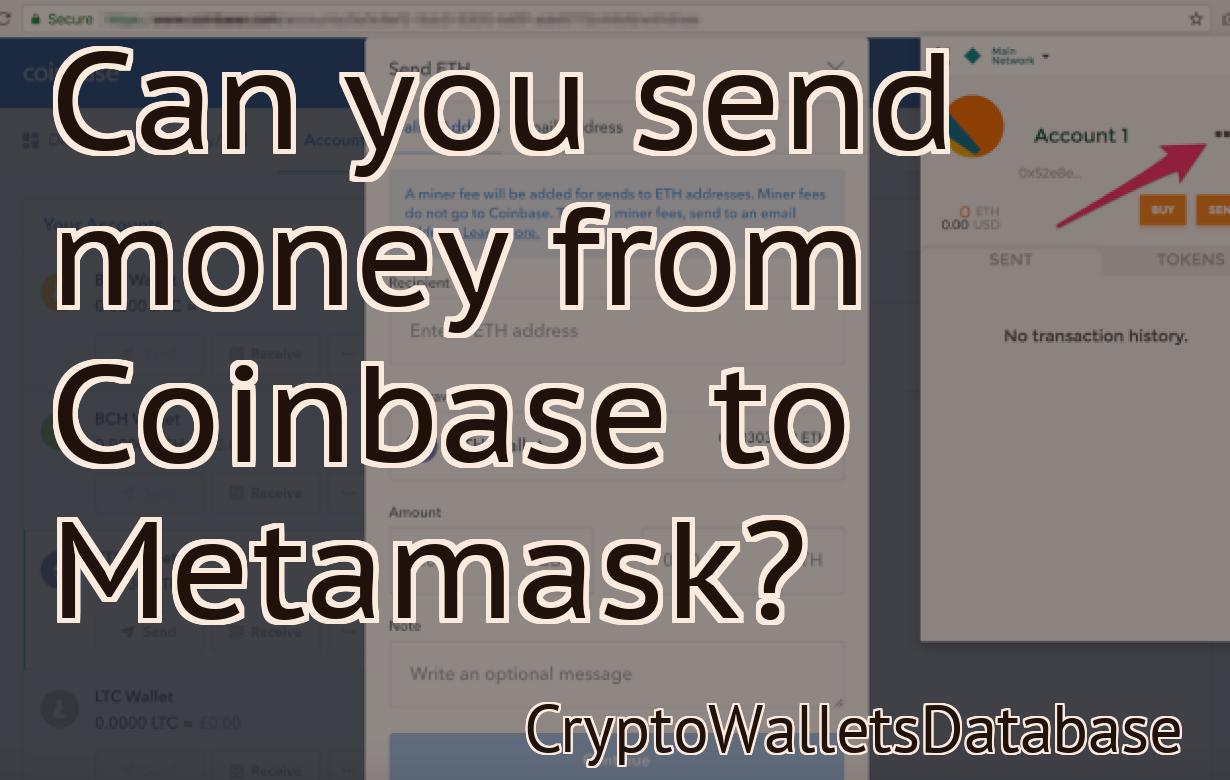
5. Go to a website that accepts XLM, such as Coinbase.com.
6. Paste the XLM address into the payment input field and click Send.
7. Click the Receiving tab and copy the XLM address that MetaMask shows you.
8. Go to Coinbase and paste the XLM address into the payment input field.
9. Click Send.
MetaMask - The Perfect Wallet for XLM
If you're looking for a wallet that can store XLM and other cryptocurrencies, look no further than the popular and secure Ethereum-based Cryptocurrency Mask. Cryptocurrency Mask is a highly user-friendly wallet that allows you to easily store, manage, and trade your cryptocurrencies.
Cryptocurrency Mask is a secure and user-friendly wallet that allows you to easily store, manage, and trade your cryptocurrencies.
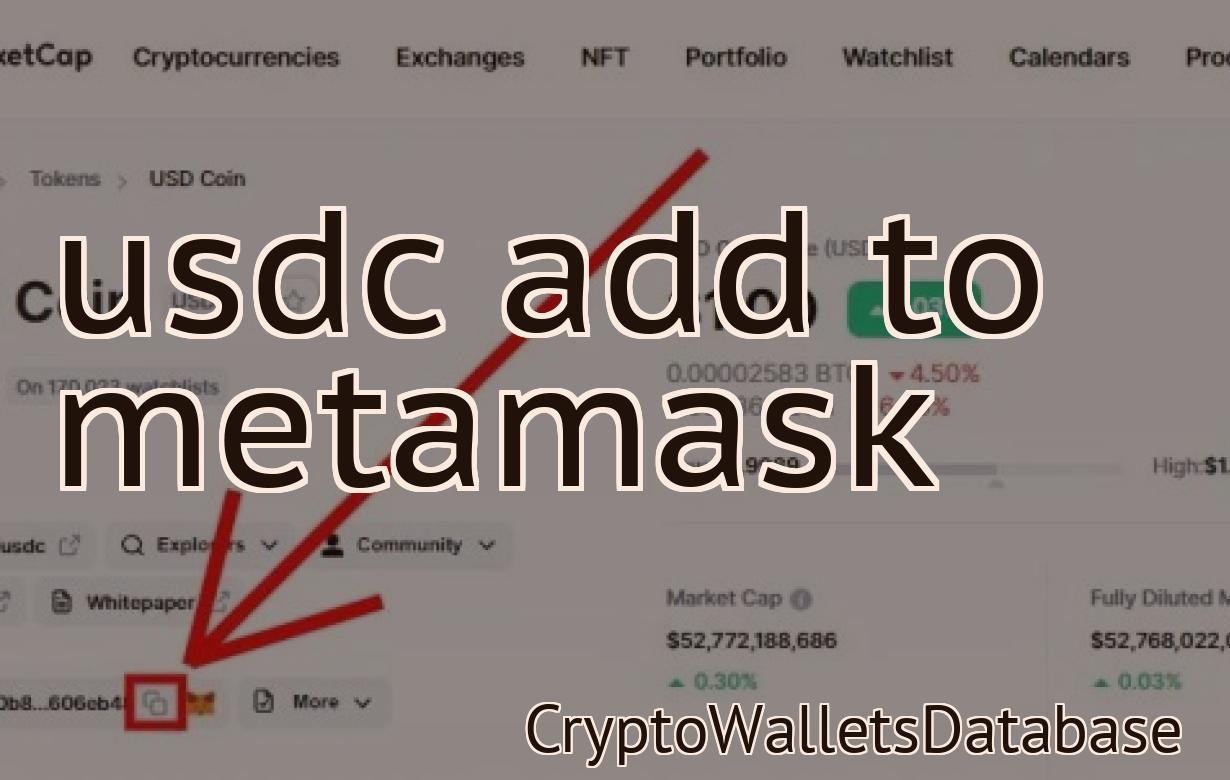
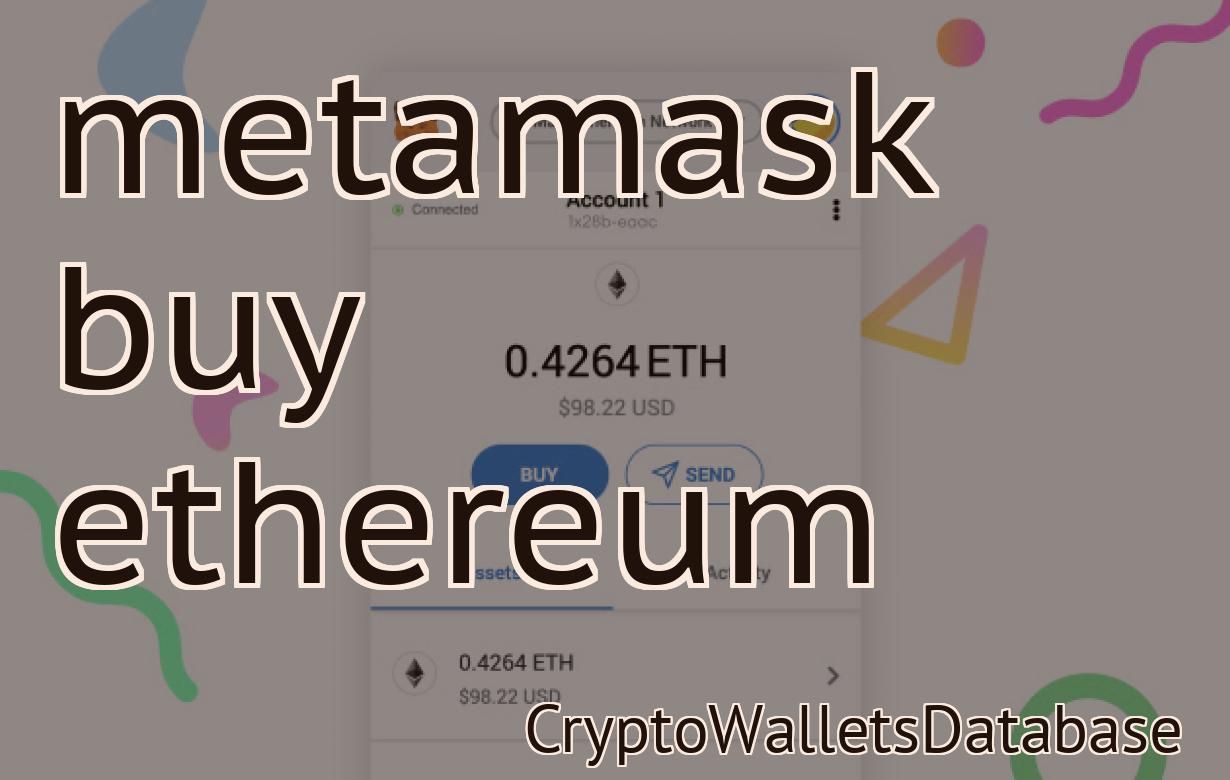
How to Buy XLM Using MetaMask
To buy XLM using MetaMask, first open the MetaMask app on your computer. Then, click on the XLM button in the bottom left corner. Next, enter the amount of XLM you want to purchase and click on the Buy XLM button. Finally, confirm the purchase by clicking on the OK button.
MetaMask Review - The Best Wallet for XLM?
If you're looking for the best XLM wallet, then you should definitely consider using a Mask. In terms of features and functionality, the Mask is one of the best options available on the market today.
The Mask has a number of features that make it a great choice for XLM holders. These include:
1. TheMask offers a user-friendly interface.
2. TheMask offers secure storage for your XLM tokens.
3. TheMask allows you to easily track your XLM balance and transactions.
4. TheMask offers a wide range of options for trading XLM tokens.
5. TheMask offers a variety of security features, including 2-factor authentication and a cold storage option.
Overall, the Mask is a great option for XLM holders who want the best possible wallet experience. It offers a number of features that make it easy to manage your XLM tokens and keep track of your transactions.
How to Safely Store Your XLM with MetaMask
MetaMask is a Chrome browser extension that allows you to safely store your XLM. To do this, first open MetaMask and click on the three lines in the top left corner.
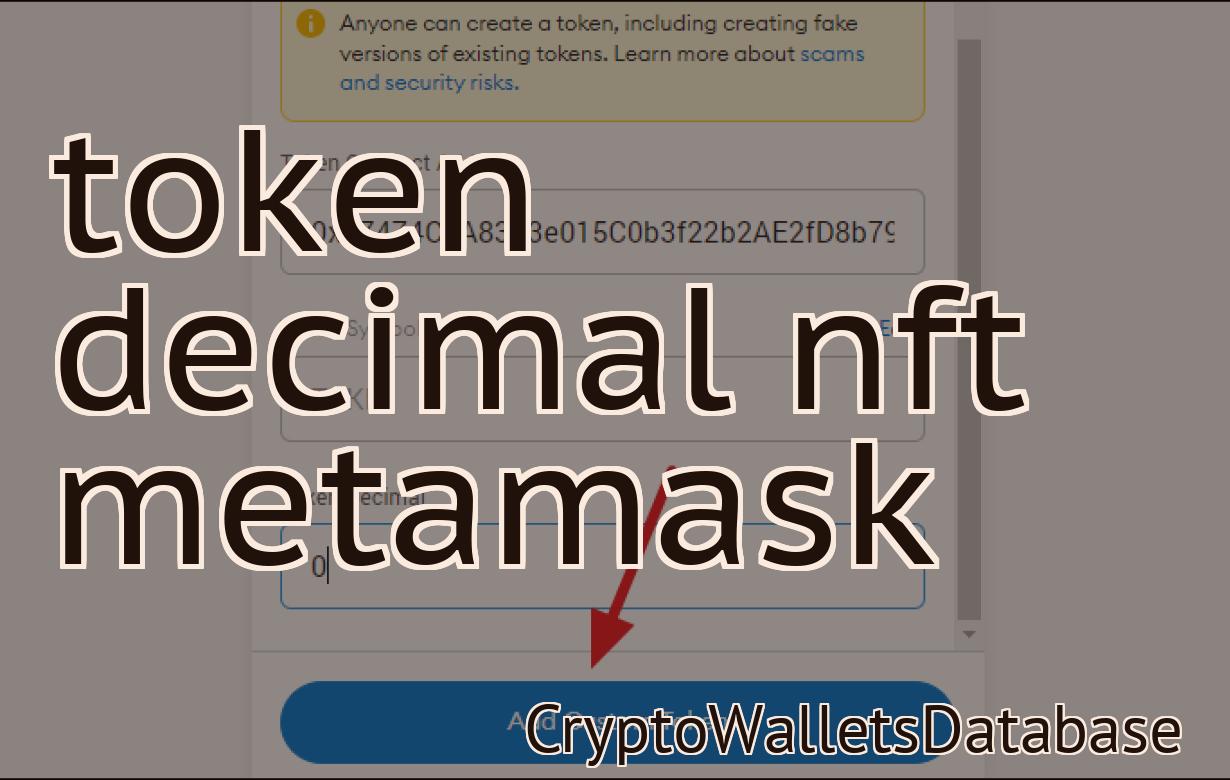
Then, select your wallet from the list on the left. On the right, under "Settings," click on "Add a custom token."
In the "Token name" field, type XLM and in the "Token symbol" field, type "XLM." Click on "Save."
Now, whenever you want to access your XLM, you can open MetaMask and click on the three lines in the top left corner. Then, under "Assets," select "XLM."
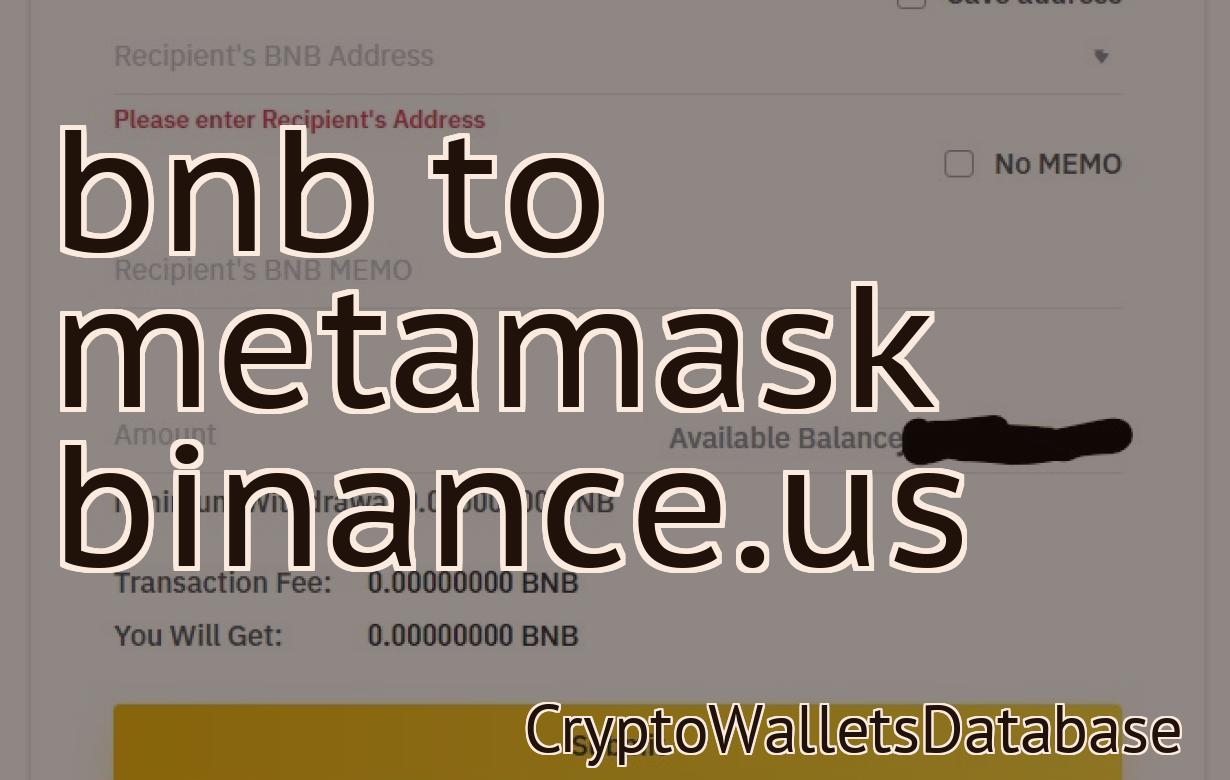
You'll now be able to see your XLM balance and transactions. To withdraw your XLM, click on the "Withdraw" button next to your XLM balance.
MetaMask - The Most Secure way to store your XLM
One of the most important aspects of XLM is security. There are a few ways to secure your XLM holdings. One option is to use a Mask.
A Mask is a digital asset that allows you to obscure your identity while trading. By using a Mask, you can protect your XLM from being stolen or lost.
1. To create a Mask, open the XLM wallet on your computer and click on the “Create Mask” button.
2. Enter the parameters of your Mask. These include your XLM address, the amount of XLM you want to deposit, and the time period for which you want to remain anonymous.
3. Click on the “Create Mask” button to create your Mask.
4. Now you can trade XLM without revealing your identity. Whenever you make a trade, the exchange will automatically convert your XLM into the appropriate currency and deposit it into your Mask account.
5. To withdraw your XLM from your Mask account, simply send the required amount of XLM to the address associated with your Mask.
6. Remember to always keep your Mask safe, and never share it with anyone. If you ever experience any problems with your Mask account, please contact us for assistance.
How to use MetaMask with an Ledger Nano S
To use MetaMask with an Ledger Nano S, first install MetaMask on your computer.
Next, open the Ledger Nano S application and click on the three lines in the top left corner.
Then, click on the Add New Wallet button and select MetaMask from the list of wallets.
Enter your MetaMask account credentials and click on the Connect button.
Now you will be able to send and receive Ethereum and ERC20 tokens with your Ledger Nano S.
MetaMask - The easiest way to use XLM
If you're already using a popular browser like Chrome, Firefox, or Opera, you can easily start using XLM right away by installing the XLM extension. Once you have the extension installed, you can access XLM by clicking on the XLM icon in your browser toolbar.
If you don't have an XLM extension installed, or if you want to use XLM with a different browser, you can download the XLM extension from the Chrome Web Store, Firefox Add-ons Marketplace, or Opera Add-ons Store. Once you have the extension installed, you can access XLM by clicking on the XLM icon in the top right corner of your browser window.