installing metamask
This article covers the basics of installing and setting up Metamask, a browser extension that allows you to interact with decentralized applications (dApps) on the Ethereum network.
How To Install MetaMask In Less Than Five Minutes
1. Open the Google Chrome browser and click on the “Menu” button.
2. Click on the “Tools” button and select the “Extensions” option.
3. Click on the “Add extension” button and select the “MetaMask” extension from the list.
4. Click on the “Install” button and wait for the extension to install.
5. When the extension is installed, click on the “Open” button to launch it.
6. Click on the “Sign in” button to sign in to your MetaMask account.
7. Click on the “Create a new account” button to create a new MetaMask account.
8. Enter your desired account name and password in the appropriate fields and click on the “sign in” button.
9. Click on the “Select a wallet” button to select a wallet to store your tokens in.
10. Click on the “Show My Tokens” button to display your tokens in your selected wallet.
A Step-By-Step Guide To Installing MetaMask
on Chrome
1. Open Chrome and click the three lines in the top left corner that look like a triangle.
2. Click on "Settings".
3. On the "Advanced" tab, click on the "Add new site" button.
4. In the "Site address" field, enter "https://metamask.io".
5. In the "Port" field, enter "443".
6. Click on the "Create" button.
7. Click on the "Metamask" icon in the top right corner of the Chrome window to open the Metamask window.
8. Click on the "Settings" button in the Metamask window and enter your Metamask's password.
9. In the "Accounts" section, click on the "New account" button.
10. In the "Account name" field, enter "MetaMask Account".
11. Click on the "Create account" button.
12. Click on the "Metamask" icon in the top right corner of the MetaMask window to open the Metamask window.
13. In the "Settings" section, click on the "Import private key" button and save the private key file to your computer.
14. In the "Settings" section, click on the "Register" button and enter your Metamask's email address.
15. Click on the "Metamask" icon in the top right corner of the MetaMask window to open the Metamask window.
16. In the "Settings" section, click on the "Get Started" button and follow the instructions to complete the installation process.
The Beginner's Guide To Installing MetaMask
MetaMask is a browser extension that allows you to interact with the Ethereum blockchain. Before you can start using MetaMask, you'll need to install it on your computer. This guide will show you how to do that.
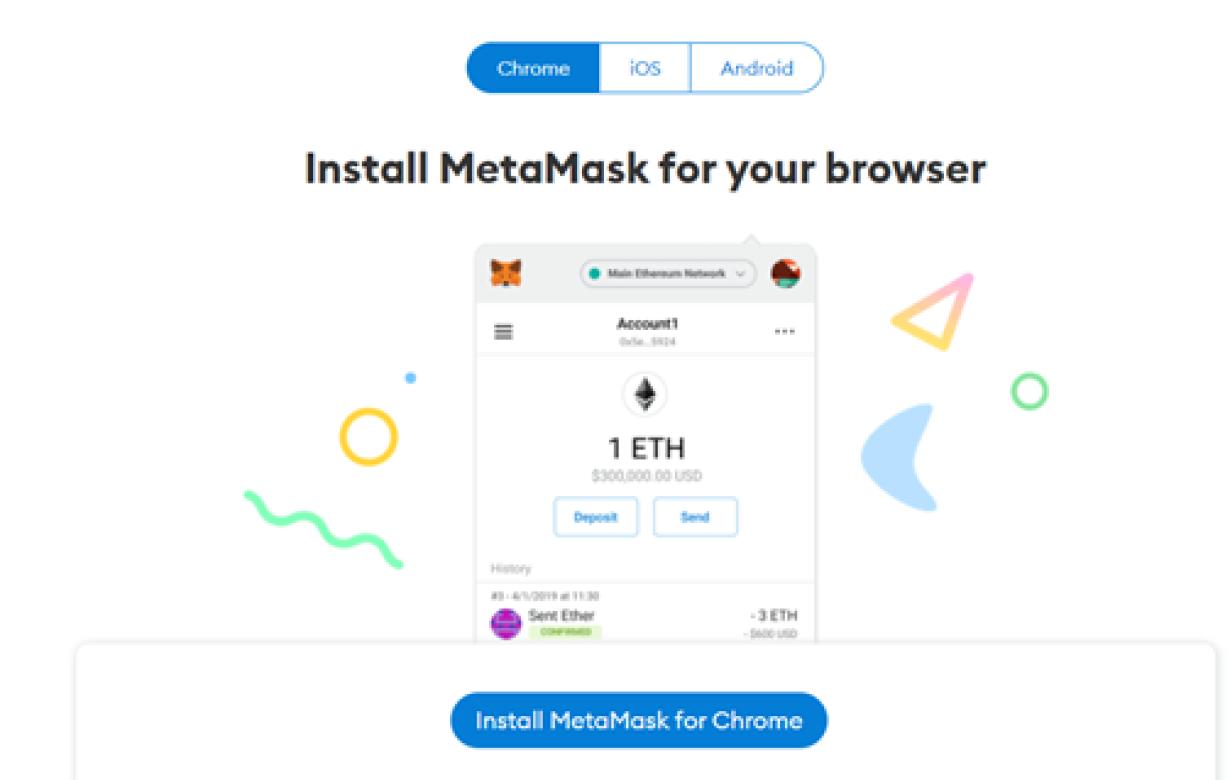
1. First, download the MetaMask extension from the Chrome Web Store or Mozilla Add-ons.
2. Once you've downloaded the extension, open it and click on the "Add new account" button.
3. Enter your email address and password into the fields provided and click on the "Create account" button.
4. You'll now be taken to the MetaMask settings page. On this page, you'll need to click on the "Show advanced settings" button.
5. In the "Advanced settings" dialog box, scroll down until you see the "Accounts" section. Here, you'll need to click on the "Create new account" button.
6. You'll now be taken to a new page where you'll need to provide some additional information about your account. First, you'll need to choose a name for your account. Next, you'll need to provide a secure password for your account. Finally, you'll need to verify your account by providing your email address and password again.
7. Once you've completed all of the required information, click on the "Create account" button to create your MetaMask account.
How To Install MetaMask For Ethereum Wallet Access
1. First, you will need to install the MetaMask Ethereum Wallet on your computer.
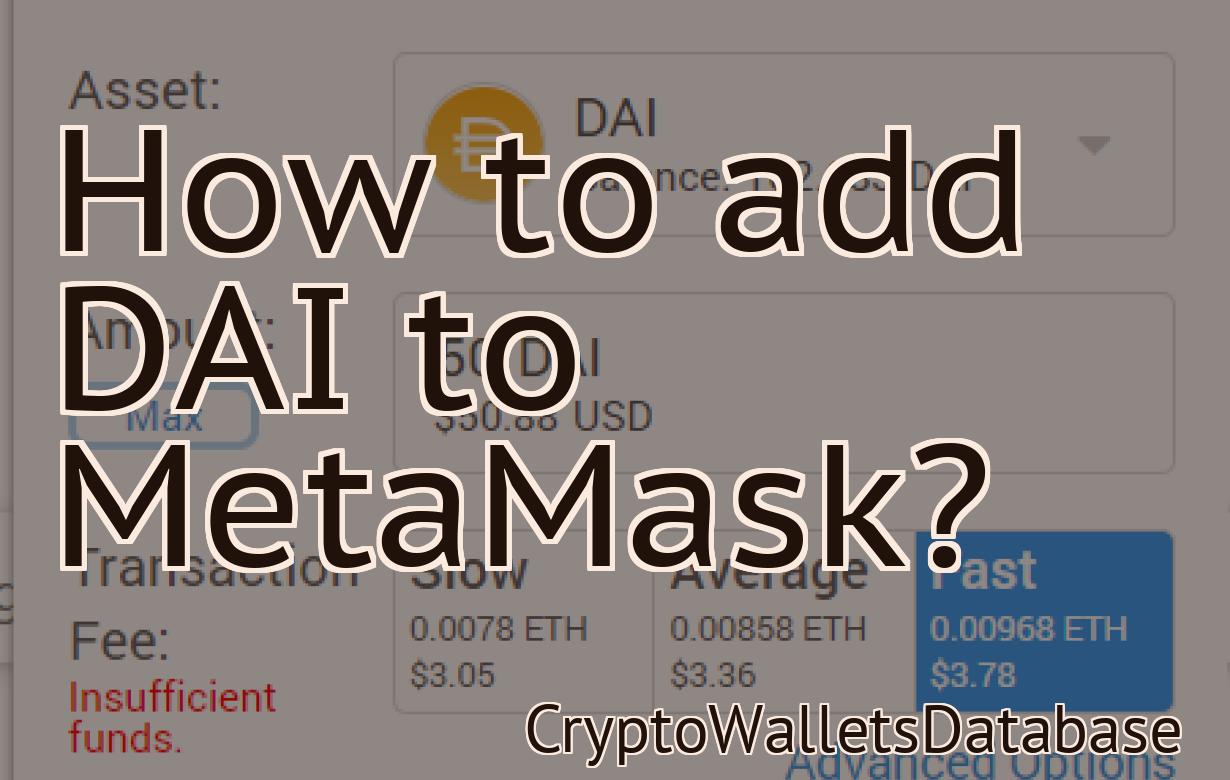
2. Next, open the MetaMask Ethereum Wallet and click on the “Add Custom Token” button.
3. On the next screen, you will need to provide the details of the token you want to add. This can be done by clicking on the “Token Information” button and entering the following information:
Name: MyEtherWallet Token
Symbol: MEWT
Decimals: 18
4. Once you have entered the details, click on the “Add Custom Token” button to finish.
5. Now, you will need to add the MyEtherWallet address to MetaMask. To do this, click on the “Accounts” tab and enter the MyEtherWallet address into the “Address” field.
6. Finally, you will need to confirm the add by clicking on the “Confirm” button. Once you have confirimed, MetaMask will start syncing with the Ethereum network.
How To Use MetaMask: The Ultimate Guide
MetaMask is a browser extension that allows you to interact with decentralized applications (DApps) and smart contracts.
To install MetaMask:
1. Go to the Google Play Store or the Apple App Store and search for "MetaMask."
2. Click the "Install" button and follow the on-screen instructions.
3. Once MetaMask is installed, open it and click the "Add Wallet" button.
4. Select the wallet in which you want to store your MetaMask tokens.
5. Click the "Create New Account" button.
6. Enter your personal details and click the "Create Account" button.
7. You will be redirected to a page where you can review the terms of use. Click the "Agree" button to continue.
8. Click the "Register" button to create a new MetaMask account.
9. Click the "Metamask" button in the main toolbar.
10. On the Metamask main page, click the "Register" button to create a new account.
11. Enter your personal details and click the "Register" button.
12. You will be redirected to a page where you can review the terms of use. Click the "Agree" button to continue.
13. On the "MetaMask Account Settings" page, click the "Connected Accounts" button.
14. If you have already registered a MetaMask account with another platform, click the "Connect an Existing Account" button and enter your credentials.
15. Click the "Register New ERC20 Token" button.
16. On the "Register New ERC20 Token" page, enter the following information:
-Token name: You can name your token anything you like.
-Token Symbol: You will need to choose a symbol for your token. There are a number of choices available, but most popular tokens use the same symbols as Bitcoin and Ethereum.
-Decimals: You can specify how many decimal places your token will have.
-Description: Add a brief description of your token project.
-Website: Add the website address or IP address of the token's home page. This field is optional.
-Whitelisted Countries: Add the countries in which your token will be available for purchase. This field is optional.
-Accepts ERC20 Tokens: Check this box if you want MetaMask to allow users to register and purchase your token using an existing Ethereum wallet address. This field is optional.
-Require Metamask Password to Purchase: Check this box if you want users to first input their Metamask password before they can purchase your token. This field is optional.
17. Click the "Register Token" button.
18. On the "Token Registration" page, you will need to provide the following information:
-Token Contract Address: Thetoken contract address can be found on the blockchain explorer website (e.g. https://etherscan.io/token/0x123456789abcdef).
-Token Symbol: You will need to choose a symbol for your token. There are a number of choices available, but most popular tokens use the same symbols as Bitcoin and Ethereum.
-Decimals: You can specify how many decimal places your token will have.
-Price Per Token: Enter the price per token in ETH or USD. This field is optional.
-Total Number Of Tokens: Enter the total number of tokens that you plan to create. This field is mandatory.
-Token Distribution Date: Enter the date on which you plan to distribute your tokens. This field is mandatory.
-Authority Key ID: This is the key ID of the account under which your token will be stored on the Ethereum blockchain. You can find this ID on the blockchain explorer website (e.g. https://etherscan.io/account/0x123456789abcdef).
-Authority Key Secret: This is the secret key of the account under which your token will be stored on the Ethereum blockchain. You can find this ID on the blockchain explorer website (e.g. https://etherscan.io/account/0x123456789abcdef).
-Click the "Generate New Private Key" button to generate a new private key for your account. You will need this key to send and receive tokens from the Ethereum blockchain.
-Click the "Upload Transaction Proof" button to upload a transaction proof that demonstrates that you own the token contract address that you entered on step 16. This proof can be a screenshot or a past block transaction from the Ethereum blockchain.
-Click the "Register Token" button to finish registering your token.
How To Secure Your MetaMask Wallet
As with any online account, you should always take a few basic security precautions when using MetaMask.
First and foremost, always use a strong password. Make sure it is at least 8 characters long and includes at least one number and one letter. You should also regularly change your password if it is not being kept up to date.
Additionally, make sure to keep your browser up-to-date and secure. Always use a trusted browser extension or plugin and make sure your browser is secured by setting a password and installing antivirus software.
Lastly, always store your MetaMask wallet offline in a secure location. This is especially important if you plan on using your MetaMask wallet for purchasing cryptocurrencies or tokens.
What Is MetaMask And How Does It Work?
MetaMask is a browser extension that allows users to access the internet through their browsers without needing to log in to a separate account. The extension uses security measures such as two-factor authentication and email verification to protect users' identities. Once installed, users can access the extension by clicking on the "metamask" logo in the top right corner of their browsers.
How To Install MetaMask On Chrome
1. Open Chrome and click on the three lines in the top right corner of the browser window.
2. Click on "Settings" in the menu that pops up.
3. Under "Advanced settings", click on "Web security" and then on "Add an exception".
4. In the "Add an exception" window, type "https://metamask.io/ in the "Site address" text field and click on the "Add exception" button.
5. Click on the "OK" button to close the "Add an exception" window and return to the "Settings" window.
6. Under "Web security", click on "MetaMask" and then on the "Enable MetaMask" button.
7. Click on the "OK" button to close the "Settings" window and return to the browser window.
8. Click on the "MetaMask" icon in the top left corner of the browser window.
9. In the "Metamask" window that opens, click on the "Install" button to install the MetaMask extension.
10. Once the MetaMask extension has been installed, click on the "Open" button to open it.
11. In the "MetaMask" window, click on the "Accounts" tab and then on the "Add account" button.
12. In the "Add account" window, enter your email address and password and then click on the "OK" button.
13. Click on the "Log in" button in the top right corner of the "MetaMask" window to log in to your MetaMask account.
14. If you are not already logged in, you will be prompted to log in to your MetaMask account before you can access any of the features available through the MetaMask extension.
How To Install MetaMask On Firefox
To install MetaMask on Firefox, first install the Firefox browser. Then go to the Firefox web browser's Help menu and click on the "Add-ons" submenu. In the "Add-ons" submenu, click on the "Extensions" tab. Click on the "Install" button next to the "MetaMask" extension. When the installation process is completed, click on the "Activate" button to enable the MetaMask extension.
Using MetaMask With MyEtherWallet
MetaMask is a browser extension that can be used to access your Ethereum wallet. To use MetaMask with MyEtherWallet, first install the MetaMask extension from the Chrome web store.
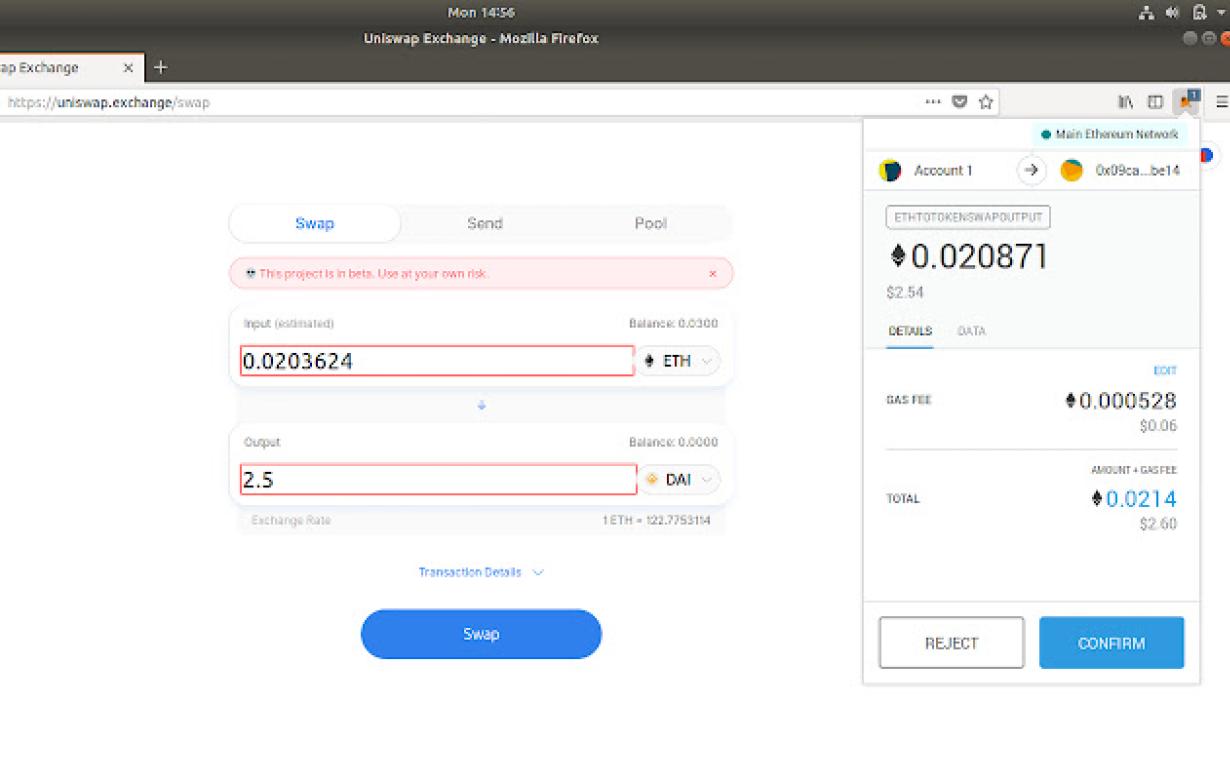
Once MetaMask is installed, open the extension and click on the three lines in the top right corner. In the drop-down menu that appears, click on "Connect to a Wallet."
In the "Connect to a Wallet" window, enter your MyEtherWallet address and password. Click on the "Connect" button to finish setting up your MetaMask account.
Now that your MetaMask account is set up, you can access your Ethereum wallet using MyEtherWallet. To do this, open MyEtherWallet and click on the "Ethereum" tab.
Next, click on the "Send Ether & Tokens" button and select "MetaMask." In the "To Address" field, enter the address of your MetaMask account. In the "Amount" field, enter the amount of Ether or tokens you want to send.
To send tokens using MyEtherWallet, you will also need to provide the token'sERC20 address. To find the token'sERC20 address, open the token's website and look for the "token info" section. In the "Token Address" field, enter the address that you copied from the token's website.
Finally, click on the "Send" button to send your Ether or tokens to your MetaMask account.