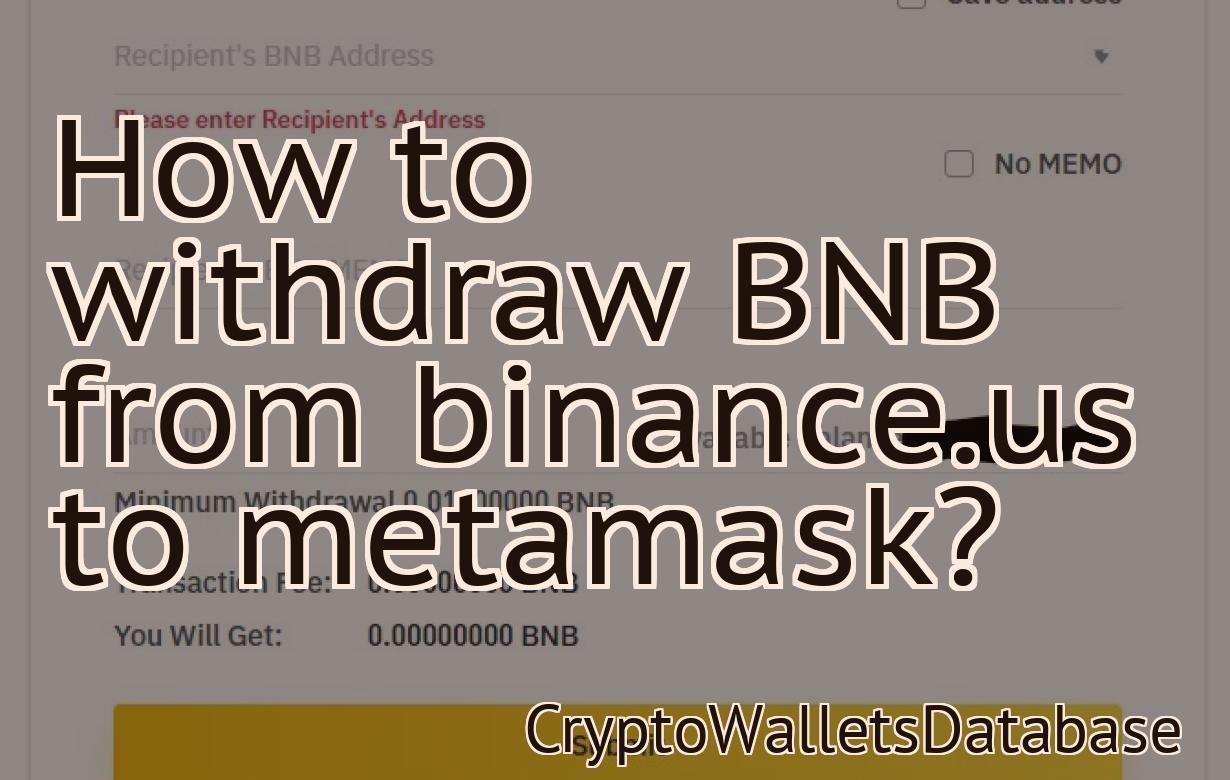
bnb to metamask binance.us
If you're looking to connect your Binance.us account to MetaMask, this guide will show you how. In just a few steps, you'll be able to view and trade your Binance.us account on MetaMask.
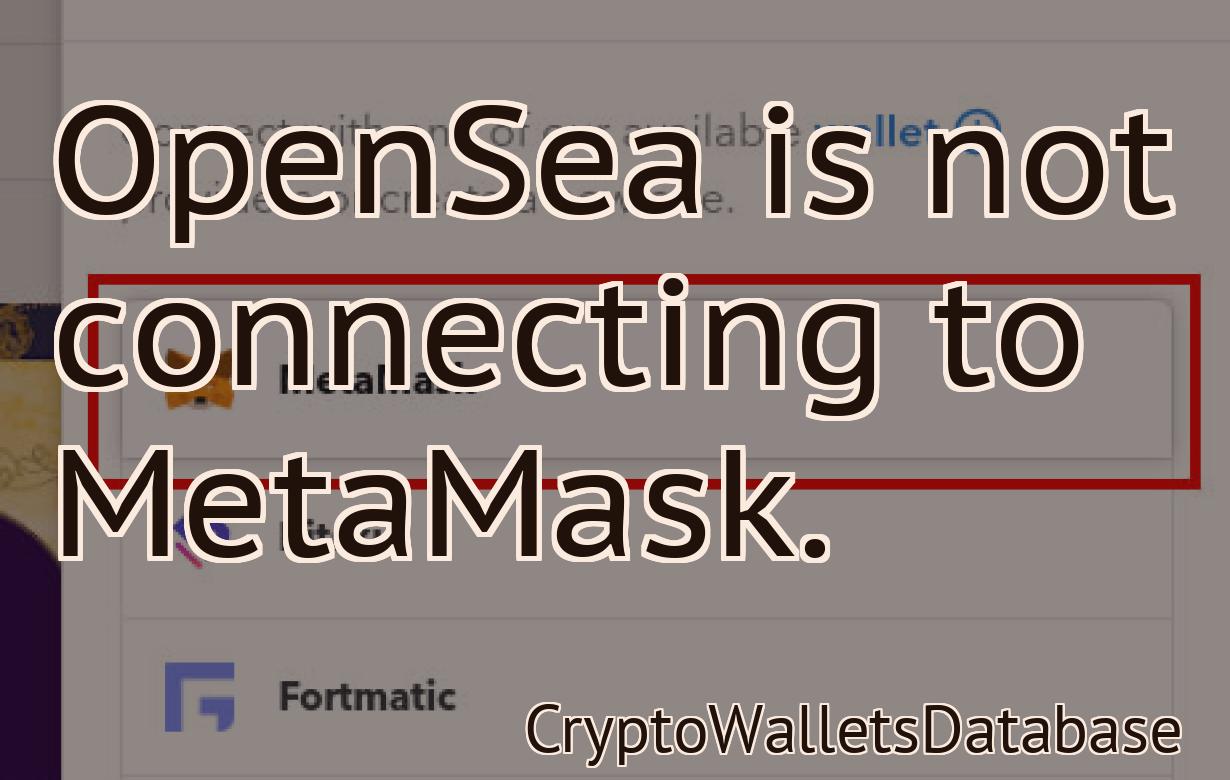
"Binance.US Users Can Now Connect Their MetaMask Wallets"
MetaMask users can now connect their wallets to Binance.US. This allows users to trade and hold BNB and other Binance tokens on the exchange.
"bnb to metamask binance.us – The Easy Way to Use Binance.US"
1. Go to https://www.binance.us/.
2. Click on the “Register” button.
3. Input your personal information.
4. Confirm your account.
5. Click on the “Token Sale” button.
6. Enter the amount of BNB you want to purchase.
7. Click on the “Buy BNB” button.
8. Enter the address where you want to send your BNB.
9. Click on the “Confirm” button.
"How to Connect Your MetaMask Wallet to Binance.US"
1. Navigate to https://www.binance.com/ and create an account.
2. Click on the "Account" tab and select "Create New Account."
3. Fill in the required information and click on the "Next" button.
4. Select "MetaMask" as the wallet type and click on the "Next" button.
5. Enter your personal information and click on the "Next" button.
6. Click on the "Create Account" button to finish the process.
7. Open your newly created Binance account and click on the "Wallets" tab.
8. Under the "Wallets" tab, find "MetaMask" and click on the "Connect" button.
9. Enter your MetaMask wallet address and click on the "Connect" button.
10. You will now be able to trade on Binance!
"Using MetaMask with Binance.US – The Complete Guide"
MetaMask is a web browser extension that allows you to access your crypto assets and make transactions on the web.
To start using MetaMask with Binance.US, open your web browser and navigate to binance.com. Click on the three lines in the top right corner of the screen and select "Account." In the "Account Information" box, click on the "View Wallet Info" button.
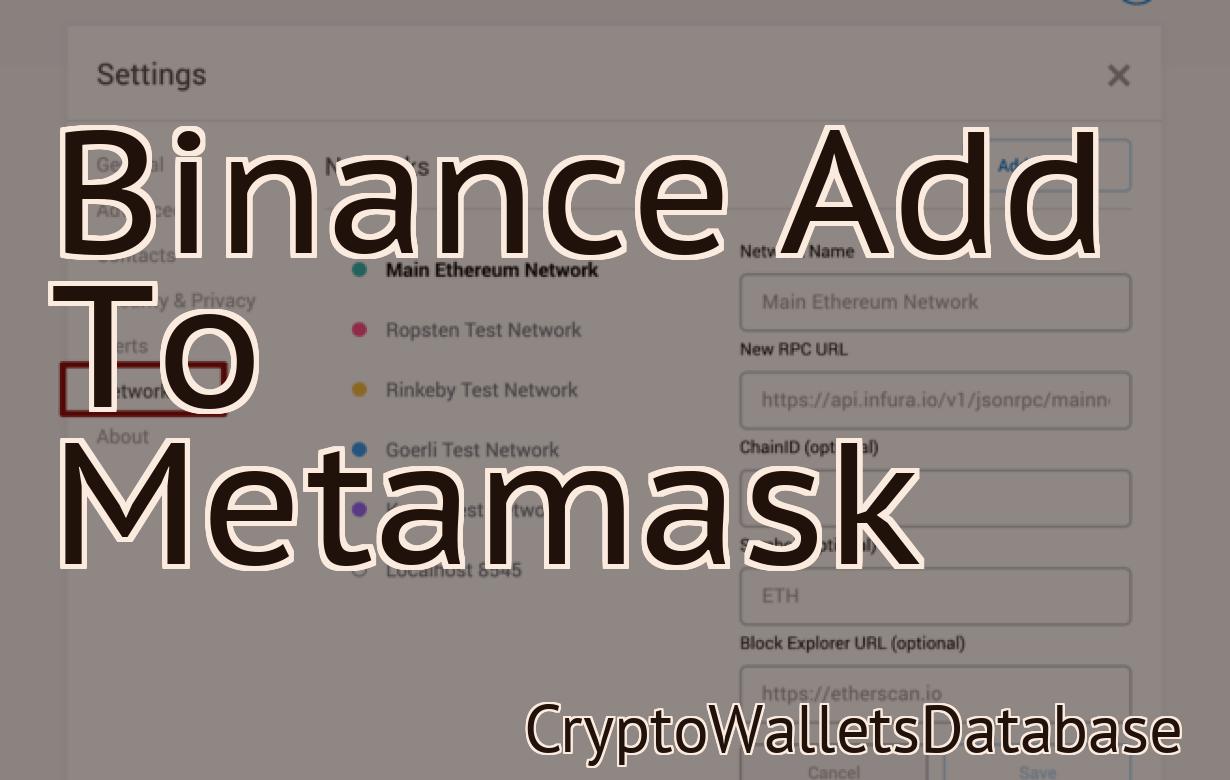
Next, click on the "Settings" button in the top left corner of the "View Wallet Info" box. In the "Settings" box, click on the "Add Wallet" button.
In the "Add Wallet" box, enter the following information:
1. The name of the wallet you want to create: Binance US
2. The password for the wallet: passphrase
3. The type of wallet: MetaMask
4. The email address you used when you created your Binance account: email
5. The phone number you used when you created your Binance account: phone
6. Enter a strong password for the wallet: passphrase
7. Click on the "Create Wallet" button.
You will now be taken to the "MetaMask" page. Click on the "Import Wallet Address" button and enter the following information:
1. The Binance US wallet address you just created: 17Pc3k9CXZ1vxNnDGt1cN7gKjdwCi7VYnh
2. The passphrase you used to secure your wallet: passphrase
3. Click on the "Import Wallet Address" button.
Now that you have imported your Binance US wallet address and passphrase, you are ready to start using MetaMask with Binance.US.
To start using MetaMask with Binance.US, open your web browser and navigate to binance.com. Click on the three lines in the top right corner of the screen and select "Account." In the "Account Information" box, click on the "View Wallet Info" button.
Next, click on the "Settings" button in the top left corner of the "View Wallet Info" box. In the "Settings" box, click on the "Add Wallet" button.
In the "Add Wallet" box, enter the following information:
1. The name of the wallet you want to create: Binance US
2. The password for the wallet: passphrase
3. The type of wallet: MetaMask
4. The email address you used when you created your Binance account: email
5. The phone number you used when you created your Binance account: phone
6. Enter a strong password for the wallet: passphrase
7. Click on the "Create Wallet" button.
You will now be taken to the "MetaMask" page. Click on the "Import Wallet Address" button and enter the following information:
1. The Binance US wallet address you just created: 17Pc3k9CXZ1vxNnDGt1cN7gKjdwCi7VYnh
2. The passphrase you used to secure your wallet: passphrase
3. Click on the "Import Wallet Address" button.
Now that you have imported your Binance US wallet address and passphrase, you are ready to start using MetaMask with Binance.US.
"Binance.US Now Supports MetaMask – Here's How to Use It"
Binance.US now supports MetaMask – here's how to use it
If you're looking to trade on Binance.US, you'll now need to use MetaMask. Here's how to get started:
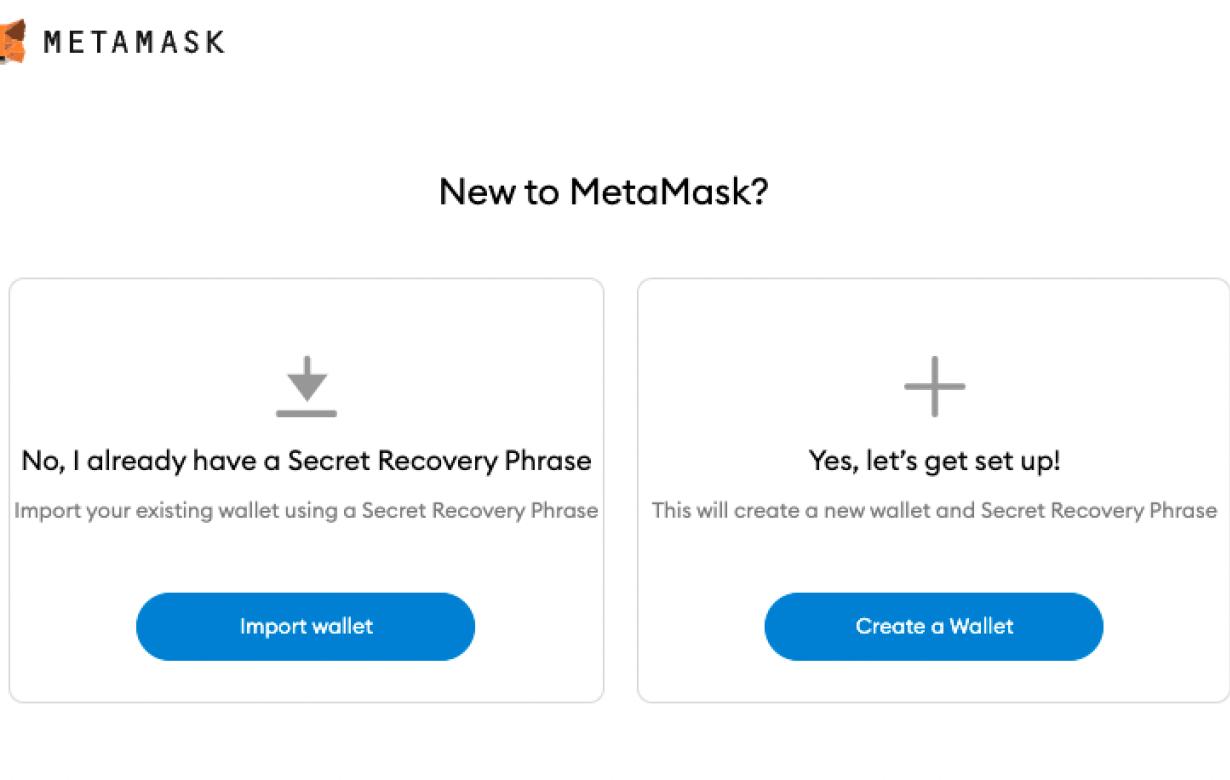
1. Install MetaMask if you haven't already.
2. Open MetaMask and create a new account.
3. Copy the address of your Binance.US account.
4. Open MetaMask and click on the three lines in the top right corner.
5. In the "Accounts" tab, click on the "Deposits" button.
6. Paste your Binance.US account address into the "Account" field and click on the "Next" button.
7. In the "Withdrawals" tab, paste your Binance.US account address into the "Address" field and click on the "Next" button.
8. Review the "Terms of Service" and click on the "I Accept" button.
9. Click on the "Sign Up" button to create a new account.
10. Enter your personal details and click on the "Create Account" button.
"How to Use Binance.US with MetaMask – The Ultimate Guide"
If you're using MetaMask, following these steps will help you set up Binance.US on your browser:
1. Click the three lines in the top right corner of the MetaMask window.
2. Select "Add an account."
3. Sign in with your credentials.
4. On the left side of the window, click on "Exchanges."
5. Under "Binance," click on the "+" sign next to it.
6. On the ensuing page, select "Use a New Account."
7. On the next page, enter your wallet address and click on "Next."
8. On the following page, confirm your account by clicking on "Finish."
9. If you're using a desktop computer, open MetaMask and click on the three lines in the top right corner of the window.
10. Select "Settings" and then "Exchanges."
11. Under "Binance," click on the "+" sign next to it.
12. On the ensuing page, select "Use a New Account."
13. On the next page, enter your wallet address and click on "Next."
14. On the following page, confirm your account by clicking on "Finish."
15. If you're using a mobile device, open MetaMask and tap on the three lines in the top right corner of the window.
16. Select "Settings" and then "Exchanges."
17. Under "Binance," tap on the "+" sign next to it.
18. On the ensuing page, select "Use a New Account."
19. On the next page, enter your wallet address and tap on "Next."
20. On the following page, confirm your account by tapping on "Finish."
"The Definitive Guide to Using Binance.US with MetaMask"
If you want to use Binance.US with MetaMask, first make sure you have both installed. MetaMask is a browser extension that allows you to securely store and use your cryptocurrencies, and Binance.US is a cryptocurrency exchange that allows you to purchase and sell cryptocurrencies.
Once you have both installed, follow these steps to use Binance.US with MetaMask:
1. Open MetaMask and click the three lines in the top right corner.
2. On the left, select "Add New Account."
3. Type in your name, email address, and password, and then click "Create Account."
4. On the right, select "Binance US," and then click "Continue."
5. On the next page, click "Register an E-Wallet."
6. Type in your Binance US account number and password, and then click "Register."
7. Click "Login."
8. On the next page, click "Register a Cryptocurrency Wallet."
9. Type in your Bitcoin address and password, and then click "Create New Wallet."
10. On the next page, click "Select a Cryptocurrency."
11. Select Bitcoin, and then click "Next."
12. On the next page, click "Deposit Bitcoin."
13. Type in the amount of Bitcoin you want to deposit, and then click "Next."
14. On the next page, click "Confirm Deposit."
15. Click "Done."
16. On the next page, click "Withdraw Bitcoin."
17. Type in the amount of Bitcoin you want to withdraw, and then click "Next."
18. On the next page, click "Confirm Withdrawal."
19. Click "Done."
20. On the next page, click "Close Window."
"Connecting Your MetaMask Wallet to Binance.US – A Step-by-Step Guide"
1. Open MetaMask and click on the three lines in the top right corner.
2. On the left side, click on "Connections."
3. In the "Binance Connection" section, click on the plus sign next to "Binance.US."
4. Enter your MetaMask wallet address and click on "Connect."
5. Your MetaMask wallet should now be connected to Binance.US.
"Using Binance.US with MetaMask – A Comprehensive How-To"
1. Open MetaMask and sign in.
2. Click on the three lines in the top left corner of the MetaMask window.
3. Select "Binance US."
4. Copy the Binance US public key.
5. Go to https://www.binance.com/ and open a new account.
6. Click on the three lines in the top left corner of the new account window.
7. Select "MetaMask."
8. Paste the Binance US public key into the "Your Address" field and click on the "Verify" button.
9. Click on the "Connected" button to finish setting up your MetaMask account.
10. Copy the "Access Key" and "Secret Key" from your MetaMask window and paste them into the "Account Info" field of your Binance US account.
11. Click on the "Register" button to finish setting up your Binance US account.
12. Click on the "Deposit" button to begin depositing funds into your Binance US account.
13. Click on the "Withdraw" button to begin withdrawing funds from your Binance US account.
"Everything You Need to Know About Using MetaMask with Binance.US"
MetaMask is a Chrome extension that allows you to deposit and withdraw cryptocurrencies like Bitcoin, Ethereum, and Litecoin using your regular browser.
To use MetaMask with Binance.US, first install the MetaMask extension. After you've installed the MetaMask extension, open it and click on the "Add Custom Token" button. In the "Token Name" field, type BinanceUS and in the "Description" field, type information about Binance US. Click on the "Add Custom Token" button to add Binance US to your MetaMask account.
After you've added Binance US to your MetaMask account, you'll need to add an account with Binance.US. To do this, open the Binance.US website and click on the "Sign Up" button. In the "Register An Account" form, enter your email address and password. After you've registered an account with Binance.US, click on the "Log In" button to log in to your account.
Now that you've logged in to your Binance.US account, click on the "Funds" button to view your account balance and transactions. To deposit cryptocurrencies into your Binance.US account, click on the "Deposits" button and select the cryptocurrency you want to deposit. To withdraw cryptocurrencies from your Binance.US account, click on the "Withdrawals" button and select the cryptocurrency you want to withdraw.
"Binance.US and MetaMask – The Perfect Combination for Crypto Trading"
If you're looking for an easy way to get started trading cryptocurrencies, Binance.US and MetaMask are a great combination. MetaMask is a browser extension that allows you to securely manage your cryptocurrencies and Binance.US is one of the most popular exchanges for trading cryptocurrencies.
Binance.US offers a variety of cryptocurrency trading options, including Binance Coin (BNB), Ethereum (ETH), Bitcoin Cash (BCH), and Tether (USDT). You can also use Binance.US to buy and sell cryptocurrencies using fiat currency, such as USD and EUR.
MetaMask is a secure browser extension that allows you to manage your cryptocurrencies, including Bitcoin (BTC), Ethereum (ETH), Litecoin (LTC), and Dogecoin (DOGE). You can also use MetaMask to buy and sell cryptocurrencies using fiat currency, such as USD and EUR.
The combination of Binance.US and MetaMask is perfect for beginner traders. You can easily buy and sell cryptocurrencies using Binance.US, and MetaMask allows you to securely manage your cryptocurrencies.