transfer bnb from binance to metamask
This article discusses how to transfer Binance Coin (BNB) from Binance to MetaMask. Binance is a cryptocurrency exchange that offers trading of many digital assets, including BNB. MetaMask is a popular Ethereum wallet that can be used to store a variety of cryptocurrencies.
How to transfer Binance Coin (BNB) to MetaMask
To transfer Binance Coin (BNB) to MetaMask:
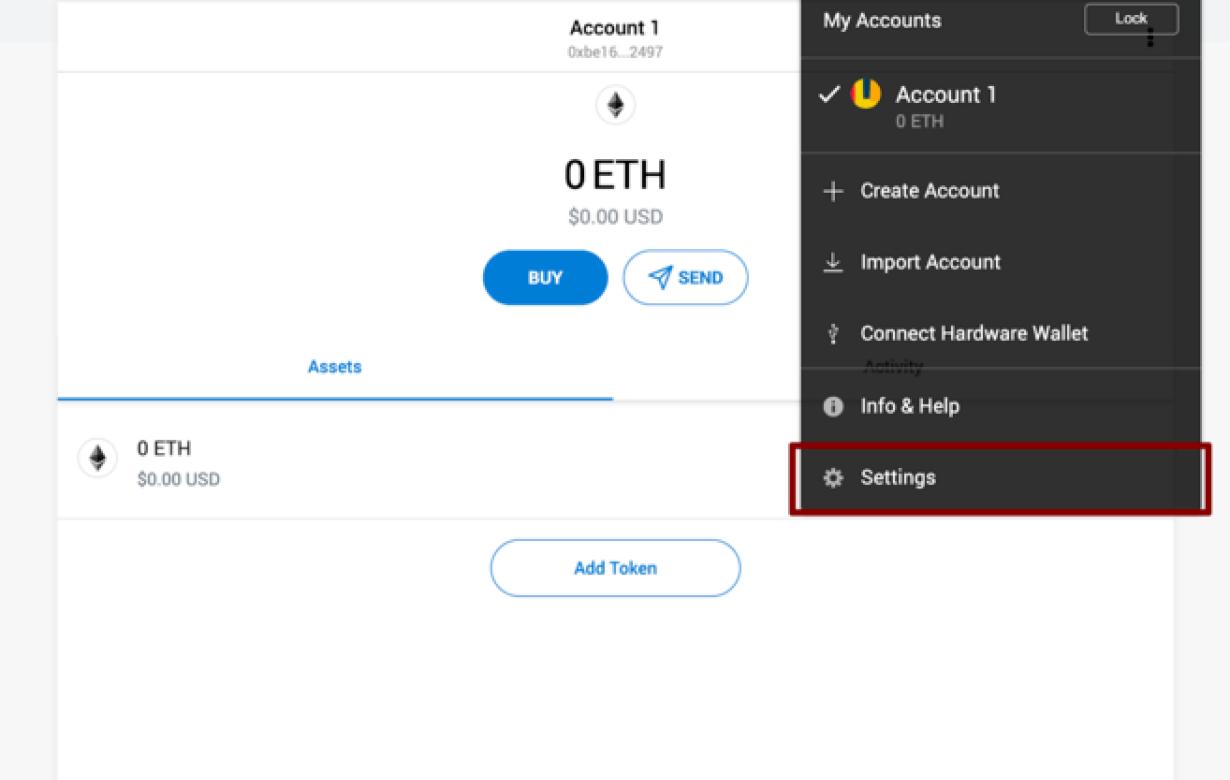
1. Open MetaMask and click the three lines in the top right corner.
2. Under "Addresses," paste in the address of your Binance Coin wallet.
3. Under "Token Balances," paste in the address of your MetaMask wallet.
4. Click "Transfer tokens."
5. Enter the amount of BNB you want to transfer, and click "Transfer."
The Step-By-Step Guide to Transferring Binance Coin (BNB) to MetaMask
If you are looking to move your Binance Coin (BNB) to MetaMask, there is a step-by-step guide that you can follow.
First, open MetaMask and create a new account. Next, click on the three lines in the top left corner of the application and select “Add Wallet.”
Now, click on the “BNB” button and select the Binance Coin wallet that you want to transfer your BNB to.
To finish the process, click on the “Metamask Swipe” button and confirm the transfer.
A Guide to Transferring Binance Coin (BNB) to MetaMask
If you want to move your Binance Coin (BNB) to MetaMask, the first thing you need to do is open MetaMask and create a new account.
Once you have an account, click on the 3 horizontal lines in the top left corner of the screen. This will bring up the Settings menu.
In the Settings menu, click on the Add Wallet button.
This will open the Add Wallet dialog. In the Add Wallet dialog, click on the Binance Coin (BNB) tab.
In the Binance Coin (BNB) tab, click on the Create New MetaMask Wallet button.
This will open the Create New MetaMask Wallet dialog. In the Create New MetaMask Wallet dialog, enter your MetaMask login information and click on the OK button.
Once you have created your new MetaMask wallet, you will need to copy your BNB address. To do this, click on the Copy Address button in the Binance Coin (BNB) tab of the Settings menu.
Next, you need to open MetaMask and connect to the blockchain. To do this, click on the Connect button in the Binance Coin (BNB) tab of the Settings menu.
Once you have connected to the blockchain, you will see your BNB address listed in the Transactions section of the MetaMask wallet. copy the BNB address and then paste it into the MetaMask wallet address field.
Finally, you need to send your BNB tokens from your MetaMask wallet to your Binance account. To do this,click on the Send button in the Binance Coin (BNB) tab of the Settings menu.
Enter your BNB address into the Binance account address field and click on the Send button.
How to Move Binance Coin (BNB) to Your MetaMask Wallet
1. Open MetaMask and click on the three lines in the top left corner.
2. In thedrop-down menu next to Binance Coin (BNB), select Copy Address.
3. Click on the three lines in the top right corner of the MetaMask window and paste the copied Binance Coin (BNB) address into the field.
4. Click on the blue Unlock Wallet button at the bottom of the MetaMask window.
5. Enter your password and click on the blue OK button.
6. Your Binance Coin (BNB) will be moved to your MetaMask wallet.
How to Use MetaMask & Binance Together: The Complete Guide
MetaMask is a popular online browser extension that allows users to securely access their crypto holdings. Binance is one of the most popular digital asset exchanges in the world, and it offers a wide range of features and services for users.
To use MetaMask and Binance together, first open MetaMask and click on the three lines in the top right corner. This will open the settings page for MetaMask. Under the "Binance" heading, select the "Connected Accounts" tab.
Next, copy the API key and secret key from the "Connected Accounts" tab of Binance and paste them into the "Metamask" fields on the settings page of MetaMask. Click "Save Changes."
Now, open Binance and click on the three lines in the top right corner. This will open the settings page for Binance. Under the "MetaMask" heading, select the "Connected Accounts" tab.
Next, paste the API key and secret key from the "Connected Accounts" tab of MetaMask into the "Metamask" fields on the settings page of Binance. Click "Save Changes."
Finally, click on the "Connect" button next to MetaMask in the "Metamask" section of Binance and then click on the "Connected" button next to Binance in the "MetaMask" section of MetaMask. You're now ready to trade cryptocurrencies on Binance!
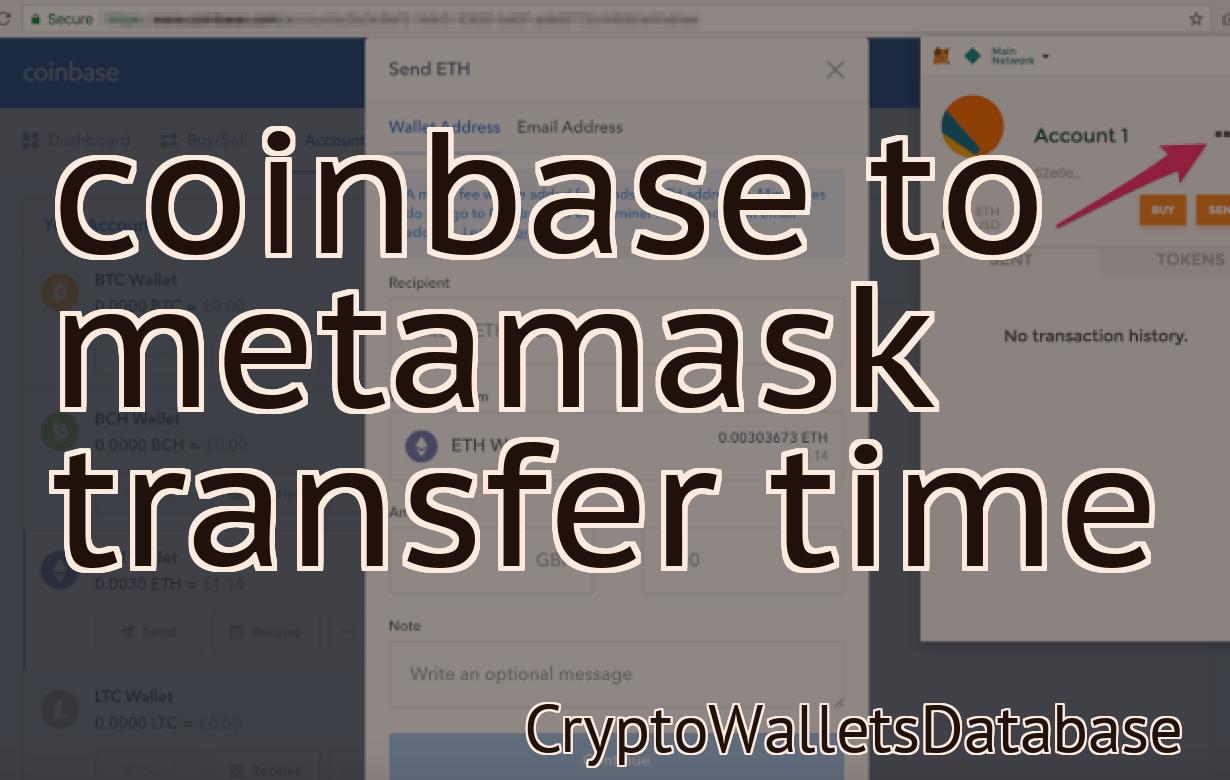
How to Send Binance Coin (BNB) from Coinbase to MetaMask
1. Go to Coinbase and sign in.
2. On the left side of the screen, click on Accounts and then on Wallet.
3. In the Wallet section, click on the Send tab.
4. On the Send tab, under Payment Method, select Binance Coin (BNB).
5. Under Amount, enter the amount of BNB that you want to send.
6. Under recipient, enter your MetaMask address.
7. Click on Send.
How to Withdraw Binance Coin (BNB) from Binance to MetaMask
1. Open the Binance website and click on the "Withdraw" button in the top left corner.
2. Enter your BNB address and press "Send".
3. You will be asked to confirm your withdrawal. Click on "Yes, Send".
4. Once the withdrawal has been processed, you will receive a notification in the form of a message on your desktop or mobile app.