How to add Wonderland time to Metamask?
Do you want to add a little more excitement to your life? Adding Wonderland time to Metamask is a great way to do that! After all, what’s more exciting than exploring a whole new world? With Metamask, adding Wonderland time is easy. Just follow these simple steps: 1. Download the Metamask extension for your browser. 2. Create an account and log in. 3. Select the “Add Token” option from the main menu. 4. Click the “Custom Token” tab. 5. Enter the following information into the fields provided: - Token Contract Address: 0x8DaeBade922dF735c38C80C7eBD708Af50815fAa6 - Token Symbol: WAND - Decimals of Precision: 18 6. Click the “Add Token” button. And that’s it! You’ve now added Wonderland time to your Metamask account. All that’s left to do is explore the magical world that awaits you.
How to add a touch of wonderland to your metamask
There are a few ways to add some wonderland magic to your Metamask experience:
-Install the Metamask Extension for Chrome. This will give you access to all of the features of Metamask, including the ability to create custom tokens.
-Download the Metamask Add-on for Firefox. This will give you access to all of the features of Metamask, including the ability to create custom tokens.
-Create a custom Metamask wallet using the Metamask Extension for Chrome or the Metamask Add-on for Firefox. This will give you access to all of the features of Metamask, including the ability to create custom tokens.
A guide to adding some extra magic to your metamask
Adding some extra magic to your metamask account can be done in a variety of ways. Below are a few tips to get you started.
1. Use a third-party plugin
There are a number of third-party plugins available that can add extra features and magic to your metamask account. Some of the most popular plugins include:
2. Use metamask extensions
Metamask extensions are applications that can be installed on your computer or mobile device and added to your metamask account. They allow you to do things like access your metamask account from different devices, add more security layers, and more.
3. Use metamask scripts
Metamask scripts are programs that allow you to automate tasks or actions in your metamask account. For example, you could use a script to automatically buy cryptocurrency when it reaches a certain price point, or to send money to someone else using your metamask account.
4. Use metamask wallets
Metamask wallets are special applications that allow you to hold and use cryptocurrencies inside of a secure environment. For example, you could use a metamask wallet to store your cryptocurrencies in a safe and secure location, or to easily manage your funds.
How to make your metamask experience more like wonderland
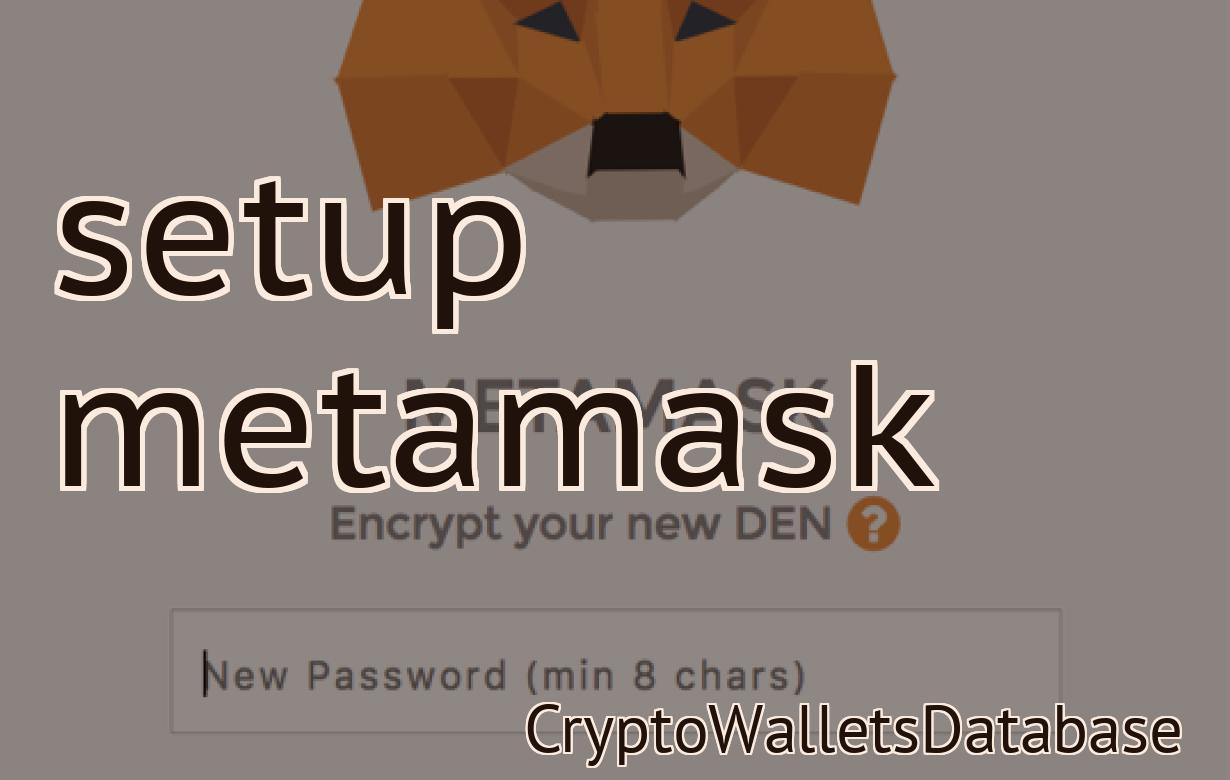
Install the Metamask extension. This will give you a pop-up that will ask you to input your password. Once you have inputted your password, click on the blue "Create a new metamask account" button. Fill in the following information:
Name: This can be anything you want, but it will be used to label your accounts within Metamask.
This can be anything you want, but it will be used to label your accounts within Metamask. Email: This is where you will receive notifications and updates from Metamask.
This is where you will receive notifications and updates from Metamask. Password: This is your password.
This is your password. Confirm Password: This is a security measure to make sure that you are actually the person who entered the password into Metamask.
Click on the blue "Create new metamask account" button. You will now be taken to the "Metamask Account Settings" page. On this page, you will need to add an account to Metamask. To do this, click on the blue "Add an account" button and enter the following information:
Name: This can be anything you want, but it will be used to label your accounts within Metamask.
This can be anything you want, but it will be used to label your accounts within Metamask. Email: This is where you will receive notifications and updates from Metamask.
This is where you will receive notifications and updates from Metamask. Password: This is your password.
This is your password. Confirm Password: This is a security measure to make sure that you are actually the person who entered the password into Metamask.
Once you have completed the above steps, click on the blue "Add an account" button and enter the following information:
Name: This can be anything you want, but it will be used to label your accounts within Metamask.
This can be anything you want, but it will be used to label your accounts within Metamask. Email: This is where you will receive notifications and updates from Metamask.
This is where you will receive notifications and updates from Metamask. Address: This is where you will send your Metamask tokens. If you do not have an address, Metamask will generate one for you.
This is where you will send your Metamask tokens. If you do not have an address, Metamask will generate one for you. Token Amount: This is the amount of tokens that you will be adding to your account.
This is the amount of tokens that you will be adding to your account. Token Type: This is the type of token that you will be adding to your account. There are three options available: ERC20, WAN and ETH.
This is the type of token that you will be adding to your account. There are three options available: ERC20, WAN and ETH. Click on the blue "Add an account" button and enter the following information:
Name: This can be anything you want, but it will be used to label your accounts within Metamask.
This can be anything you want, but it will be used to label your accounts within Metamask. Email: This is where you will receive notifications and updates from Metamask.
This is where you will receive notifications and updates from Metamask. Address: This is where you will send your Metamask tokens. If you do not have an address, Metamask will generate one for you.
This is where you will send your Metamask tokens. If you do not have an address, Metamask will generate one for you. Token Amount: This is the amount of tokens that you will be adding to your account.
This is the amount of tokens that you will be adding to your account. Token Type: This is the type of token that you will be adding to your account. There are three options available: ERC20, WAN and ETH.
Tips for making your metamask more like Alice's Wonderland
1. Use a colorful and whimsical design.
2. Use a font that is whimsical and Alice in Wonderland-inspired.
3. Use a light and airy color palette.
4. Use bright and cheerful icons.
5. Use a playful layout.
How to turn your metamask into a wonderland
1. Open your metamask and click on the "Settings" button in the top right corner.
2. On the "Settings" page, you'll see a list of options. Under "Configure," click on the "Advanced" tab.
3. On the "Advanced" tab, you'll see a list of settings. Under the "Configure Networks" heading, click on the "Add Network" button.
4. On the "Add Network" page, you'll see a list of networks. Under the "Configure Networks" heading, click on the "Metamask Network" button.
5. On the "Metamask Network" page, you'll see a list of addresses. Under the "Configure Networks" heading, click on the "Configure Address" button.
6. On the "Configure Address" page, you'll see a list of addresses. Under the "Configure Address" heading, click on the "New Address" button.
7. On the "New Address" page, you'll see a list of options. Under the "Description" heading, type in a description for your new address. Under the "Private Key" heading, click on the "Generate New Private Key" button.
8. On the "Generate New Private Key" page, you'll see a list of options. Under the "JSON File" heading, click on the "Generate New Private Key JSON File" button.
9. On the "Generate New Private Key JSON File" page, you'll see a list of options. Under the "Private Key Type" heading, click on the "PEM" button.
10. On the "PEM" page, you'll see a list of fields. Under the "Certificate fields" heading, click on the "Export Certificate" button.
11. On the "Export Certificate" page, you'll see a list of fields. Under the "Certificate fields" heading, click on the "Export Private Key" button.
12. On the "Export Private Key" page, you'll see a list of fields. Under the "Private Key Fields" heading, click on the "Copy To Clipboard" button.
13. Close your metamask window and open a new one. On the "Settings" page, under the "Configure Networks" heading, click on the "Remove Network" button.
14. Under the "Configure Networks" heading, click on the "Metamask Network" button again. Under the "Configure Address" heading, delete the address you copied to clipboard in step 12.
Making your metamask experience more like a dream
One way to make your metamask experience more like a dream is to use a sleeping mask. This will help you fall asleep easier and maintain a deeper level of sleep. Additionally, using a sleep mask will block out light and distractions, which will help you concentrate on your metamask experience.
Adding some extra enchantment to your metamask
If you'd like to add some extra enchantment to your metamask, you can use the following options.
- Add an enchantment to your metamask that will hide your identity while using it in public
- Add an enchantment that will make your metamask easier to use and faster to respond to commands
- Add an enchantment that will make your metamask more resistant to hacking and theft
How to make your metamask more like a fairy tale
There are a few ways to make your metamask more like a fairy tale. One way is to add a custom animation when you open it. Another way is to make your metamask look like a magical item. Finally, you can add fairy tale-themed stickers to make it look even more like a storybook.
Creating a magical metamask experience
To create a magical metamask experience, start by downloading the Metamask extension. Once you have the Metamask extension installed, open it and click on the "Create a new account" button. Enter your personal information and select a password. Next, click on the "Metamask" button in the top right corner and select the "Create a new token" option. In the "Token name" field, type "MetamaskToken". In the "Token description" field, type a brief description of your token. Click on the "Create token" button to create your Metamask token.
Now, open the Ethereum wallet that you used to create your Metamask account. In the "View transactions" section, you'll see a list of all the transactions that have been made using your Metamask token. To use your Metamask token, you first need to send it to a special address. To find this address, go to the "Send" section of your Ethereum wallet and type in "MetamaskToken". You'll see a list of addresses that are associated with your Metamask token. Copy the address that is shown in the "To" field and use it to send your Metamask token to another address.
Once you have sent your Metamask token to another address, you can use it to make transactions on the Ethereum network. To make a transaction, first find the address of the person or entity that you want to transact with. Then, enter the address that you copied from the "Send" section of your Ethereum wallet into the "To" field of the transaction form that you're using. Next, enter the amount of Ether that you want to send to the address that you entered in the "From" field. Finally, enter the amount of Ether that you want to receive back from the address that you entered in the "To" field. Click on the "Send" button to send the transaction.
How to add some extra wonderland to your metamask
1. First, open your metamask account and click on the "add token" button in the top right corner.
2. On the "add token" screen, you will need to input the following information:
a. The name of the token you wish to create
b. The symbol for the token
c. The total supply of the token
d. The type of token (Ethereum, Bitcoin, or Litecoin)
e. The address where you want the tokens to be sent
3. After you have input all of the necessary information, click on the "create token" button to create your token.
4. Next, you will need to find the "token contract" for your new token. To do this, open the metamask app and click on the " Contracts " tab at the top of the page.
5. In the "Contracts" tab, you will see a list of all of the contracts that are currently registered on metamask. Click on the "Token Contract" that corresponds to your new token to view its details.
6. Next, you will need to input the following information into the "Token Contract" details window:
a. The address of the contract where you want to receive your tokens
b. The address of the contract where you want to send your tokens
c. The amount of tokens that you want to transfer
d. The gas limit (in bytes) that you want to use when transferring tokens
e. The deadline (in seconds) for which you want to transfer your tokens
7. After you have input all of the necessary information, click on the "send tokens" button to send your tokens to the appropriate contract addresses.