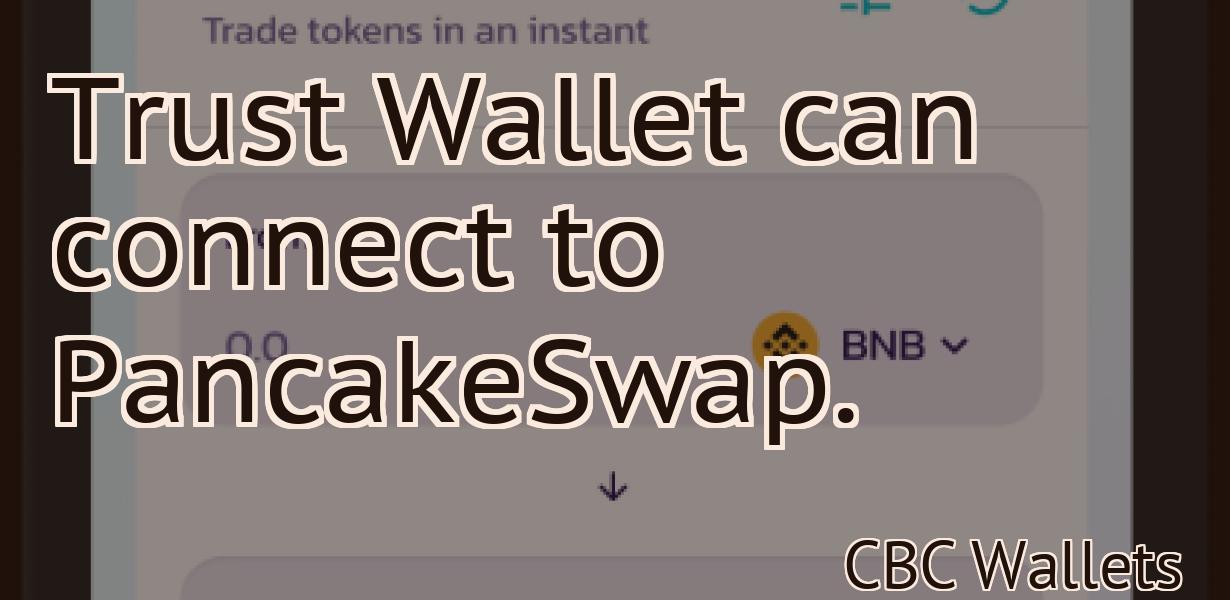
Setup Binance Smart Chain Metamask
This article walks through how to set up Binance Smart Chain Metamask. Binance Smart Chain is a blockchain that is interoperable with Ethereum. This means that you can use Ethereum tools and dapps on Binance Smart Chain. Metamask is a popular Ethereum wallet that can be used to store Binance Smart Chain tokens.
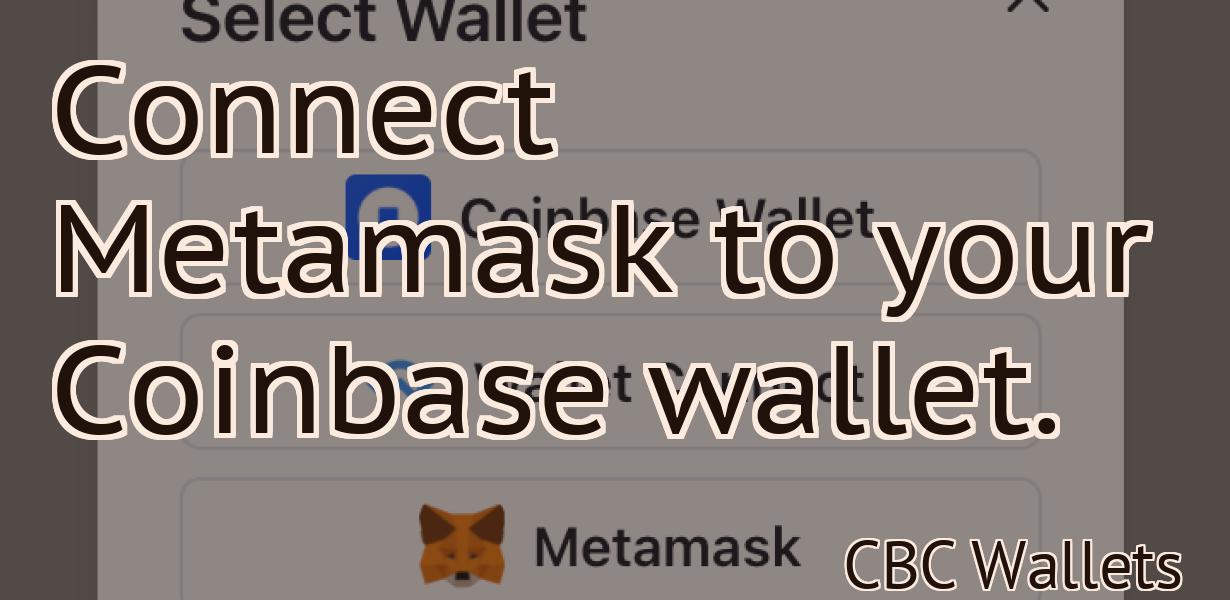
How to connect your Binance Smart Chain Wallet to MetaMask
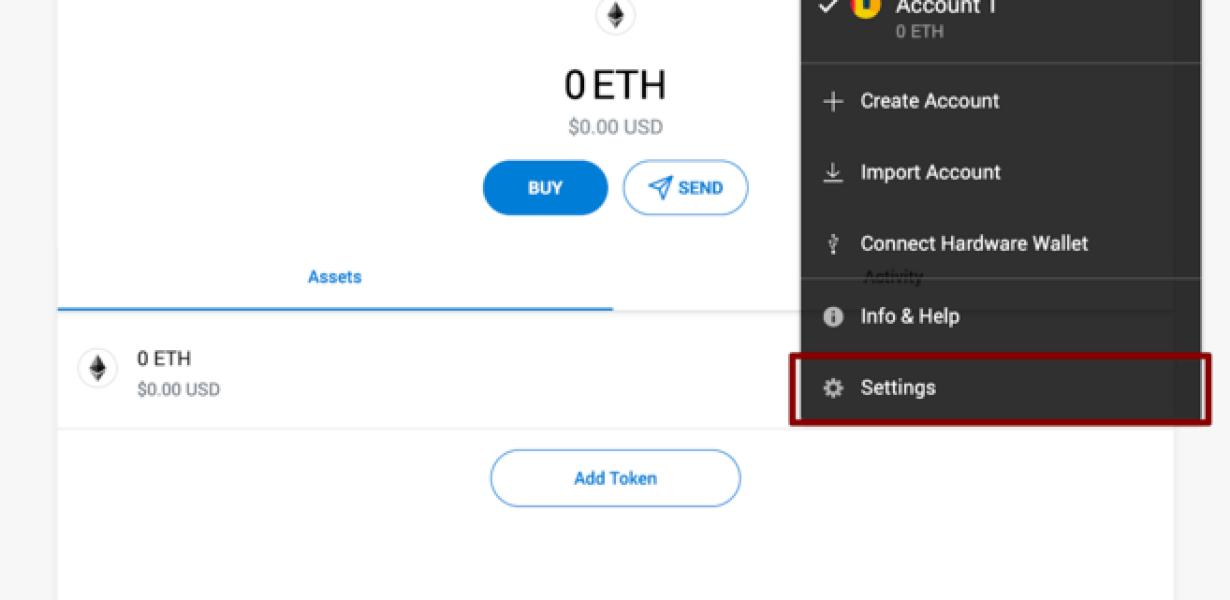
1. Open the MetaMask browser extension and click on the three lines in the top right corner to open the Settings panel.
2. Under the "Connections" section, click on the "Add a new connection" button.
3. In the "Hostname" field, type binance.com and in the "Port" field, type 8332.
4. Click on the "Connect" button to finish the process.
5. You now have a connection to your Binance Smart Chain Wallet!
How to set up Binance Smart Chain in MetaMask
1. Go to https://www.metamask.io/ and open the MetaMask extension.
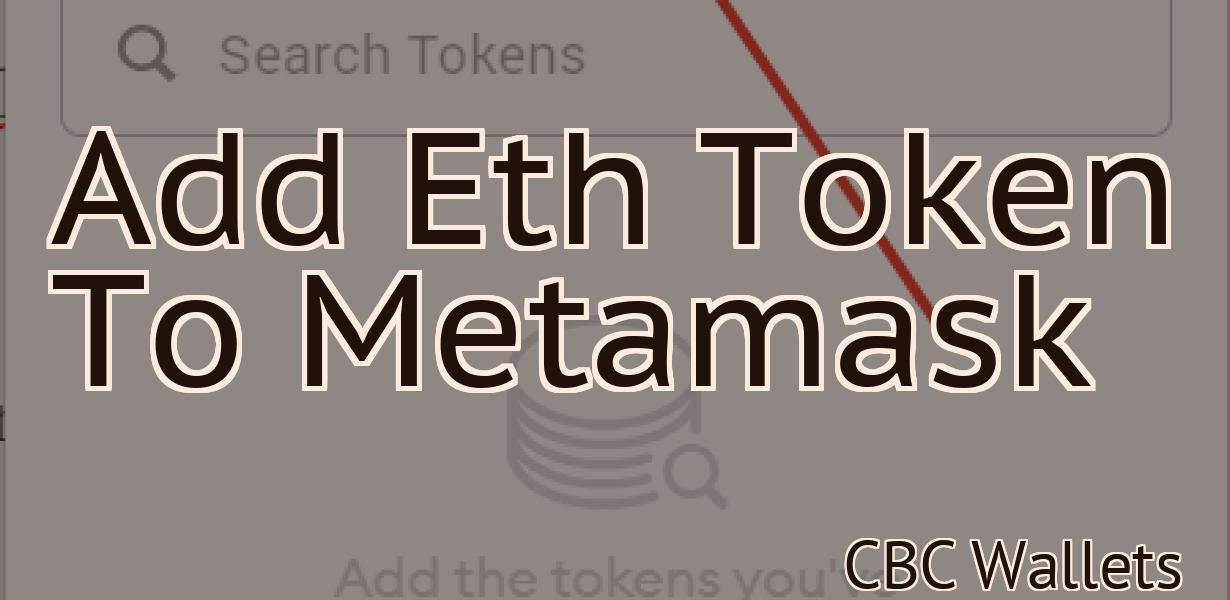
2. Click on the “Add New Token” button.
3. Select Binance Chain from the list of available chains.
4. Enter the token details:
Token name: Binance Chain
Token symbol: BNB
Token type: ERC20
5. Click on the “Create Contract” button.
6. MetaMask will ask you to confirm the transaction. Click on the “Confirm” button.
7. MetaMask will display your BNB contract address. Copy this address and store it in a safe place. You will need this address when setting up your Binance Smart Chain account.
8. Click on the “Close” button to finish setting up your Binance Smart Chain account.
A step-by-step guide to connecting Binance Smart Chain with MetaMask
1. Go to Binance and open a new account.
2. On the home page, click on the “Settings” link in the top-right corner.
3. In the “Settings” page, click on the “Connections” tab.
4. On the “Connections” tab, click on the “MetaMask” button.
5. On the “MetaMask” page, click on the “Add an Account” button.
6. In the “Add an Account” dialog box, enter your MetaMask address and password.
7. On the “Add an Account” dialog box, click on the “Create Account” button.
8. On the “Add an Account” dialog box, you will be asked to confirm your identity. Click on the “Confirm” button.
9. After confirming your identity, you will be redirected to the “MetaMask” page. Click on the “Close” button to return to the “Settings” page.
10. Click on the “Connections” tab again.
11. On the “Connections” tab, click on the “Binance” button.
12. On the “Binance” page, enter your Binance account password.
13. After entering your password, you will be redirected to the “Binance” page.
14. On the “Binance” page, click on the “Connect” button.
15. On the “Connect” dialog box, you will be asked to confirm your connection. Click on the “Connect” button.
16. After confirming your connection, you will be redirected to the “Smart Chain” page.
17. On the “Smart Chain” page, you will be asked to select a language. Click on the “Select Language” button to select a language.
18. On the “Smart Chain” page, you will be asked to create a new account or login to an existing account. Click on the “Login” button to login to an existing account.
19. After logging in, you will be redirected to the “Smart Chain” page.
20. On the “Smart Chain” page, you will be asked to select a project. Click on the “Select Project” button to select a project.
21. On the “Select Project” dialog box, you will be asked to select a language. Click on the “Select Language” button to select a language.
22. On the “Select Language” dialog box, you will be asked to create a new account or login to an existing account. Click on the “Login” button to login to an existing account.
23. After logging in, you will be redirected to the “Select Project” dialog box.
24. On the “Select Project” dialog box, you will be asked to select a language. Click on the “Select Language” button to select a language.
25. On the “Select Language” dialog box, you will be asked to create a new account or login to an existing account. Click on the “Login” button to login to an existing account.
26. After logging in, you will be redirected to the “Select Project” dialog box.
27. On the “Select Project” dialog box, you will be asked to select a language. Click on the “Select Language” button to select a language.
28. On the “Select Language” dialog box, you will be asked to create a new account or login to an existing account. Click on the “Login” button to login to an existing account.
29. After logging in, you will be redirected to the “Select Project” dialog box.
30. On the “Select Project” dialog box, you will be asked to select a language. Click on the “Select Language” button to select a language.
How to add Binance Smart Chain to your MetaMask wallet
1. In MetaMask, click on the three lines in the top left corner of the window.
2. Click on Add Wallet.
3. In the Add Wallet dialog box, click on Binance.
4. In the Binance dialog box, enter your Binance account name and password.
5. Click on Login.
6. In the Binance Smart Chain dialog box, select Enable.
7. Click on OK.
8. In the MetaMask wallet, confirm that the Binance Smart Chain is enabled.
How to use Binance Smart Chain with MetaMask
1. Open your MetaMask browser extension and log in.
2. Click on the Binance logo in the top left corner of the MetaMask window.
3. In the Binance Smart Chain section, click on the Addresses tab.
4. Copy the address of the Binance smart chain you want to use.
5. Click on the MetaMask button in the top right corner of the Binance Smart Chain section.
6. Paste the address you copied in the MetaMask window and click on the Connect button.
7. You are now ready to use the Binance smart chain with MetaMask.
Getting started with Binance Smart Chain and MetaMask
The first thing you need to do is install Binance Smart Chain and MetaMask.
To install Binance Smart Chain:
1. Go to https://www.binance.com/en/signup.html and create an account.
2. Click on the "Binance Smart Chain" link in the menu bar at the top of the page.
3. Click on the "Install Binance Smart Chain" button.
4. Click on the "Agree and Continue" button.
5. Click on the "Install" button.
6. Once the installation is complete, click on the "Launch Smart Chain" button.
7. Click on the "Configure" button.
8. Click on the "Configure Security" button.
9. Click on the "Configure Wallet" button.
10. Click on the "Register" button.
11. Type in your registered email address and password in the appropriate fields and click on the "Register" button.
12. Click on the "Log in" button.
13. Click on the "Settings" button.
14. Click on the "Login with MetaMask" button.
15. Click on the "Register Metamask Account" button.
16. Type in your registered email address and password in the appropriate fields and click on the "Register" button.
17. Click on the "Log in" button.
18. Click on the "Settings" button.
19. Click on the "Register a New Account" button.
20. Type in your registered email address and password in the appropriate fields and click on the "Register" button.
21. Click on the "Log in" button.
22. Click on the "Settings" button.
23. Under "Accounts," click on the "Register a New Account with MetaMask."
24. Type in your registered email address and password in the appropriate fields and click on the "Register" button.
25. Click on the "Log in" button.
26. Under "My Accounts," click on the "Accounts With MetaMask."
27. Double-click on the account that you registered with MetaMask in step 24 and click on the "Metamask Icon" to open the MetaMask window.
28. Under "Account Info," click on the "Ledger Nano S (Token)" tab and copy the address of the ledger nano s (token) wallet that you registered with MetaMask in step 24. You will need this address later when you configure Binance Smart Chain to send transactions to your ledger nano s (token) wallet.
A beginner's guide to setting up Binance Smart Chain in MetaMask
1. First, open MetaMask and click on the three lines in the top right corner.
2. Select "Add account."
3. Enter your Binance login information and click "Login."
4. Copy the "Binance Smart Chain" address and store it in a safe place. You will need it to set up the Binance Smart Chain in MetaMask.
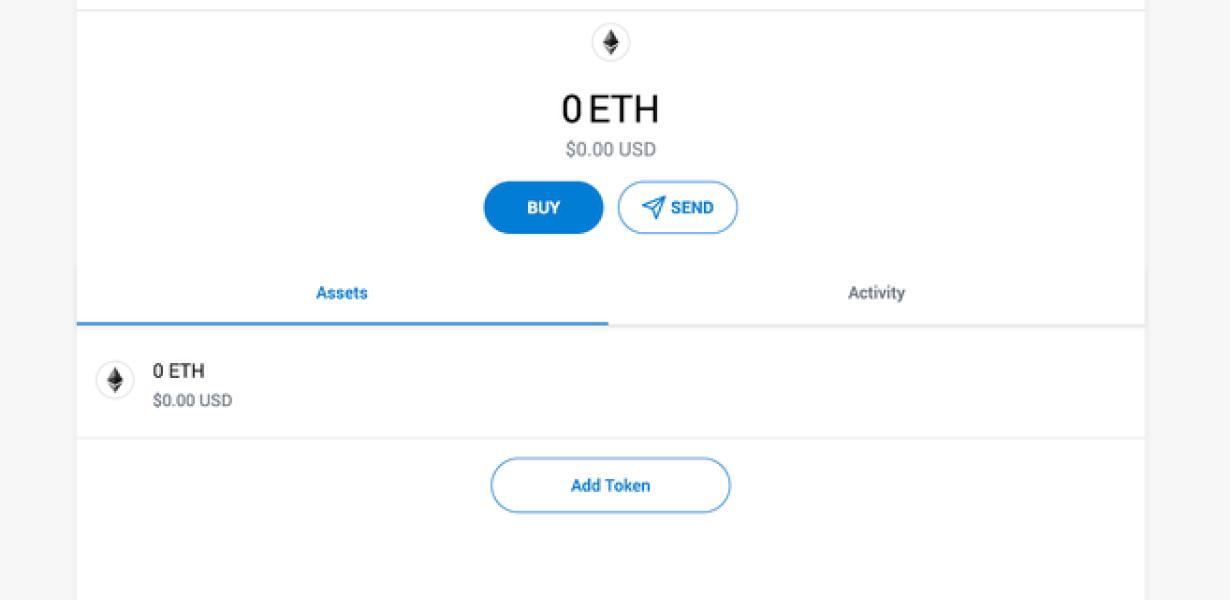
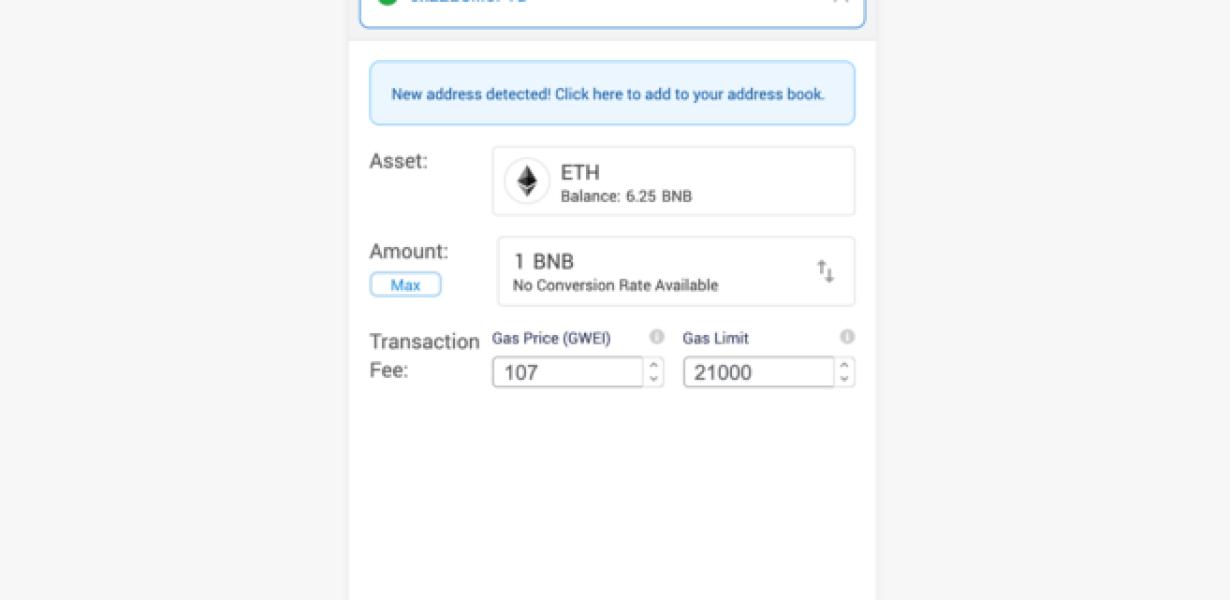
5. In MetaMask, click on the three lines in the top right corner and select "View Wallet Info."
6. Scroll down to "Token Balances" and find the Binance Smart Chain address. Click on it to open the transaction details.
7. In the "Amount" column, copy the "Token Symbol" and "Amount" values.
8. In the "Destination Address" column, copy the "Binance Smart Chain Address" and paste it into the "Address" field in MetaMask.
9. In the "Gas Price" column, paste the "Gas Price" value that Binance quoted you when you created your account.
10. Click "Send Transaction" to send your tokens to the Binance Smart Chain address.