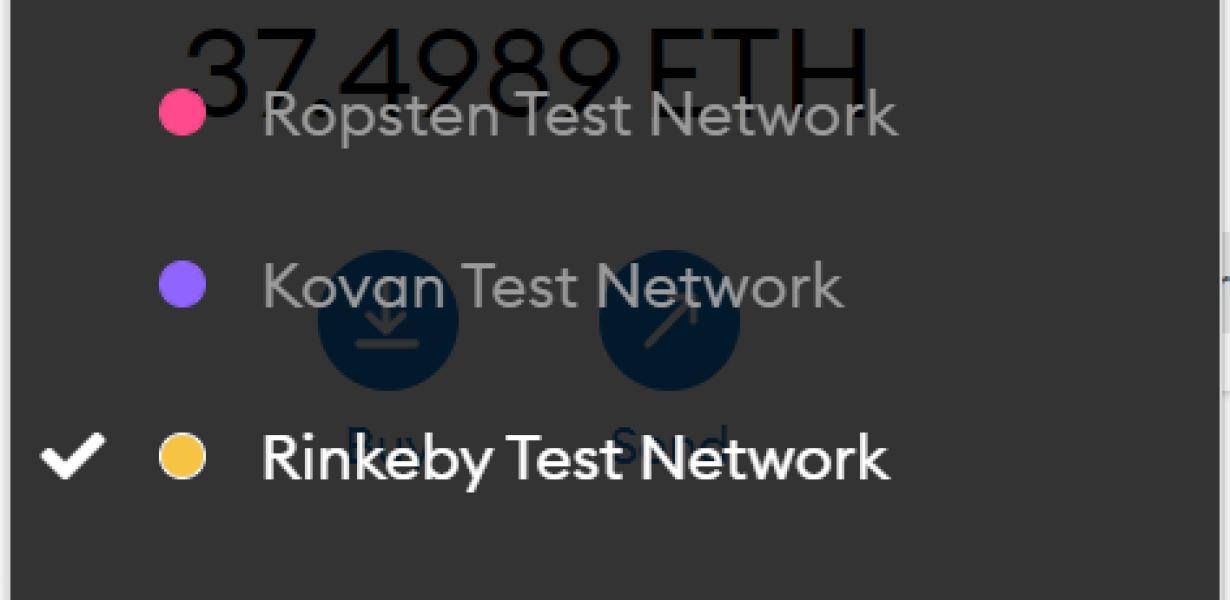
Rinkeby Test Network Metamask
The Rinkeby Test Network is a Ethereum test network that uses Proof of Authority (PoA) consensus. It is one of four Ethereum testnets, the others being Ropsten, Kovan and Görli. Rinkeby was the first testnet to be launched. Metamask is a browser extension that allows you to interact with Ethereum dapps and smart contracts without running a full Ethereum node.
How to Use Rinkeby Test Network with MetaMask
1. Open MetaMask and create a new account.
2. Deposit Ethereum (or any other supported cryptocurrency) into your MetaMask account.
3. Navigate to the Rinkeby Test Network://test page.
4. Click on the "Connect to a Test Network" button in the top-right corner of the page.
5. Type "rinkeby" into the "Network" text field and click on the "Connect" button.
6. MetaMask will prompt you to open a new tab in your browser and load the Rinkeby Test Network blockchain. Do so, and then close the original tab.
7. In the "Rinkeby Test Network" tab, you'll see a list of nodes. Select a node and click on the "Connect" button.
8. MetaMask will ask you to authorize the selected node to access your account. Type "yes" into the "Authorize" text field and click on the "Connect" button.
9. You'll now be connected to the selected node and can start trading on the Rinkeby Test Network!
Getting Started with Rinkeby Test Network & MetaMask
1. Install the Rinkeby Test Network & MetaMask Chrome Extension:
a. To install the Rinkeby Test Network & MetaMask Chrome Extension, go to https://test.rinkeby.io and click on the “Install” button.
b. After clicking on the “Install” button, a new page will open which will show you how to add the extension to your Chrome browser.
c. After adding the extension, you will be able to open the Rinkeby Test Network & MetaMask in your Chrome browser.
2. Get started with the Rinkeby Test Network:
a. To get started with the Rinkeby Test Network, first open the Rinkeby Test Network & MetaMask in your Chrome browser.
b. Then, click on the “Create New Account” button which will open a new page which will show you how to create a new account on the Rinkeby Test Network.
c. After creating a new account, you will be able to login to your account by entering your username and password.
d. After logging in, you will be able to explore the Rinkeby Test Network by clicking on the various tabs which are available on the main screen of the Rinkeby Test Network & MetaMask.
Using the Rinkeby Test Network for Ethereum Testing
If you want to try out Ethereum using the Rinkeby Test Network, you can follow these instructions.
How to Connect MetaMask to Rinkeby Test Network
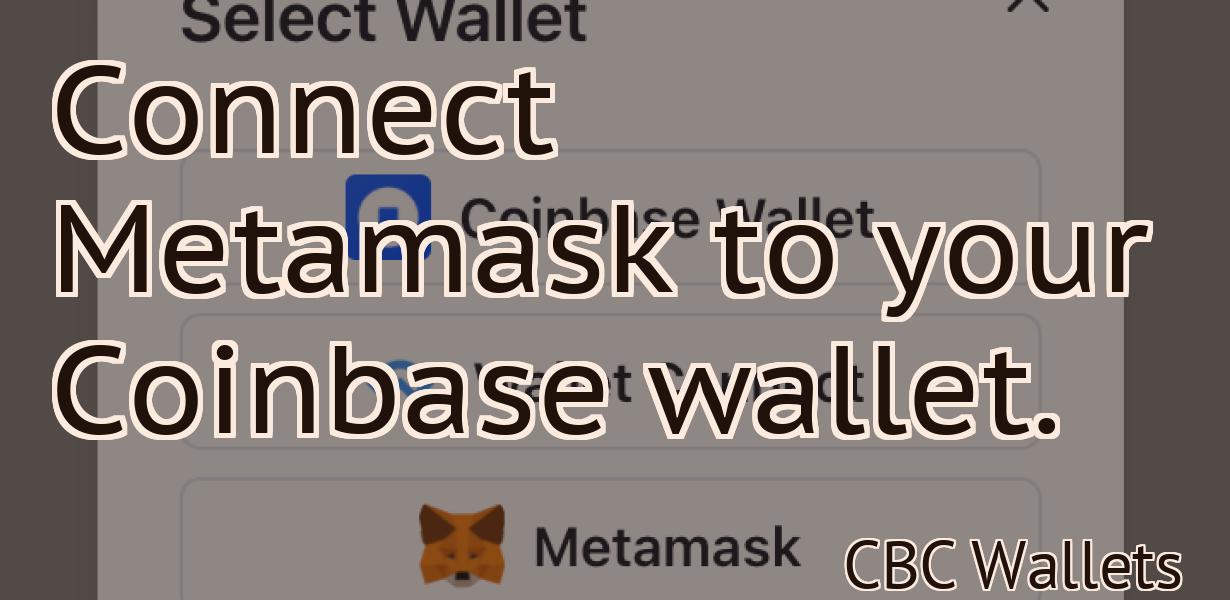
To connect MetaMask to the Rinkeby Test Network, first open MetaMask and click on the three lines in the top right corner.
Then, select the Copy Address button at the bottom of the window.
Next, open the Rinkeby Test Network by clicking on the Rinkeby logo in the top left corner of the MetaMask window.
Finally, paste the copied address into the Rinkeby Test Network window and hit the Connect button.
Accessing the Rinkeby Test Network Through MetaMask
If you are using MetaMask, you can access the Rinkeby Test Network through it.
To do this, open MetaMask and click on the three lines in the top left corner. This will open the Settings panel. Under the Networking section, click on the + button and select Rinkeby from the list of networks. Click on Connect to begin using the Rinkeby Test Network.
Interacting With the Rinkeby Test Network Using MetaMask
To interact with the Rinkeby Test Network using MetaMask, first install MetaMask. Once installed, open MetaMask and click on the three dots in the top left corner of the screen. This will open the Settings menu.
Under the “Web & App” section, click on the “Bitcoin” tab. Under the “Bitcoin Wallet” section, click on the “New Wallet” button. This will open the Bitcoin Wallet creation wizard.
Enter a name for your wallet and click on the “Create Wallet” button. This will open the MetaMask wallet creation dialog. Click on the “Import Wallet File” button and select the wallet file that you previously downloaded from the Rinkeby Test Network.
Click on the “Finish” button to finish the wallet creation process. Now, you will need to add a test network address to your MetaMask wallet. To do this, click on the “Addresses” button and enter the test network address that you want to use.
Now, you can start using the Rinkeby Test Network by visiting any of the websites or applications that are available on the network.
Using MetaMask to Connect to the Rinkeby Test Network
1. Open MetaMask and click the three lines in the top left corner to open the Settings menu.
2. In the Settings menu, click the Networks tab.
3. In the Networks tab, click the Add Network button.
4. In the Add Network window, enter rinkeby into the Name field and click the OK button.
5. Click the Connect button to connect to the Rinkeby Test Network.