How to use Metamask with a Ledger.
If you want to use Metamask with a Ledger, you'll need to follow these steps: 1. Connect your Ledger device to your computer. 2. Open the Metamask extension and unlock your wallet. 3. Click the "Connect Hardware Wallet" button. 4. Select "Ledger" from the list of options. 5. Follow the prompts on your Ledger device to allow Metamask to access your accounts. 6. That's it! You can now use Metamask with your Ledger device.
How to Use Metamask with Ledger Nano S
To use Metamask with your Ledger Nano S, you first need to install the Metamask extension.
Once the Metamask extension is installed, open it and click on the "Add New Account" button.
Enter the following details:
Account Name: Metamask
Metamask Email: your@email.com
Your password: xxx
Click on the "Connect" button.
Now you can start using Metamask to interact with the Ethereum network. To do this, first click on the "Ethereum" tab in Metamask and then click on the "Contracts" button.
In the "Contracts" tab, you will see a list of all the contracts that have been deployed on the Ethereum network.
To interact with a contract, first click on it and then click on the "Interact" button.
You will be asked to provide some information about the contract. For example, you will need to provide the address of your Ethereum wallet that holds the tokens associated with the contract.
You can also use Metamask to interact with decentralized applications (dApps). To do this, first click on the "Dapps" tab in Metamask and then click on the "EthApps" button.
In the "EthApps" tab, you will see a list of all the dApps that have been deployed on the Ethereum network.
To interact with a dApp, first click on it and then click on the "Interact" button.
You will be asked to provide some information about the dApp. For example, you will need to provide the address of your Ethereum wallet that holds the tokens associated with the dApp.
How to Use Metamask with Ledger Nano X
To use Metamask with your Ledger Nano X, first install the Metamask Chrome Extension.
Once the Metamask extension is installed, open it and click on the blue button that says "Connect to a network."
In the next window, enter your Metamask account credentials and click on the blue button that says "Connect."
You will then be connected to the Metamask network.
Next, open the Ledger Nano X application and click on the three dots in the top right corner.
In the new window that opens, click on the "Settings" tab.
Under "Configure Ledger Nano X," click on the "Maintenance" tab.
Under "Network," click on the "Add an external network" button.
In the "Add an external network" window, enter the address of your Metamask account and click on the blue button that says "Connect."
Your Nano X will then connect to the Metamask network and you will be able to use it to interact with the Metamask ecosystem.
How to install and set up Metamask
1. First, download Metamask from the Chrome Web Store.
2. Next, open Chrome and click the three lines in the top right corner of the browser window.
3. Click on “Settings” in the drop-down menu.
4. In the Settings page, click on the “Advanced” button.
5. In the Advanced settings page, click on the “Load startup scripts” button.
6. In the Load startup scripts page, click on the “Add” button.
7. In the Add script page, find and click on the Metamask icon.
8. Click on the “Load” button to load the Metamask script.
9. Click on the “Activate” button to activate Metamask.
How to create a new account in Metamask
If you don't have Metamask installed, you can download it from https://metamask.io/.
To create a new account in Metamask, visit https://metamask.io/ and click on the "Create a New Account" button.
On the next page, enter your name, email address, and password. You will then be asked to provide a security question and answer. Make sure that you remember your password!
Once you have completed the registration process, you will be able to access your Metamask account at https://metamask.io/.
How to add an existing ERC20 token in Metamask
1. In Metamask, click on the "settings" button in the top-right corner.
2. In the settings page, click on the "Add token" button.
3. In the "Add token" dialog, enter the following information:
Name: Name of the ERC20 token you want to add
Symbol: The symbol of the ERC20 token you want to add
Decimals: The number of decimals of the ERC20 token you want to add
4. Click on the "add" button.
5. You will now see your newly added token in the "Token holdings" section of your Metamask wallet.

How to send Ether using Metamask
To send Ether using Metamask, first open the Metamask app and click on the "Add Account" button. Next, input your Metamask user name and password, and click on the "Login" button. Once you've logged in, click on the "Contracts" button and select the "Send Ether to..." option. In the "To Address" field, input the address of the recipient you want to send Ether to. In the "Amount" field, input the amount of Ether you want to send. Finally, in the "Gas Limit" field, input the gas limit that you want to use when sending the Ether. Click on the "Send Transaction" button to finalize the transaction.
How to receive Ether using Metamask
1. Open Metamask and click on the "Add Account" button.
2. Enter the desired Ethereum address and click on "Next."
3. Click on the "Metamask Account" tab and select the "Receive Ether" option.
4. Copy the Ethereum address that Metamask has provided and click on the "Send Ether" button.
5. In the "Gas Price" field, enter the amount of ETH that you want to send and click on the "Send" button.
6. Metamask will then ask you to confirm the transaction. Click on the "Yes, send eth" button to proceed with the transaction.
How to buy ETH directly from Metamask
To buy ETH directly from Metamask, open the Metamask app and click on the ETH icon in the top right corner. On the ETH page, click on the Buy ETH button. Enter the amount of ETH you want to buy and click on the Buy ETH button. Your ETH will be transferred to your Metamask account.
How to use Metamask dApp browser
To use Metamask, first download and install the Metamask dApp browser.
Once you have installed the Metamask dApp browser, you can open it by clicking on the icon in your applications menu.
Once the Metamask dApp browser is open, you will need to click on the “New” button to create a new account.
Once you have created your new account, you will need to click on the “Addresses” button to add an address to your account.
Next, you will need to click on the “Token” button to add a token to your account.
Finally, you will need to click on the “Apps” button to add an app to your account.
Once you have added an app and a token to your account, you can start using the Metamask dApp browser to access various dApps.
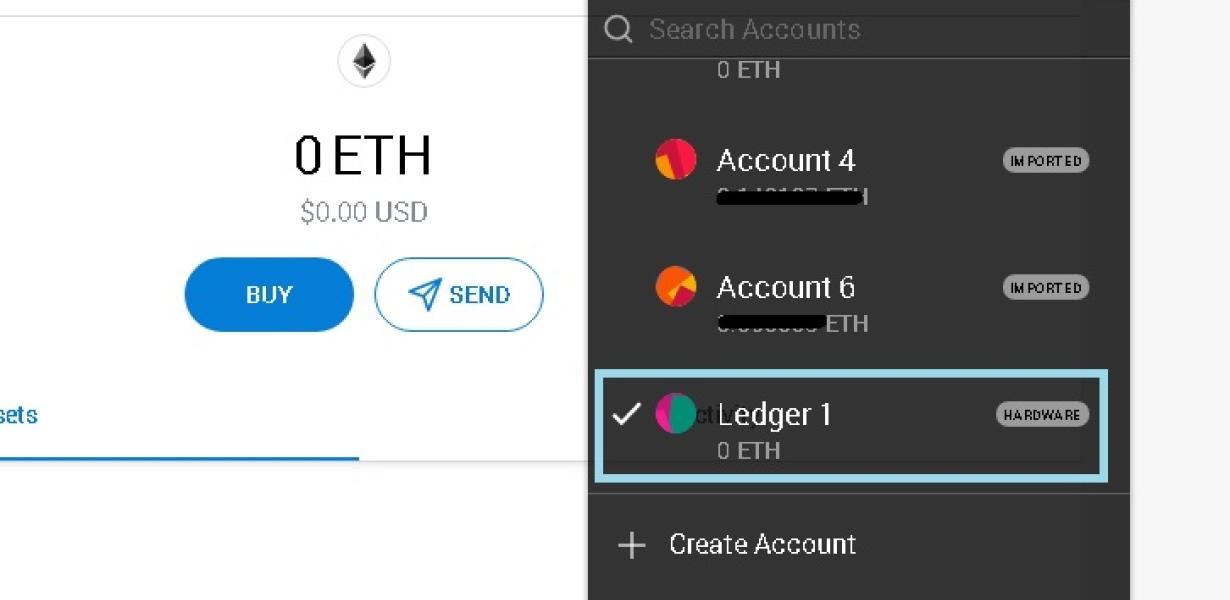
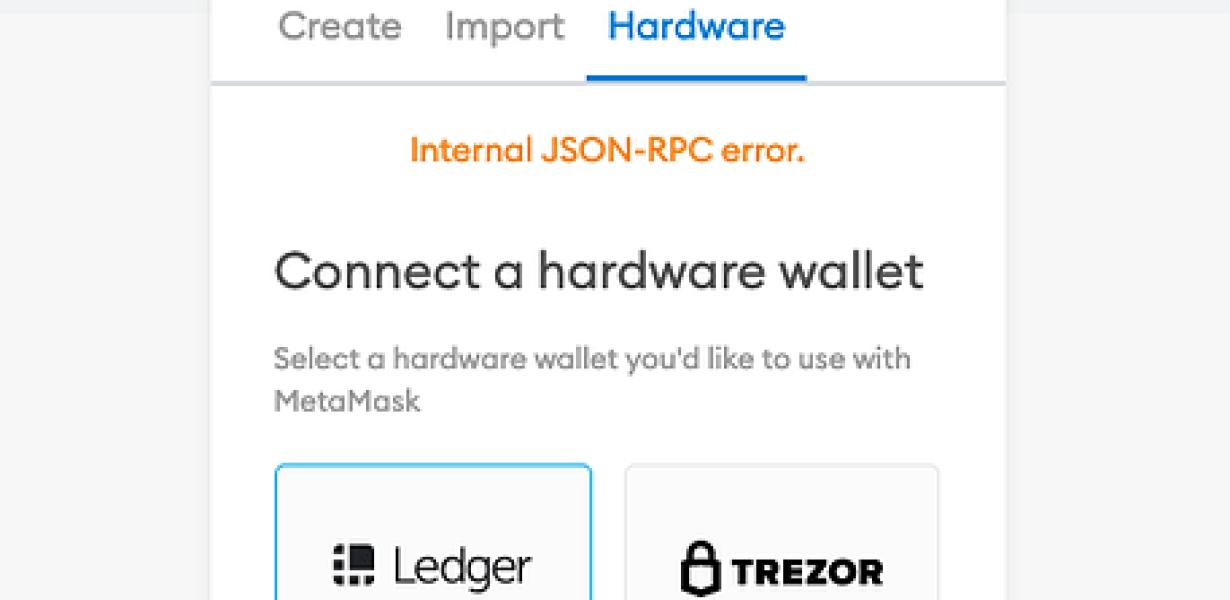
How to connect Metamask to a hardware wallet
There are a few ways to connect Metamask to a hardware wallet. One way is to use the Metamask Chrome extension. Another way is to use the Metamask Firefox extension.
Ledger Live: How to use Ethereum accounts
Step 1: Go to the Ethereum website and create an account.
Step 2: Click on "Accounts" in the top menu and select "Create New Account."
Step 3: Enter your personal information and create a password.
Step 4: Click on "Create Account" to finish creating your account.
Step 5: Select the "Ethereum" account type and click on "Next."
Step 6: You will be asked to choose a name for your account. You can choose any name you want.
Step 7: Click on "Next."
Step 8: You will be asked to provide your email address.
Step 9: Click on "Next."
Step 10: You will be asked to provide your contact information. This includes your phone number and email address.
Step 11: Click on "Next."
Step 12: You will be asked to upload a photograph of yourself.
Step 13: Click on "Upload Photo" to upload your photograph.
Step 14: Click on "Next."
Step 15: You will be asked to specify the currency you want to use for your account. You can choose either Ethereum or US dollars.
Step 16: Click on "Next."
Step 17: You will be asked to specify your location. You can choose any location in the world.
Step 18: Click on "Next."
Step 19: You will be asked to confirm your account details. Click on "Confirm Account."
Step 20: Your account is now ready to be used.