Metamask Custom Rpc
If you're looking to add a custom RPC to your Metamask wallet, this guide will show you how. You'll need to add a few lines of code to your metamask-config.js file, and then restart your wallet. Once you've done that, you'll be able to connect to your custom RPC and start using it.
Metamask Custom RPC: How to Create a Local Ethereum Test Network
Metamask Custom RPC allows you to create and manage your own local Ethereum test network.
To create a local Ethereum test network using Metamask Custom RPC:
1. Open the Metamask Custom RPC application (by clicking on the Metamask logo in the top left corner of your Ethereum client, selecting the "Custom RPC" tab, and clicking on the "Create Network" button).
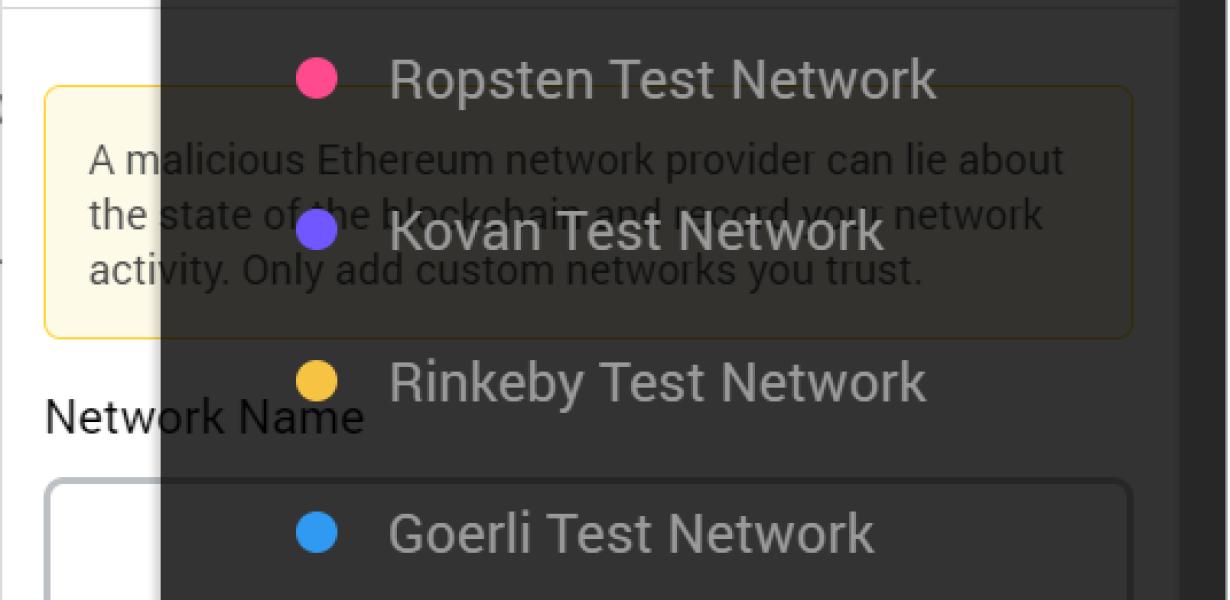
2. In the "Network Name" input field, type a name for your local Ethereum test network.
3. In the "Public Address" input field, type the public address of the node you want to use for your network.
4. In the "Private Address" input field, type the private address of the node you want to use for your network.
5. In the "Port" input field, type the port number of the node you want to use for your network.
6. Click on the "Create Network" button to create your local Ethereum test network.
Metamask Custom RPC: A Step-by-Step Guide
Metamask Custom RPC is a way to create a custom Ethereum client that communicates with remote nodes. This guide will walk you through the process of creating a Metamask Custom RPC client.
1. Create an Ethereum Client
To create a Metamask Custom RPC client, you will first need an Ethereum client. There are many different Ethereum clients available, and each one has its own set of features and capabilities. Some popular Ethereum clients include Mist (Windows, Mac, and Linux), Geth (Windows, Mac, and Linux), and Parity (Windows and Mac).
2. Enable Metamask Custom RPC
Once you have your Ethereum client installed, you will need to enable Metamask Custom RPC. To do this, open the Ethereum client settings and navigate to the "RPC" tab. Under "Metamask RPC," you will need to check the box next to "Enable Metamask Custom RPC."
3. Add a Remote Node
Now that Metamask Custom RPC is enabled, you will need to add a remote node. To do this, open the Ethereum client and navigate to the "Nodes" tab. Under "Remote Nodes," you will need to add a new remote node.
4. Enter the Node URL
Next, you will need to enter the node URL. The node URL is the address of the remote node that you want to connect to. For example, if your remote node is located at https://node-1.eth.coinbase.com, your node URL would be https://node-1.eth.coinbase.com/.
5. Enter your Metamask Password
Next, you will need to enter your Metamask password. Your Metamask password is the password that you use to log into your Metamask account.
6. Connect to the Remote Node
Once you have entered the node URL and entered your Metamask password, you can connect to the remote node. To do this, open the Ethereum client and click on the "Connect" button next to the remote node that you have added.
7. Send Transactions to the Remote Node
Now that you have connected to the remote node, you can send transactions to it. To do this, open the Ethereum client and click on the "Transactions" button next to the transaction that you want to send to the remote node. Then, select the "Send Transaction" button.
8. View Transaction Details
Once you have sent the transaction to the remote node, you can view the details of the transaction. To do this, open the Ethereum client and click on the "Transaction" button next to the transaction that you want to view details about. Then, select the "Show Details" button.

Metamask Custom RPC: The Benefits of a Local Ethereum Test Network
The benefits of using a local Ethereum test network are numerous. Firstly, it can help developers to quickly and cheaply test their applications on a small scale before deploying them to the public Ethereum network. Secondly, it can provide valuable feedback to developers about their applications’ performance and reliability on the Ethereum network. Finally, it can give developers a better understanding of the various intricacies of the Ethereum network, which can help them make better decisions about how to deploy their applications.
Metamask Custom RPC: How to Connect to a Local Ethereum Test Network
Note: This documentation is for Metamask version 3.
To connect to a local Ethereum test network using Metamask, follow these steps:
1. Click on the three lines in the top left corner of the Metamask main screen.
2. Under "Custom RPC," click on the plus sign next to "Local Ethereum Test Network."
3. In the "RPC endpoint" field, enter the address of a node on the local Ethereum test network.
4. In the "Token fetching mode" field, choose "Request tokens on demand."
5. Click on the "Create" button to connect to the node.
6. Metamask will then display the address of the node and the amount of ether it has available.
Metamask Custom RPC: Tips for Using a Local Ethereum Test Network
This post is meant for people who want to use a local Ethereum test network, but don’t know how. It covers some tips for using Metamask to interact with the test network.
1. Set up a Metamask account
First, you’ll need to set up a Metamask account. Metamask is a tool that lets you access the Ethereum test network. You can find more information about Metamask on their website.
2. Connect to the test network
To connect to the test network, go to the Metamask website and select the “Connect to Test Network” button. This will open a new tab in your browser.
3. Enter your address and password
In the “Connect to Test Network” tab, you’ll need to enter your address and password. Your address is the address that you used to create your Metamask account. Your password is the password that you entered when you created your Metamask account.
4. Select the Ethereum network
Once you’ve entered your address and password, you’ll be prompted to select the Ethereum network. You can select the “Ethereum MainNet” network or the “Ethereum TestNet” network.
5. Enter your gas limit
Next, you’ll need to enter your gas limit. The gas limit is a limit on how much Ethereum you can spend on transactions on the test network. The higher your gas limit, the faster your transactions will be processed.
6. Click “Connect”
Once you’ve entered your gas limit and selected the Ethereum network, you’ll need to click “Connect”. This will connect you to the test network.
Metamask Custom RPC: Troubleshooting a Local Ethereum Test Network
If you are having trouble with your local Ethereum test network, try the following steps.
1. Make sure you have Metamask installed and open.
2. In Metamask, click on the three lines in the top left corner of the main window.
3. Under "Extensions," click on the "Metamask" extension.
4. In the "Metamask" extension window, click on the "RPC" tab.
5. Under "RPC Settings," make sure the "Enable Custom RPC" checkbox is selected.
6. In the "Add Custom RPC" dialog box, type the following address into the "URI" field:
https://
7. In the "Method" field, select "GetToken."
8. In the "Query Parameters" field, enter the following parameters:
accountId:
tokenId:
Metamask Custom RPC: FAQs
What are the general requirements for using Metamask Custom RPC?
Metamask Custom RPC requires a Metamask wallet and an account on the Ethereum network. You will also need to have the MetaMask extension installed. Finally, you need to set up a custom RPC connection.
How do I set up a custom RPC connection?
To set up a custom RPC connection, first open the MetaMask extension. Then, click on the three lines in the top left corner of the extension window. This will open the Settings panel. In the Settings panel, click on the cog icon next to your Ethereum address. This will open the Ethereum address settings panel. In the Ethereum address settings panel, click on the Connections tab. This will open the Connections panel. In the Connections panel, click on the New Connection button. This will open the New Connection dialog. In the New Connection dialog, type metamask-custom-rpc in the Name field. This will create a new custom RPC connection. In the Protocol field, type http://localhost:8545 in the Protocol field. This will set the protocol to HTTP. In the Port field, type 8545 in the Port field. This will set the port to 8545. In the User Name and Password fields, type metamask in the User Name field and your Metamask wallet password in the Password field. Click on the OK button. This will close the New Connection dialog and set up your custom RPC connection.
How do I use my custom RPC connection?
To use your custom RPC connection, first open the MetaMask extension. Then, click on the three lines in the top left corner of the extension window. This will open the Settings panel. In the Settings panel, click on the cog icon next to your Ethereum address. This will open the Ethereum address settings panel. In the Ethereum address settings panel, click on the Connections tab. This will open the Connections panel. In the Connections panel, click on the My Connections tab. This will open the My Connections panel. In the My Connections panel, click on the metamask-custom-rpc connection icon. This will open the metamask-custom-rpc connection dialog. In the metamask-custom-rpc connection dialog, type http://localhost:8545 in the Address field. This will set the address to http://localhost:8545. In the Gas Limit field, type 10 in the Gas Limit field. This will set the gas limit to 10. In the Data field, type 0xdeadbeef in the Data field. This will set the data to 0xdeadbeef. In the Send Ether To field, type 0x5ca9f668 in the Send Ether To field. This will set the send ether to 0x5ca9f668. Click on the OK button. This will close the metamask-custom-rpc connection dialog and send ether to your custom RPC connection.