Eth Address Metamask
The article "Eth Address Metamask" explains how to use the Metamask extension for Google Chrome to generate an Ethereum address.
How to set up a MetaMask account with an ETH address
First, create an Ethereum account by visiting https://www.ethereum.org/. In the top right corner of the page, click on the “Create New Account” button.
In the “New Account” form, input your personal information (name, email address, and password). Click on the “Create Account” button to finish setting up your account.
Now that you have an Ethereum account, you will need to generate a MetaMask wallet. To do this, open MetaMask and click on the “New Wallet” button.
Enter your name, password, and email address in the appropriate fields. Click on the “Create Wallet” button to finish setting up your MetaMask wallet.
Finally, you will need to input your Ethereum address into MetaMask. To do this, open MetaMask and click on the “Addresses” button.
Select the “ETH” tab and enter your Ethereum address into the “Address” field. Click on the “Save Address” button to finish setting up your MetaMask account.
How to use MetaMask to securely send and receive ETH
and ERC20 tokens
1. Install MetaMask
To use MetaMask, you'll first need to install it. You can do this by clicking the link below and following the instructions.
2. Connect to MetaMask
Once you've installed MetaMask, you'll need to connect to it. To do this, open the MetaMask app and click the Connect button.
3. Create an account
Next, you'll need to create an account. To do this, click the Create New Account button and follow the instructions.
4. Add a wallet address
Once you've created an account, you'll need to add a wallet address. To do this, click the Ethereum Address field and type in the address of your Ethereum wallet.
5. Set a security password
Next, you'll need to set a security password. To do this, click the Password field and type in a strong password.
6. Add tokens to your account
Now that you've logged in, you'll need to add your ETH and ERC20 tokens to your account. To do this, click the Add Custom Token button and select the token you want to add.
7. Send tokens to another MetaMask user
Now that you've added your tokens, you'll need to send them to another MetaMask user. To do this, click the Send ETH or ERC20 Tokens button and enter the recipient's address.
8. Receive tokens from another MetaMask user
Now that you've sent tokens to a user, you'll need to receive them back. To do this, click the Receive ETH or ERC20 Tokens button and enter the user's address.
How to store your ETH safely with MetaMask
MetaMask is a browser extension that allows you to store your ETH safely.
How to add an ETH address to your MetaMask account
1. In MetaMask, click on the three lines in the top right corner.
2. Click on Add Account.
3. Enter your ETH address.
4. Click on Next.
5. Verify your ETH address.
6. Click on Finish.
How to create a MetaMask account with an ETH address
1. Visit https://metamask.io and create a new account.
2. Click on "My Account" in the top right corner.
3. In the "Account Info" section, copy the "Eth Address" field and paste it in the "Send ETH to Address" field on MetaMask.
4. Click on the "Create Mask" button.
5. Paste the "Eth Address" from Step 3 into the "Mask Address" field.
6. Click on the "Create Mask" button.
How to use an ETH address with MetaMask
1. Open MetaMask and click on the ETH address you want to use.
2. Copy the ETH address and store it in a safe place.
3. Click on the "Add a custom token" button and paste the ETH address into the appropriate field.
4. Click on the "Create Token" button.
5. You will be asked to provide some information about the token, such as its name, symbol, and total supply.
6. You will also be required to set a price for the token and specify how many tokens will be created.
7. Finally, you will need to confirm your details by clicking on the "Create Token" button.
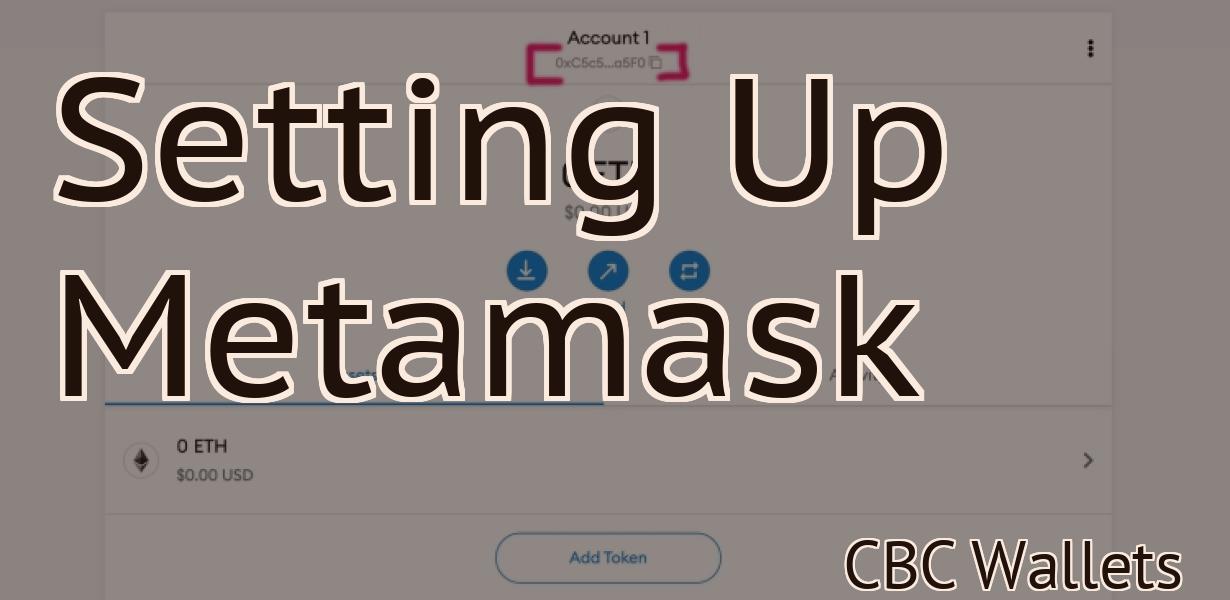
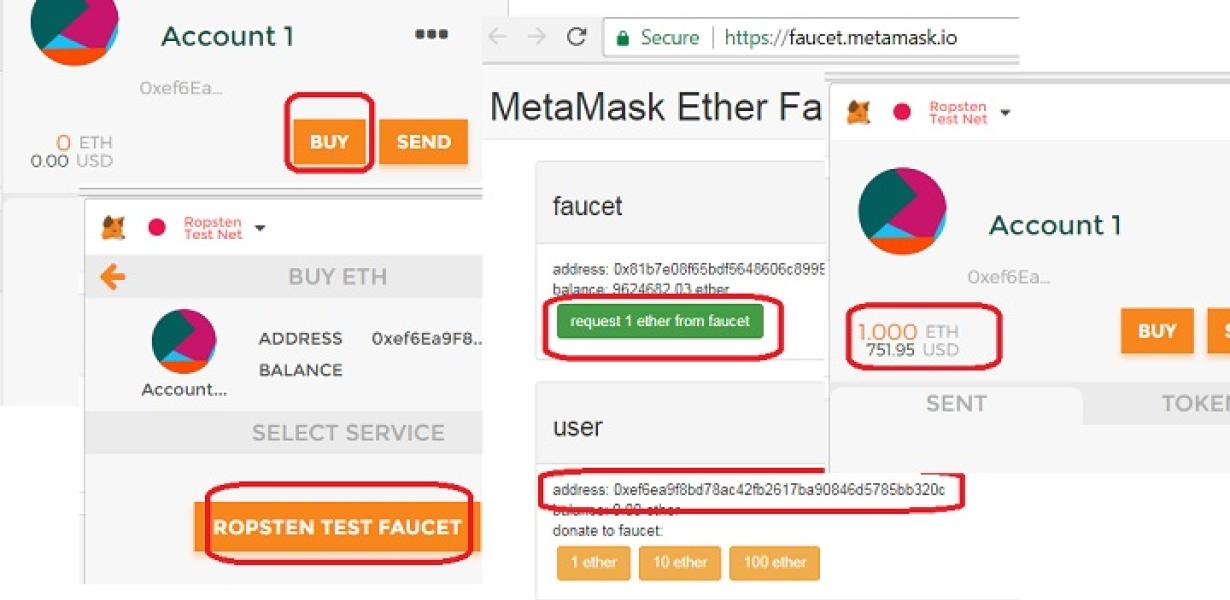
How to find your ETH address in MetaMask
To find your ETH address in MetaMask, open the MetaMask app and click on the three lines in the top right corner. On the menu that appears, select "View Wallet Info." In the "Address" field, copy the address.
How to get started with MetaMask and ETH
1. Install MetaMask on your browser.
2. Click the "Create New Ethereum Wallet" button on the MetaMask home page.
3. MetaMask will prompt you to choose a name for your new wallet, and a password. Keep these safe!
4. Click the "Create New Wallet" button to create your Ethereum wallet.
5. MetaMask will show you your new wallet's address. Make a note of this address, as you'll need it later.
6. Click the "Eth Gas Spending" button in the upper-right corner of the MetaMask home page.
7. In the "Eth Gas Spending" window, click the "Add Custom ETH Gas Limit" button.
8. In the "Add Custom ETH Gas Limit" window, enter the amount of ETH you want to spend each day. This is how much Ethereum you'll need to have in your wallet to use the MetaMask service.
9. Click the "Save" button to save your new gas limit.
10. Click the "Activate" button to activate your new gas limit.