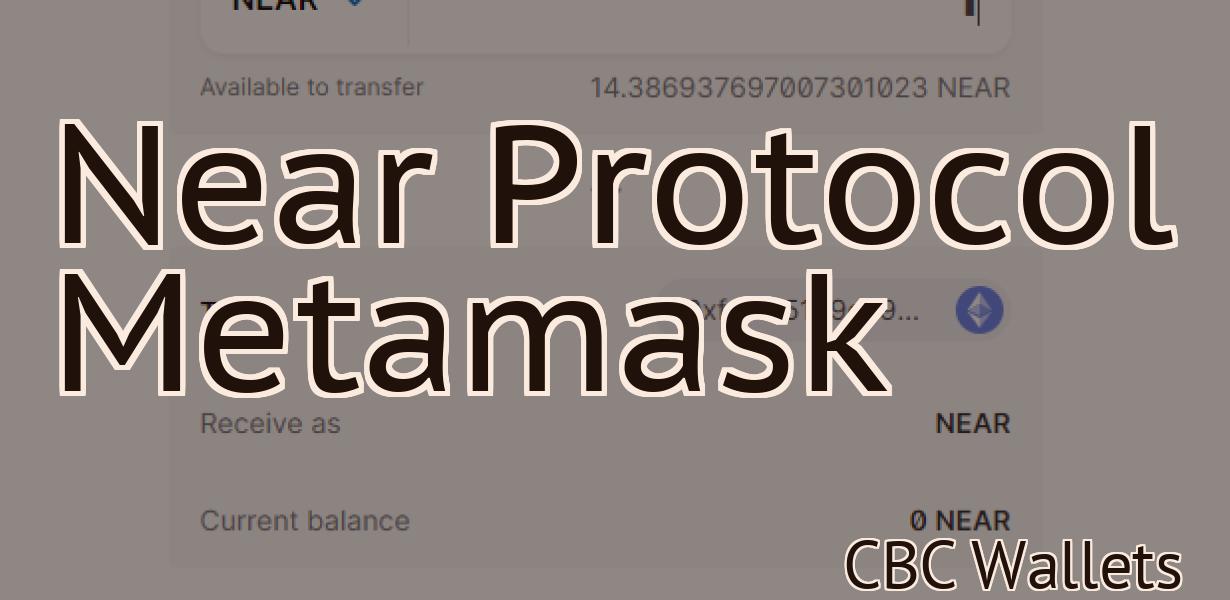
Setting Up Metamask
If you're looking to get started with MetaMask, this article will show you how to set it up. MetaMask is a cryptocurrency wallet that allows you to store and manage your private keys. It also allows you to send and receive payments in Ethereum. In order to set up MetaMask, you'll need to create an account on the MetaMask website. Once you've done that, you can download the MetaMask extension for your browser. After you've installed the extension, you'll be able to create a new wallet. When you create a new wallet, you'll be given a seed phrase. This seed phrase is important, as it can be used to restore your wallet if you lose access to it. After you've created your wallet, you can add some Ether to it by purchasing it from an exchange. Once you've got some Ether in your MetaMask wallet, you can start using it to send and receive payments.
How to set up Metamask for easy Ethereum and token storage
First, you will need to create a Metamask account. To do this, open the Metamask website and click on the button that says “Create New Account.”
Next, you will need to input your personal information. This includes your name, email address, and password. Make sure to keep your password safe!
Once you have filled out the necessary information, click on thebutton to continue.
Now, you will need to choose a secure password. You will also need to verify your identity. To do this, Metamask will ask you to upload a government-issued photo ID or sign a security affidavit.
Once you have completed the verification process, you will be ready to set up your Ethereum wallet! To do this, click on thebutton in the top right corner of the Metamask screen.
This will open the Ethereum wallet page. Here, you will need to input your personal information. This includes your name, email address, and password. Make sure to keep your password safe!
After you have input your information, click on thebutton to create your wallet. You will now be able to store your Ethereum and tokens in this wallet!
The beginner's guide to setting up Metamask
If you don't have Metamask yet, you can download it from the Metamask website.
1. Open Metamask and click on the "New Account" button.
2. Type in a name for your new account and click on the "Create Account" button.
3. Select the "Metamask" account type and click on the "Create Account" button.
4. Click on the "Download" button to download the Metamask extension.
5. Click on the "Extension" button in the lower right corner of the Metamask window.
6. Click on the "Metamask" tab and select the "Settings" button.
7.Click on the "Add Account" button and select the "Metamask" account from the list.
8. Enter the required details for your new Metamask account and click on the "Save" button.
9. Click on the "Activate" button to activate your new Metamask account.
Setting up Metamask: A step-by-step guide
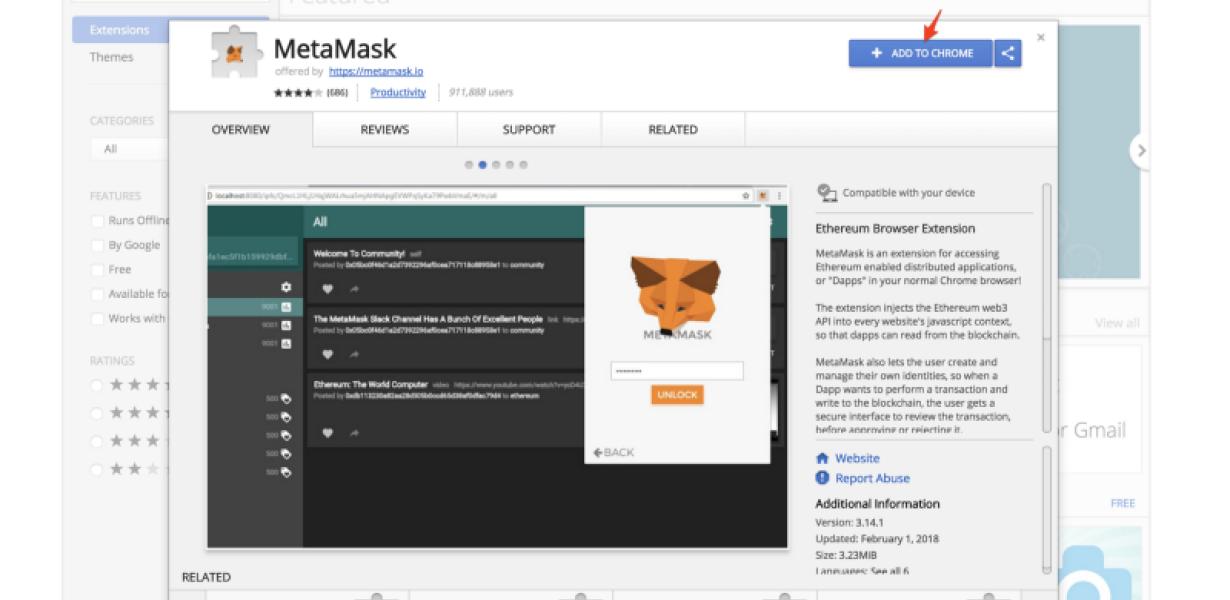
1. First, download the Metamask browser extension from the Chrome Web Store or Mozilla Add-ons.
2. Once you have installed the Metamask extension, you will need to create a Metamask account. You can do this by clicking on the Metamask icon in the toolbar and entering your email address and password.
3. Next, you will need to install the Ethereum Wallet on your computer. You can find the Ethereum Wallet on the Chrome Web Store or on the Mozilla Add-ons.
4. Once you have installed the Ethereum Wallet, you will need to open it and click on the “Add Account” button.
5. Next, you will need to enter your Metamask account address and password.
6. Finally, you will need to select the Ethereum network you want to use. You can use the default network or you can select a different network.
How to use Metamask: The complete guide
Metamask is a Chrome extension that allows users to interact with decentralized applications (dApps) on the Ethereum network. It provides a user interface for accessing dApps, as well as account management and security features.
To get started with Metamask, first install the extension from the Chrome Web Store. Once the extension is installed, open it and click the “Add new account” button. This will open the account creation window.
First, enter a name for your account and password. Next, select a cryptocurrency to use for your account. You can either use ETH or ERC-20 tokens. Finally, click the “Create account” button to finish creating your account.
Once your account is created, you can start using Metamask to access dApps. To start, click the “Ethereum” button in the toolbar and select the dApp you want to use. For example, if you want to use the dApp ERC-20 Token Scanner, click the “ERC-20 Token Scanner” button.
Once you’ve selected the dApp, you will be prompted to authorize Metamask to access your account. Click the “Authorize” button to complete the authorization process.
Now, all of your transactions will be recorded and sent to the Ethereum network. To view your transactions, click the “Transaction history” button and then select the transaction you want to view.
You can also use Metamask to manage your accounts and assets. To do this, click the “Accounts” button and then select the account you want to manage. You can view your account balance, recent transactions, and more.
Finally, you can use Metamask to secure your accounts and protect your privacy. To do this, click the “Security” button and select the security features you want to use. For example, you can choose to encrypt your passwords or add a two-factor authentication option.
Getting started with Metamask: A simple guide
If you're new to Metamask, our guide will walk you through the basics of setting up your wallet and how to use Metamask.
First, you'll need to create a new Metamask wallet. To do this, open the Metamask app and click on the New Wallet button.
Next, enter a name for your wallet and choose a password. You'll also need to select a location for your wallet to be stored.
Now, you'll need to add some Ethereum (ETH) to your wallet. To do this, click on the Ethereum button in the Metamask app and enter the amount of ETH you want to add.
Once you've added the ETH to your wallet, you'll need to generate a private key. To do this, click on the Generate Key button in the Metamask app. This will take a few minutes to complete.
Once your private key has been generated, you'll need to save it to a secure location. You can do this by clicking on the Save Key button in the Metamask app.
Finally, you'll need to enable MetaMask on your browser. To do this, open your browser and click on the MetaMask logo in the top right corner. This will open the MetaMask settings page.
Click on the Enable button next to the browser where you want to use MetaMask. Once MetaMask has been enabled, you'll need to authorize Metamask to access your wallet. To do this, click on the Login with Metamask button and enter your credentials.
Now, you're ready to start using Metamask!
How to set up Metamask for Ethereum and ERC20 tokens
1. Install Metamask.
2. Open Metamask and click on the "Create New Wallet" button.
3. On the "Create New Wallet" page, click on the "Import Keystore File" button and select the file you downloaded from Step 1.
4. Click on the "Start Cryptocurrency Wallet" button to start the Metamask Ethereum wallet.
5. On the "Metamask Wallet" page, click on the "Add Custom Token" button.
6. On the "Add Custom Token" page, enter the following information:
- Name: ERC20 Token
- Symbol: (optional)
- Decimals: 18
- Contract Address: (optional)
- Team: (optional)
7. Click on the "Save" button to save the information.
8. Click on the "Close" button to close the Metamask Ethereum wallet.
A beginner's guide to setting up a Metamask wallet
To set up a Metamask wallet, you will first need to install the Metamask browser extension. This can be done by clicking the link below and downloading the extension.
Once the Metamask wallet has been installed, you will need to create a new account. To do this, click on the Metamask logo in the top left-hand corner of the browser, and then click on the “Create New Account” button.
Next, you will need to provide your personal information, including your name, email address, and password. After providing this information, you will be prompted to confirm your account.
Once your account has been created, you will need to add some tokens. To do this, click on the “Token List” button in the top left-hand corner of the Metamask window, and then select the tokens you want to add to your wallet.
After you have added your tokens, you will need to send some Ethereum (ETH) to your Metamask wallet. To do this, click on the “Ethereum Wallet” button in the top left-hand corner of the Metamask window, and then input the Ethereum address that you want to send the Ethereum to.
After inputting your Ethereum address, you will need to confirm the transaction by clicking on the “Confirm Transaction” button.
Finally, you will need to create a password for your Metamask wallet. To do this, click on the “Password” button in the top left-hand corner of the Metamask window, and then enter a password that you will remember.
Once your Metamask wallet has been set up, you can start using it to store your tokens.
How to create a Metamask account and start using it
To create a Metamask account, follow these steps:
1. Go to metamask.io and click on the “Create New Account” button.
2. Fill in your basic information, including your email address and password.
3.Click on the “Login” button to log in to your new Metamask account.
4. On the left-hand side of the page, you will see a list of all the cryptocurrencies you can use with Metamask. Click on the “Add New Cryptocurrency” button to add a new cryptocurrency.
5. On the next page, you will be asked to input the details of your new cryptocurrency. In the “Symbol” field, input the symbol for your new cryptocurrency. In the “Decimals” field, input the number of decimal places your new cryptocurrency will have. In the “Launch Date” field, input the launch date for your new cryptocurrency. In the “Website” field, input the website for your new cryptocurrency. In the “Whitepaper” field, input the whitepaper for your new cryptocurrency. In the “Token Distribution Date” field, input the token distribution date for your new cryptocurrency. In the “Bounty Program” field, input the bounty program for your new cryptocurrency. In the “Ethereum Address” field, input the Ethereum address for your new cryptocurrency. In the “ERC20 Token Address” field, input the ERC20 token address for your new cryptocurrency. In the “Github Address” field, input the Github address for your new cryptocurrency.
6.Click on the “Create New Cryptocurrency” button to create your new cryptocurrency.
7.On the next page, you will be asked to input the details of your new cryptocurrency. In the “Symbol” field, input the symbol for your new cryptocurrency. In the “Decimals” field, input the number of decimal places your new cryptocurrency will have. In the “Launch Date” field, input the launch date for your new cryptocurrency. In the “Website” field, input the website for your new cryptocurrency. In the “Whitepaper” field, input the whitepaper for your new cryptocurrency. In the “Token Distribution Date” field, input the token distribution date for your new cryptocurrency. In the “Bounty Program” field, input the bounty program for your new cryptocurrency. In the “Ethereum Address” field, input the Ethereum address for your new cryptocurrency. In the “ERC20 Token Address” field, input the ERC20 token address for your new cryptocurrency. In the “Github Address” field, input the Github address for your new cryptocurrency.
8.Click on the “Save Changes” button to save your changes to your new cryptocurrency.
9.Click on the “Log Out” button to log out of your Metamask account.