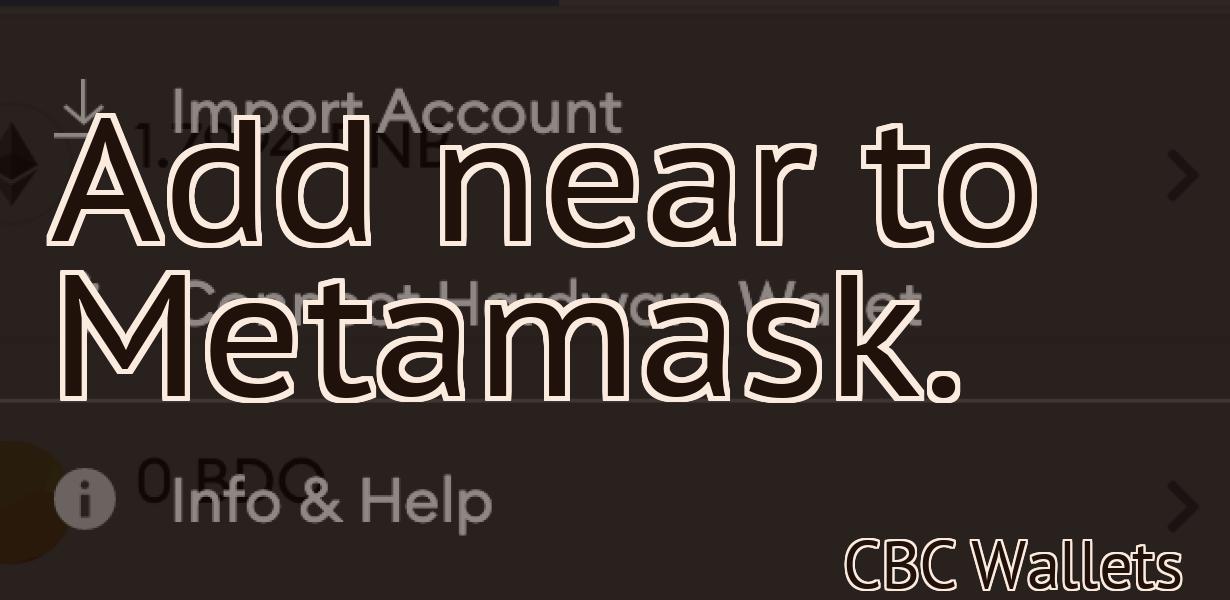
Add Ledger To Metamask
Adding a Ledger to Metamask is a simple process that allows you to use your Ledger hardware wallet with the Metamask extension. This guide will show you how to add a Ledger to Metamask, so you can keep your cryptocurrency safe and secure.
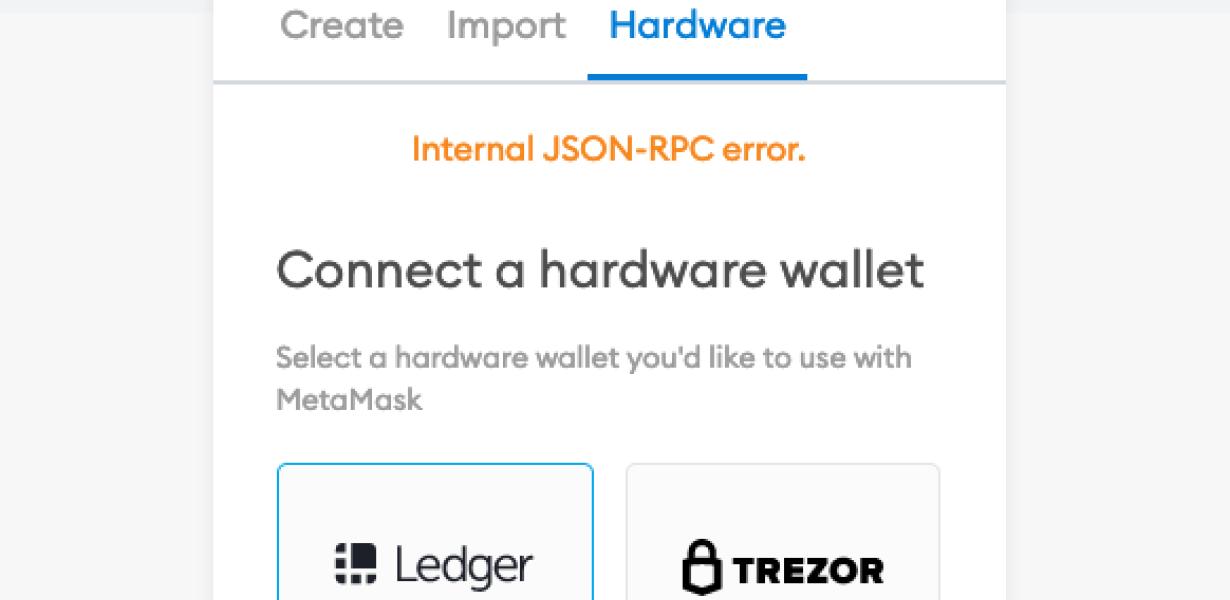
How to Add a Ledger to Metamask
To add a ledger to Metamask, open the Metamask application on your desktop and click on the "Add Account" button in the top left corner. In the "Add Account" window, select "Ledger" from the list of available account types and enter the following information:
Name: The name you will use to identify this ledger in Metamask
The name you will use to identify this ledger in Metamask Address: The address of the ledger you want to add
The address of the ledger you want to add Repository: The name of the repository you want to add this ledger to
The name of the repository you want to add this ledger to Authorized Contract: The contract address of the contract you want to add this ledger to
The contract address of the contract you want to add this ledger to permissions: Select the permissions you want to grant this ledger
Click on the "Create Account" button to create the ledger.
Adding a Ledger to Your Metamask Wallet
Once you have your Metamask wallet set up, you can start adding ledgers to it. Ledgers are a great way to keep track of your cryptocurrency holdings and transactions.
To add a ledger to your Metamask wallet, first open the Metamask wallet and click on the "Add a Ledger" button.
Next, select the ledger you want to add from the list of available ledgers.
Finally, enter the required information for your ledger, including the address of the ledger and the password for the ledger.
Once you have completed the steps above, your ledger will be added to your Metamask wallet and you will be able to track your cryptocurrency holdings and transactions.
Secure Your Cryptocurrency with a Ledger on Metamask
If you want to secure your cryptocurrency with a Ledger on Metamask, you will first need to set up a Metamask account. Once you have an account, open it and click on the "Ledger" tab in the left sidebar.
From here, you will need to connect your Ledger device to your computer. To do this, open the Metamask app and click on the three lines in the top right corner. On the next screen, click on the "Ledger" button.
Now you will need to provide your Ledger device's PIN and USB address. Once you have done this, Metamask will start the initial setup process. After it has finished, you will be able to send and receive cryptocurrencies with your Ledger device.
How to Use a Ledger Nano S with Metamask
First, install the Metamask extension on your Ledger Nano S. After installing the Metamask extension, open it and click on the three lines in the top left corner.
On the next page, select the “Add New Account” option.
Enter the following details and click on the “Create Account” button:
Name: Your chosen name for your Metamask account
Email: Your chosen email address for your Metamask account
2FA Code: The 2FA code you received when you set up your Metamask account
Once you have entered the required details, click on the “Next” button.
On the next page, select the “Ledger” option and click on the “Next” button.
On the next page, select the “Nano S” option and click on the “Next” button.
On the next page, select the “Yes, I am sure” option and click on the “Next” button.
On the next page, you will be asked to confirm your chosen settings. Click on the “Finish” button to continue.
Your new Metamask account should now be synced with your Ledger Nano S. Next, open the Metamask extension and click on the three lines in the top left corner.
On the next page, select the “Trezor” option and click on the “Connect” button.
Your Ledger Nano S should now be connected to your Trezor device. On the next page, enter your Trezor device’s 24-word recovery seed and click on the “Connect” button.
Your Metamask account should now be connected to your Trezor device. Next, open the Metamask extension and click on the three lines in the top left corner.
On the next page, select the “MyEtherWallet” option and click on the “Connect” button.
Your MyEtherWallet account should now be connected to your Metamask account. Next, open the MyEtherWallet application and click on the “New Wallet” button.
On the next page, enter a name for your new wallet and click on the “Create Wallet” button.
Your new wallet should now be created and ready to use.

Adding a Ledger Nano S to Metamask
Adding a Ledger Nano S to Metamask is a straightforward process. To begin, open Metamask and click on the “Add Wallet” button in the top left corner.
Next, select the Ledger Nano S from the list of available wallets and click “Add”.
Your Ledger Nano S will now be added to Metamask and you will be able to manage your coins and tokens inside the wallet.
How to Set Up a Ledger Nano S with Metamask
To set up a Ledger Nano S with Metamask, first open the Metamask app on your computer.
Next, click on the three lines in the top left corner of the Metamask screen.
These lines will take you to the Settings screen.
Select the Ledger tab and click on New Account.
You will then be asked to provide your Metamask address.
Next, type in the following information and click on Next:
Name: This is the name you will use to identify your account in the Metamask app.
This is the name you will use to identify your account in the Metamask app. Email: This is your email address.
This is your email address. Password: This is your password.
This is your password. Click on Create Account.
Your new Ledger Nano S account will now be active.
To set up your Ledger Nano S with Metamask, first open the Metamask app on your computer.
Next, click on the three lines in the top left corner of the Metamask screen.
These lines will take you to the Settings screen.
Select the Ledger tab and click on New Account.
You will then be asked to provide your Metamask address.
Next, type in the following information and click on Next:
Name: This is the name you will use to identify your account in the Metamask app.
This is the name you will use to identify your account in the Metamask app. Email: This is your email address.
This is your email address. Password: This is your password.
This is your password. Click on Create Account.
Your new Ledger Nano S account will now be active.
Using a Ledger Nano S with Metamask
To use a Ledger Nano S with Metamask, first create an identity on the Metamask website. You will need a Metamask account and a Ledger Nano S.
Once you have an identity on Metamask, open the Metamask app and click on the "Ledger" button in the top right corner.
Click on the "Add New Account" button and enter your Metamask account information.
Select the Ledger Nano S device you want to use and click on the "Connect" button.
In the "Metamask Wallet" section of the Ledger Nano S, copy the address of the token you want to use.
Open the Metamask app and click on the "Ledger" button in the top right corner.
Click on the "Send" button and paste the copied address into the "To" box.
Enter the amount of tokens you want to send and click on the "OK" button.
Your tokens will be sent to your Metamask account and will be available for use in the Metamask app.
Protect Your Crypto Assets with a Ledger Nano S on Metamask
If you are looking to keep your cryptocurrency assets safe and secure, a Ledger Nano S is a great option. With a secure chip and strong security features, the Ledger Nano S is a great choice for storing your cryptocurrencies.
To use a Ledger Nano S to protect your cryptocurrencies, first install the Metamask extension on your browser. Metamask is a JavaScript extension that allows you to interact with the Ethereum network. Once you have installed Metamask, open it and click on the “Add Wallet” button.
Next, enter the wallet address of your Ledger Nano S and click on the “Connect” button. After connecting your Ledger Nano S, Metamask will show you your balance and list all of the coins that are stored on your device.
To send or receive cryptocurrencies, first open the Metamask extension and click on the “Send” or “Receive” buttons. Next, enter the amount of cryptocurrency that you want to send or receive and click on the “Send” or “Receive” button. After sending or receiving your cryptocurrency, congratulations! You have now protected your assets with a Ledger Nano S.