Add Cro Network To Metamask
Adding the Cro Network to your Metamask is a great way to increase your security and privacy when using the Ethereum network. The Cro Network is a decentralized application platform that provides you with a secure way to interact with decentralized applications. In order to add the Cro Network to Metamask, you will need to have the Cro extension installed on your browser. Once you have the Cro extension installed, you will be able to select the Cro Network from the list of available networks in Metamask.
How to Add a CRO Network to MetaMask
To add a CRO network to MetaMask, first open MetaMask and click the three lines in the top right corner of the main window. This will open the Add New Wallet dialog.
In the Add New Wallet dialog, scroll down until you see the CRO network section and click on it. This will open the CRO Network Settings dialog.
In the CRO Network Settings dialog, you will need to provide the following information:
1. Name: The name of the CRO network you are adding to MetaMask.
2. Address: The address of the CRO network's main wallet. This can be found by going to the CRO network's website and looking for the address associated with the network's main wallet.
3. Port: The port on which the CRO network's main wallet is located. This can be found by going to the CRO network's website and looking for the port associated with the network's main wallet.
4. SSL/TLS: If the CRO network uses SSL/TLS, you will need to provide the certificate file that corresponds to the SSL/TLS protocol. If the CRO network does not use SSL/TLS, you will not need to provide any additional information.
5. Accessibility: If you want MetaMask to allow users to connect to the CRO network without having to first authenticate themselves, check the box next to Accessibility.
6. Click on the OK button to save your changes.
Once you have made your changes, click on the OK button in the CRO Network Settings dialog to save your changes and close the dialog.
Next, you will need to open MetaMask and click on the three lines in the top right corner of the main window. This will open the Add New Wallet dialog.
In the Add New Wallet dialog, scroll down until you see the CRO network section and click on it. This will open the CRO Wallet Settings dialog.
In the CRO Wallet Settings dialog, you will need to provide the following information:
1. Name: The name of the CRO network you are adding to MetaMask.
2. Address: The address of the CRO network's main wallet. This can be found by going to the CRO network's website and looking for the address associated with the network's main wallet.
3. Password: The password for the CRO network's main wallet.
4. Confirm Password: The confirmation password for the CRO network's main wallet.
5. Click on the OK button to save your changes.
Once you have made your changes, click on the OK button in the CRO Wallet Settings dialog to save your changes and close the dialog.
Next, you will need to open MetaMask and click on the three lines in the top right corner of the main window. This will open the Add Account dialog.
In the Add Account dialog, you will need to provide the following information:
1. Email Address: The email address of a user who will be authorized to access the CRO network through MetaMask.
2. Password: The password for the email address of a user who will be authorized to access the CRO network through MetaMask.
3. Click on the OK button to save your changes.
Once you have made your changes, click on the OK button in the Add Account dialog to save your changes and close the dialog.
Adding a CRO Network to Your MetaMask
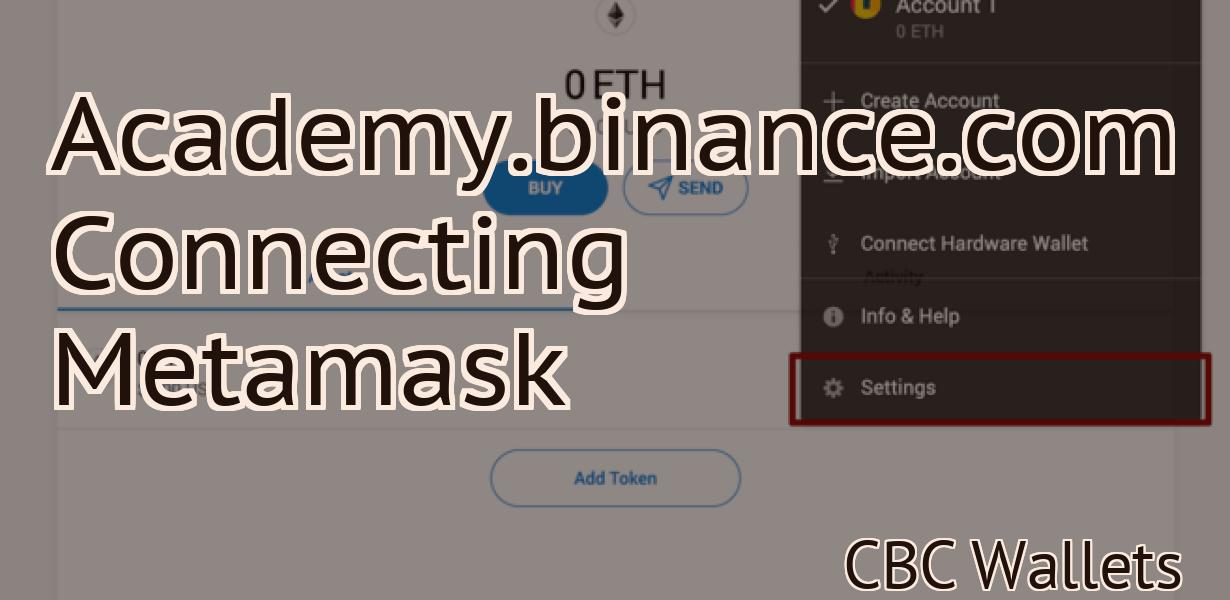
MetaMask is a browser extension that allows you to manage your cryptocurrencies and other digital assets. To add a CRO network to your MetaMask, follow these steps:
Open MetaMask and click on the three lines in the top right corner. Click on the "Add a new network" button. Type "Cro" in the search bar and click on the Cro network. Click on the "Verify" button to add the network to your MetaMask.
Now, whenever you want to send or receive CRO tokens, you will need to first send or receive Bitcoin (or Ethereum) from your wallet, and then use that Bitcoin or Ethereum to send or receive CRO tokens from your Cro network account.
Connecting a CRO Network to MetaMask
To connect a CRO network to MetaMask, follow these steps:
1. Open MetaMask and click on the three lines in the top left corner.
2. In the drop-down menu that appears, select My Networks.
3. Click Add Network.
4. Enter the URL of your CRO network in the text field and click Add.
5. Click Connect.
6. Your CRO network will now be connected to MetaMask.
Using MetaMask with a CRO Network
MetaMask is a browser extension that allows you to run decentralized applications (DApps) on the Ethereum network.
To use MetaMask with a CRO network, you will first need to create an account with the network. Once you have an account, you can join the network by clicking the "Join" button on the network's website.
Once you have joined the network, you can use MetaMask to access your CRO tokens. To do this, open MetaMask and click the "View Wallet Info" button. Under "Token Address," copy the address of your CRO tokens. Then, open MetaMask and click the "Send Ether & Tokens" button. Paste the address of your CRO tokens into the "To Address" field and click the "Send Ether & Tokens" button. You will now see your CRO tokens in your MetaMask wallet.

Accessing a CRO Network through MetaMask
To access a CRO network through MetaMask, first install the MetaMask extension.
Once installed, open MetaMask and click on the three lines in the top left corner. This will open the main MetaMask window.
Now click on the three lines in the top right corner. This will open the Addresses tab.
In the Addresses tab, copy the address of the CRO network you want to access.
Next, go to the Websites tab and paste the copied address into the Website field.
Finally, click on the Connect button to connect to the CRO network.
Interacting with a CRO Network via MetaMask
To interact with a CRO network via MetaMask, you will need to first create a MetaMask account. After creating your account, open it and click on the "Add a New Wallet" button.
Next, click on the "Create a New Address" button and input the address of the CRO network you want to use. You can find the address of a CRO network by searching for it on the internet or by visiting its website.
Finally, click on the "Create Account" button to finish creating your MetaMask account and connect to the CRO network.