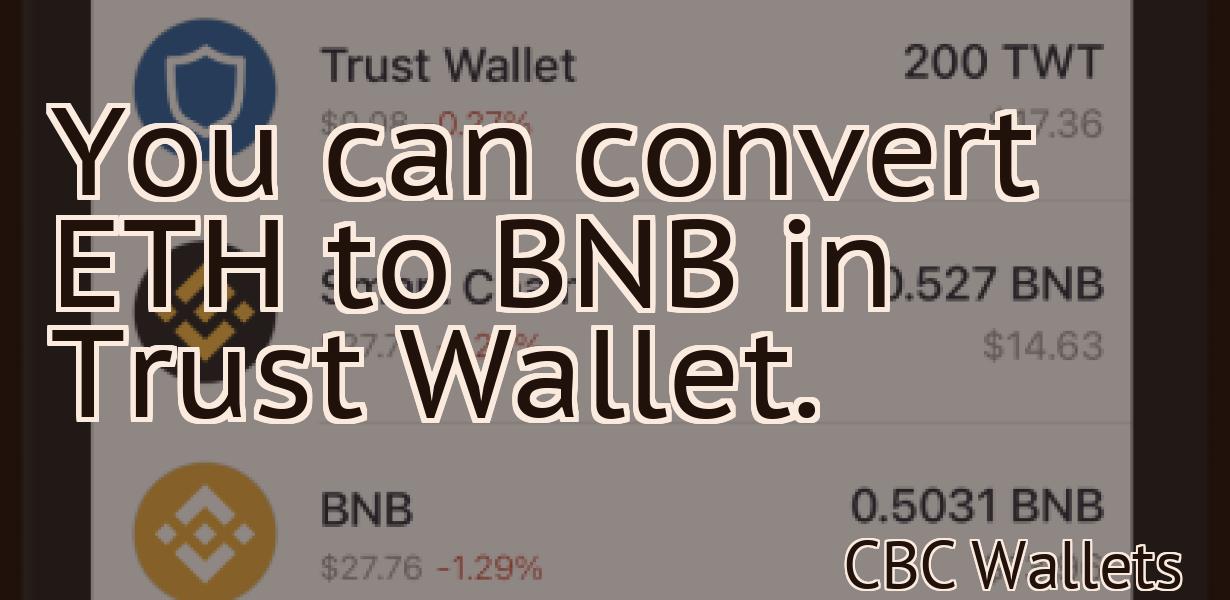
Trust Wallet How To Swap Bnb To Smart Chain
In this article, we will show you how to swap your BNB tokens to Smart Chain using Trust Wallet. Trust Wallet is a mobile wallet that supports multiple cryptocurrencies, including Binance Coin (BNB).
How to swap BNB for Smart Chain on Trust Wallet
To swap BNB for Smart Chain on Trust Wallet, follow these steps:
1. Open the Trust Wallet app and connect to the network.
2. Click the "Swap" button in the main navigation bar.
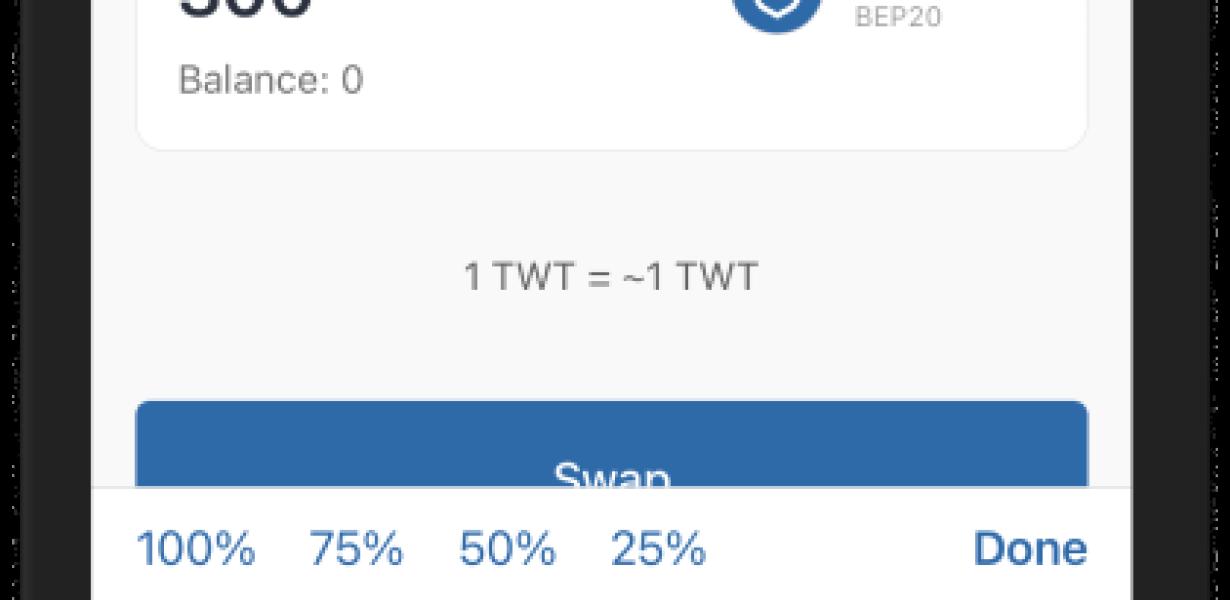
3. On the "Swap" screen, select BNB from the list of tokens and click "Swap."
4. In the "Smart Chain" field, enter Smart Chain and click "Swap."
5. Click "Confirm" to finish the swap.
How to use Trust Wallet to convert BNB to Smart Chain
1. Open Trust Wallet and create a new account.
2. Click on the "Convert" button in the main menu and select BNB to Smart Chain.
3. Enter the amount of BNB you want to convert and click on the "Convert" button.
4. Your BNB will be converted to Smart Chain and your new Smart Chain address will be displayed.
The best way to swap BNB for Smart Chain
There is no one-size-fits-all answer to this question, as the best way to swap BNB for Smart Chain will vary depending on your own individual circumstances. However, some tips on how to do this effectively could include researching different exchanges that offer BNB/Smart Chain trading pairs, and using a cryptocurrency broker that offers both BNB and Smart Chain trading options.
How to get the most out of your Trust Wallet
There are a few things you can do to maximize the use of your Trust Wallet, including:
1. Use the Trust Wallet to store your cryptocurrency holdings.
2. Use the Trust Wallet to make transactions.
3. Use the Trust Wallet to keep track of your cryptocurrency portfolio.
How to make the most of Trust Wallet's features
The Trust Wallet app has a variety of features that can help you make the most of your money.
1. Create a custom wallet
You can create a custom wallet to store your money in a secure location. This is helpful if you want to keep your money separate from your other personal information.
2. View your account balances and transactions
You can view your account balances and transactions to see how much money you have saved and how much money you have spent. This is helpful if you want to keep track of your finances.
3. Manage your money
You can manage your money by setting up budgeting and savings goals, and transferring money between your bank accounts and your Trust Wallet account. This is helpful if you want to get ahead financially.
The ultimate guide to using Trust Wallet
1. Download the Trust Wallet app from the App Store or Google Play.
2. Create a new account by clicking on the “Create a New Account” button.
3. Enter your email address and password.
4. Click on the “Sign In” button.
5. Click on the “Send & Receive” tab.
6. Click on the “Wallet” button.
7. Click on the “Addresses” tab.
8. Add an address by clicking on the “+” button next to the address you want to add.
9. Enter the amount you want to send to the address.
10. Click on the “Send Transaction” button.
11. Click on the “Verify Transaction” button to check that the transaction was sent correctly.
12. Click on the “Close Wallet” button to finish setting up your trust wallet account.
A beginner's guide to using Trust Wallet
1. Install Trust Wallet on your computer or mobile device.
2. Open the Trust Wallet app and create a new wallet.
3. Import your private key file into Trust Wallet.
4. Add funds to your wallet by clicking the "Add Funds" button.
5. Use the wallet's features to manage your funds.