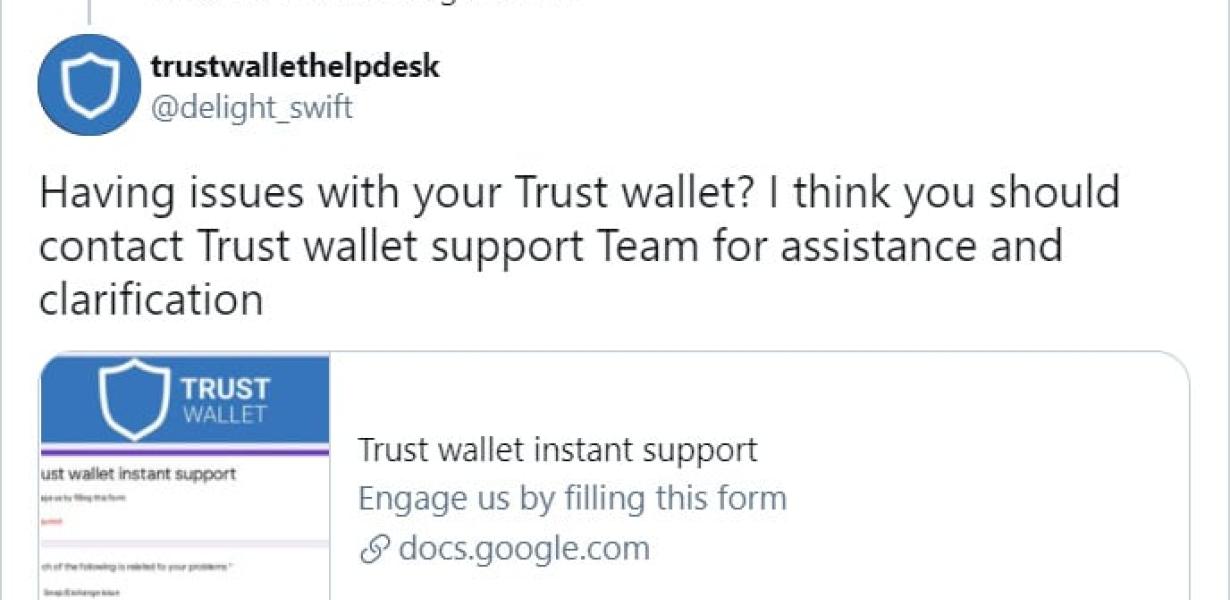
Trust Wallet Help
If you're having trouble with Trust Wallet, our help center has lots of resources to assist you. You can find answers to frequently asked questions, read our step-by-step guide on how to use Trust Wallet, or contact us directly for more help.
How To Use Trust Wallet
Start by downloading the Trust Wallet app on your desktop or mobile device.
Once the app is installed, open it and click on the "Add Account" button.
Enter your email address and password, and then click on the "Create Account" button.
Once you have created your account, you will be presented with the main screen of the Trust Wallet app.
On the main screen, you will see three sections: "Portfolio", "Transactions", and "Settings".
In the "Portfolio" section, you will see a list of all of your assets in the Trust Wallet app.
To view your assets, click on the asset you want to view information about.
In the "Transactions" section, you will see a list of all of your transactions in the Trust Wallet app.
To view your transactions, click on the transaction you want to view information about.
In the "Settings" section, you can configure different settings for the Trust Wallet app.
For example, you can change the password for your Trust Wallet account, add a security question and answer, and more.
Getting Started With Trust Wallet
First, you need to create an account on the Trust Wallet website. Once you have an account, you will need to create a wallet. To create a wallet, click on the “Create Wallet” button on the homepage.
Next, you will need to enter your email address and password. After you have entered your information, click on the “Create Wallet” button to create your wallet.
After you have created your wallet, you will need to copy the QR code from your wallet and then open the Trust Wallet app on your mobile device. Next, scan the QR code to open the Trust Wallet app.
Now, you will need to set up two-factor authentication. To do this, click on the “Two-Factor Authentication” button on the homepage of the Trust Wallet website.
After you have set up two-factor authentication, you will need to enter your backup phone number. Next, you will need to enter your password. After you have entered your information, click on the “Enable Two-Factor Authentication” button to activate two-factor authentication.
Now, you will need to add your bank account information. To do this, click on the “Add Bank Account” button on the homepage of the Trust Wallet website.
After you have added your bank account information, you will need to enter your bank account details. Next, you will need to enter your password. After you have entered your information, click on the “Update Bank Account” button to update your bank account information.
Now, you will need to add your debit card information. To do this, click on the “Add Debit Card” button on the homepage of the Trust Wallet website.
After you have added your debit card information, you will need to enter your debit card number and PIN. Next, you will need to enter your password. After you have entered your information, click on the “Update Debit Card” button to update your debit card information.
Now, you will need to add your credit card information. To do this, click on the “Add Credit Card” button on the homepage of the Trust Wallet website.
After you have added your credit card information, you will need to enter your credit card number and expiration date. Next, you will need to enter your password. After you have entered your information, click on the “Update Credit Card” button to update your credit card information.
Now, you will need to add funds to your wallet. To do this, click on the “Add Funds” button on the homepage of the Trust Wallet website.
After you have added funds to your wallet, you will need to enter your bitcoin address and amount of bitcoin that you want to add. Next, you will need to enter your password. After you have entered your information, click on the “Send Funds” button to send bitcoin to your bitcoin address.
How To Import Your Accounts Into Trust Wallet
1. Log into Trust Wallet and click on the "Accounts" button in the top left corner.
2. On the Accounts page, select the account you want to import.
3. Under "Import Accounts," click on the "Upload File" button.
4. Select the file you want to import your accounts into Trust Wallet from and click on the "Upload" button.
5. If the file you selected is large, it may take a few minutes to upload it. Once the file has been uploaded, Trust Wallet will display a message indicating that the import process is complete.
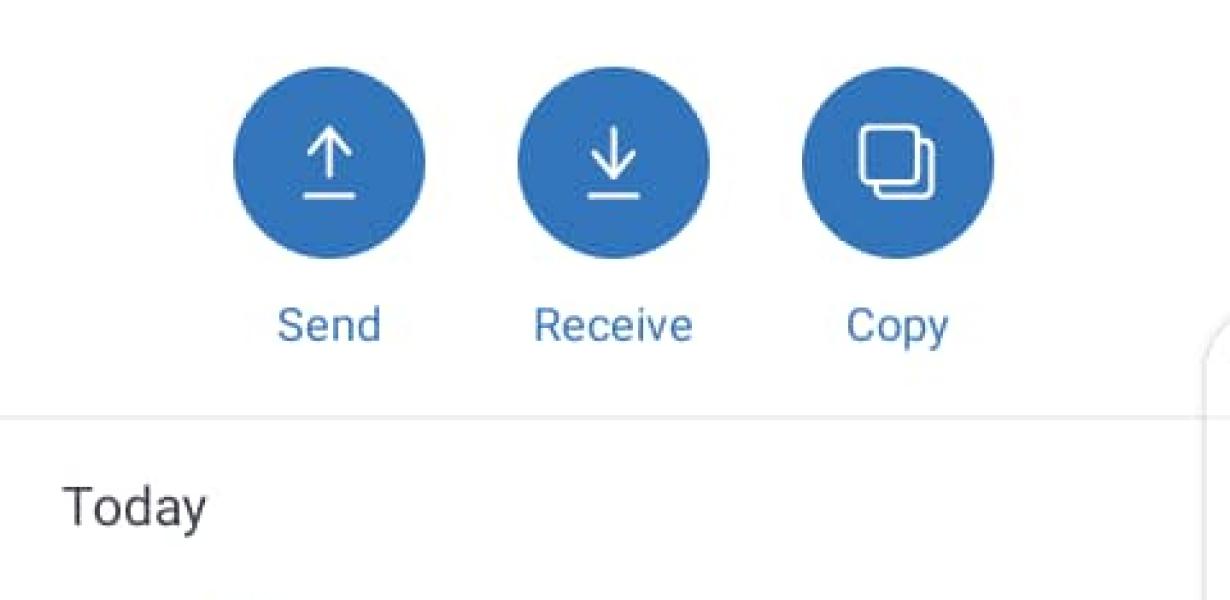
How To Send & Receive Cryptocurrency With Trust Wallet
To send cryptocurrency with Trust Wallet, first open the app and click on the three lines in the top left corner. This will open the main menu. From here, select Send.
Next, input the recipient's address and the amount of cryptocurrency you want to send. You can also choose to send a specific type of cryptocurrency, such as Bitcoin or Ethereum.
Finally, choose a payment method and click Send. The transaction will be processed and the coins will be sent to the recipient's account.
How To Secure Your Trust Wallet With A Passphrase
1. To secure your Trust Wallet with a passphrase, you will first need to create a new wallet.
2. Once you have created your new wallet, open it and click on the "New Passphrase" button.
3. Enter your desired passphrase and click on the "Create New Password" button.
4. Store your new password in a safe place and use it to access your Trust Wallet.

How To Add & Remove Cryptocurrency Assets In Trust Wallet
To add or remove cryptocurrency assets in Trust Wallet, follow these steps:
1. Open Trust Wallet and go to the Accounts tab.
2. Click on the account you want to manage cryptocurrencies for.
3. On the right side of the account window, you will see a list of assets under " Holdings ."
4. To add a new cryptocurrency asset, click on the "Add" button and select the cryptocurrency you want to add from the list.
5. To remove a cryptocurrency asset, click on the "Remove" button and select the cryptocurrency you want to remove from the list.
How To Back Up & Restore Your Trust Wallet Data
1. Launch the Trust Wallet app on your device.
2. Tap the three lines in the top right corner of the main screen.
3. Select "Backup & Restore."
4. Enter a password to encrypt your data.
5. Choose a location to store your backup.
6. Confirm your backup selection and enter your password again.
7. Your backup is now ready to use.
Frequently Asked Questions About Trust Wallet
What is Trust Wallet?
Trust Wallet is a mobile and web wallet app that allows users to store, send, and receive cryptocurrencies and other digital assets. It also offers a variety of features such as a secure encrypted vault, a merchant directory, and a purchase option for Bitcoin, Ethereum, and other cryptocurrencies.
How does Trust Wallet work?
Trust Wallet is a mobile and web wallet app that allows users to store, send, and receive cryptocurrencies and other digital assets. It also offers a variety of features such as a secure encrypted vault, a merchant directory, and a purchase option for Bitcoin, Ethereum, and other cryptocurrencies.
How can I use Trust Wallet?
You can use Trust Wallet on your mobile or desktop device. You can also use it online through our website.
What are the benefits of using Trust Wallet?
Trust Wallet offers many benefits such as a secure encrypted vault, a merchant directory, and a purchase option for Bitcoin, Ethereum, and other cryptocurrencies.