How to get ETH into Metamask?
If you're looking to get ETH into your Metamask wallet, there are a few different ways you can go about it. The most common method is to simply buy ETH from a cryptocurrency exchange and then send it to your Metamask wallet address. Alternatively, if you have another Ethereum wallet, you can also transfer ETH from there into your Metamask wallet. Finally, if you know someone who already has ETH, you can ask them to send some to your Metamask wallet address. Whichever method you choose, getting ETH into your Metamask wallet is a simple process that shouldn't take more than a few minutes.
How to Get Ethereum Into Metamask
First, open Metamask on your desktop or mobile device.
Then, click on the three lines in the top left corner of the Metamask window.
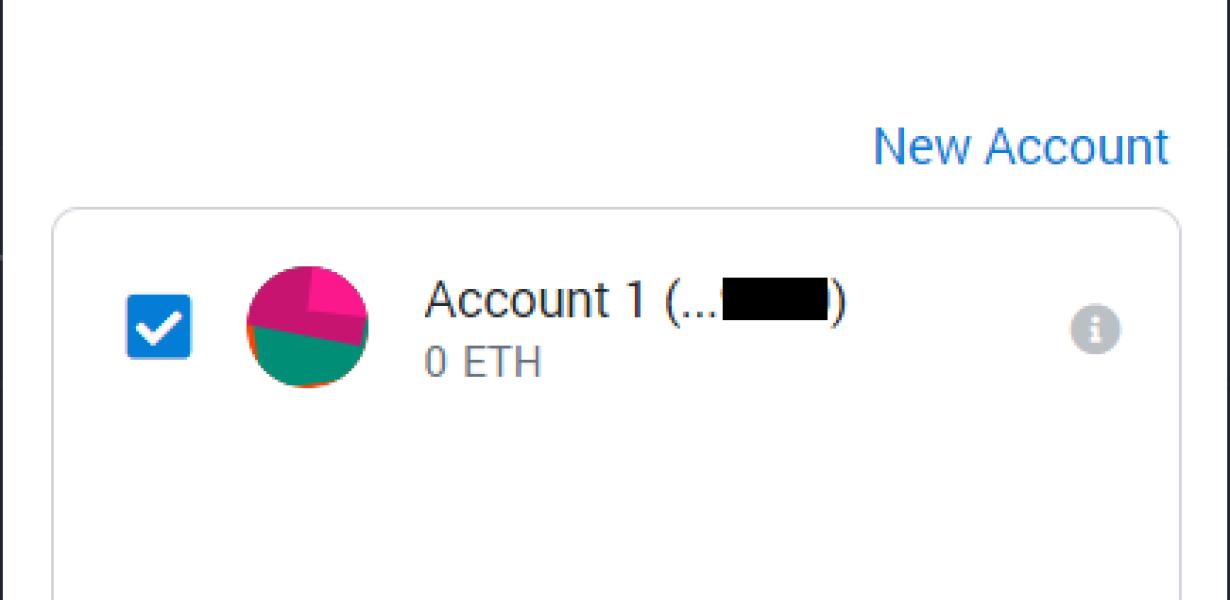
Select Add Account.
Enter the email address you used to create your account, and click on the button to continue.
Next, click on the three lines in the top right corner of the Metamask window.
Select Accounts.
Scroll down to Ethereum and select it.
Click on the button to continue.
Metamask will now ask you to approve the transaction.
Click on the button to continue.
Finally, Metamask will give you a confirmation message.
You're now ready to send Ethereum to your account!
How to Install Metamask and Get Ethereum
1. Download Metamask from the Chrome Web Store.
2. Open Metamask and click on the “Create New Wallet” button.
3. In the “New Wallet” window, enter a name for your wallet and choose a secure password.
4. Click on the “Create Account” button to finish setting up your Metamask wallet.
5. Copy the Ethereum address that Metamask shows you and save it for later. You will need this address to send Ethereum to.
6. To launch the Ethereum client, click on the “Ethereum” icon in the top left corner of Metamask.
7. On the “Ethereum Client” window, enter your Metamask address and click on the “Start” button.
How to Use Metamask to Get Ethereum
Metamask is a browser extension that allows you to interact with decentralized applications on the Ethereum blockchain.
1. Install Metamask: https://metamask.io/
2. Open the Metamask extension and click on the "Create a new account" button.
3. In the "Account name" field, type a unique name for your account.
4. In the "Account email" field, type your email address.
5. Click on the "Create account" button.
6. You will be prompted to verify your email address. Click on the "Verify" button.
7. You will now be able to access your Metamask account. Click on the "Metamask" icon in the bottom right corner of your browser.
8. In the "Metamask" window, click on the "Ethereum" tab.
9. In the "Ethereum Wallet" window, click on the "Add Ethereum Wallet" button.
10. In the "Ethereum Wallet Address" field, type the address of the Ethereum wallet that you want to use.
11. In the "Decentralized Application Address" field, type the address of the dApp that you want to use.
12. In the "Metamask Extension Token" field, type the ticker symbol of the Metamask extension token (META).
13. Click on the "Create Ethereum Account" button.
14. You will be prompted to save your credentials. Click on the "Save My Settings" button.
15. You will now be able to use the features of Metamask to access your Ethereum wallet and dApp.
Getting Ethereum Into Your Metamask Wallet
To get Ethereum into your Metamask wallet, follow these steps:
1. Open Metamask and click the three lines in the top left corner.
2. On the left, select "Add Wallet."
3. On the right, paste in the Ethereum address you want to use.
4. Click "Add."
5. You'll now see all of your Ethereum transactions in Metamask.
How to Add Ethereum to Metamask
To add Ethereum (ETH) to Metamask, open the Metamask app and click on the three lines in the top left corner. Click on "Add Wallet."
In the "Add Wallet" dialog, input the following information:
1. The wallet address of your Ethereum account.
2. The password of your Ethereum account.
3. The port number of your Ethereum account (default is 18333).
4. The currency of your Ethereum account (default is ETH).
5. The hostname or IP address of the Ethereum node you want to use (default is localhost).
6. The port number of the Ethereum node you want to use (default is 8545).
7. The active ETH network (default is mainnet).
8. Theuments to be used in the DAO attack detection mechanism (optional).
9. Click "Save."
How to Access Ethereum in Metamask
To access Ethereum in Metamask, first open the Metamask app on your computer.
Once open, click on the three lines in the top right corner of the Metamask window.
Select the "Add Wallet" button on the right side of the window.
Enter the address of the Ethereum wallet you want to use (in this example, we'll use myEtherWallet.com) and click the "Connect" button.
Now you'll be able to send and receive Ethereum just like any other cryptocurrency!
How to Connect Metamask to Ethereum
Metamask is a browser extension that allows users to interact with Ethereum and other decentralized applications. To use Metamask, first install the extension on your browser.
Next, open the Metamask extension and click on the "Add Account" button. On the next screen, you will be prompted to enter your Ethereum address and password. After you have entered your information, Metamask will display your account's information.
To connect to a specific Ethereum blockchain, click on the "Connect" button next to the blockchain you want to connect to. On the next screen, you will be prompted to provide your Metamask account's password. After you have entered your password, Metamask will connect to the Ethereum blockchain and display the latest information.
How to Import Ethereum into Metamask
To import Ethereum into Metamask, click on the three lines in the top left corner of the Metamask screen. This will open the Metamask "Extensions" page. Find the "Ethereum" extension and click on it. The Ethereum extension will open up a new page. On this page, you will need to click on the "Add a New Contract" button. This will open up a new window. In this window, you will need to enter the following information:
1. The address of the Ethereum node you want to use.
2. The private key of the Ethereum node you want to use.
3. The port of the Ethereum node you want to use.
4. The Gas price you want to use.
5. The Gas limit you want to use.
6. The Compressed gas limit you want to use.
7. The CustomGasPrice you want to use.
8. The CustomGasLimit you want to use.
9. The Metamask username.
10. The Metamask password.
11. The name of the contract you are importing.
12. The symbol of the contract you are importing.
13. The decimal value of the contract you are importing.
14. The byte size of the contract you are importing.
15. The encoding of the contract you are importing.
16. The gasPrice and gasLimit that the contract should use when it is executed.
17. The address of the account that will receive the tokens that are created by the contract.
18. The accounts that will have access to the contract's functions.
19. A message that will be displayed when the contract is executed.
20. The constructor function for the contract.
21. The function that will be used to get the balance of the contract's account at any given time.
22. The function that will be used to send tokens from the contract's account to another account.
23. The function that will be used to get the current number of tokens in the contract's account.
24. The function that will be used to get the total number of tokens that have been issued by the contract.
25. The function that will be used to get the token balance of an account at any given time.
26. The function that will be used to get the total number of tokens in an account at any given time.
27. The function that will be used to transfer tokens from one account to another account.
28. The function that will be used to get the name of the account that owns a given number of tokens.
29. The function that will be used to get the public address of a given account.
30. The function that will be used to get the balance of an account at any given time in Wei (wei is the unit of Ether).
Once you have entered all of the information, click on the "Create Contract" button. This will create a new contract in your Metamask account and return you to the "Extensions" page. Click on the newly created contract to open up its page. On this page, you will need to copy and paste the following information into the "Contract Address" field: 0x0f4c2dcd7bcaa80534a9ebacb5a2ad39a2dccd0c
How to Set up Metamask for Ethereum
To set up Metamask for Ethereum, you will need to download the Metamask app from the App Store or Google Play Store. Once you have downloaded the Metamask app, open it and sign in with your personal Ethereum address and password.
Next, click on the Metamask icon in the app and select the “New Account” button. In the “New Account” window, enter your name, email address, and create a password. Click on the “Next” button and select the “Metamask Trust Wallet” option.
In the “Metamask Trust Wallet” window, select the “Add Account” button. In the “Add Account” window, enter your Ethereum address and click on the “Next” button.
In the “Add Account” window, select the “Gas Limit” option and enter the gas limit that you want to use for your account. Click on the “Next” button and select the “Finish” button.
You will now be taken to the “Metamask Main Window”. In this window, you will need to add a custom token. To do this, click on the “Token” button in the main window and select the “Add Custom Token” option.
In the “Add Custom Token” window, enter the following information:
Name: You can name your custom token anything you like
Symbol: You can enter the symbol for your custom token
Decimals: You can enter the number of decimals for your custom token
Address: You can enter the Ethereum address for your custom token
Click on the “Create Custom Token” button and you will now be taken to the “Token Info” window. In this window, you will need to set the following information:
Token Contract Address: This is the address of the contract that owns your custom token
Token Name: This is the name of your custom token
Token Decimals: This is the number of decimals for your custom token
Token Symbol: This is the symbol for your custom token
Token Transfer Function: This is the function that will be used to transfer tokens from one address to another
Token Issuer: This is the address of the person or entity that created your custom token
Token Burn Address: This is the address where tokens will be burned if they are not used within a certain period of time
Click on the “Save Changes” button and you will now be taken to the “Token Details” window. In this window, you will need to set the following information:
Token Contract Address: This is the address of the contract that owns your custom token
Token Name: This is the name of your custom token
Token Decimals: This is the number of decimals for your custom token
Token Symbol: This is the symbol for your custom token
Token Transfer Function: This is the function that will be used to transfer tokens from one address to another
Token Issuer: This is the address of the person or entity that created your custom token
Token Burn Address: This is the address where tokens will be burned if they are not used within a certain period of time
How to Use Metamask with Ethereum
Metamask is a browser extension that allows users to interact with the Ethereum blockchain. The extension requires a Ethereum node to be running in order to function. Once installed, Metamask can be accessed by clicking the “metamask” button on the top right of any Ethereum browser.
Once Metamask is open, users will need to input their Ethereum address and password. Next, they will need to select the “Contracts” tab and find the contract they wish to interact with. After finding the contract, users will need to click on the “Ethereum” button in the top left corner of the screen and input the amount of ETH they wish to spend. Finally, they will need to select the “Action” button and choose the action they wish to take.
Metamask also has a “Help” tab that offers detailed instructions on how to use the extension.
Configuring Metamask for Ethereum
If you want to use Metamask to interact with the Ethereum network, you first need to install it.
To install Metamask:
1. Open the Google Chrome web browser.
2. Type "chrome://extensions" into the address bar and press Enter.
3. Scroll down and click the "Install" button next to the Metamask extension.
4. Click the "Open" button to open the extension.
5. Click the "Settings" button in the upper-right corner of the Metamask window.
6. Under "General," click the "Enable two-factor authentication" checkbox.
7. Under "Metamask Security Settings," click the "Enable Ethereum address and contract scanning" checkbox.
8. Under "Receiving Tokens," click the "Enable Token Balances" checkbox.
9. Under "Configuring," click the "Configure" button.
10. Under "Configure Security," click the "Enable 2-factor authentication" checkbox and enter your Metamask login information.
11. Click the "Save" button to finish configuring Metamask.