Setting Up Trezor
Trezor is a hardware wallet that allows you to store your bitcoins offline in a secure environment. In this article, we will show you how to set up your Trezor wallet.
The Ultimate Guide to Setting Up Your Trezor Wallet
After you have purchased your TREZOR, it is time to set it up and start using it. To do this, follow these steps:
1. Connect your TREZOR to your computer.
2. Open the TREZOR wallet application.
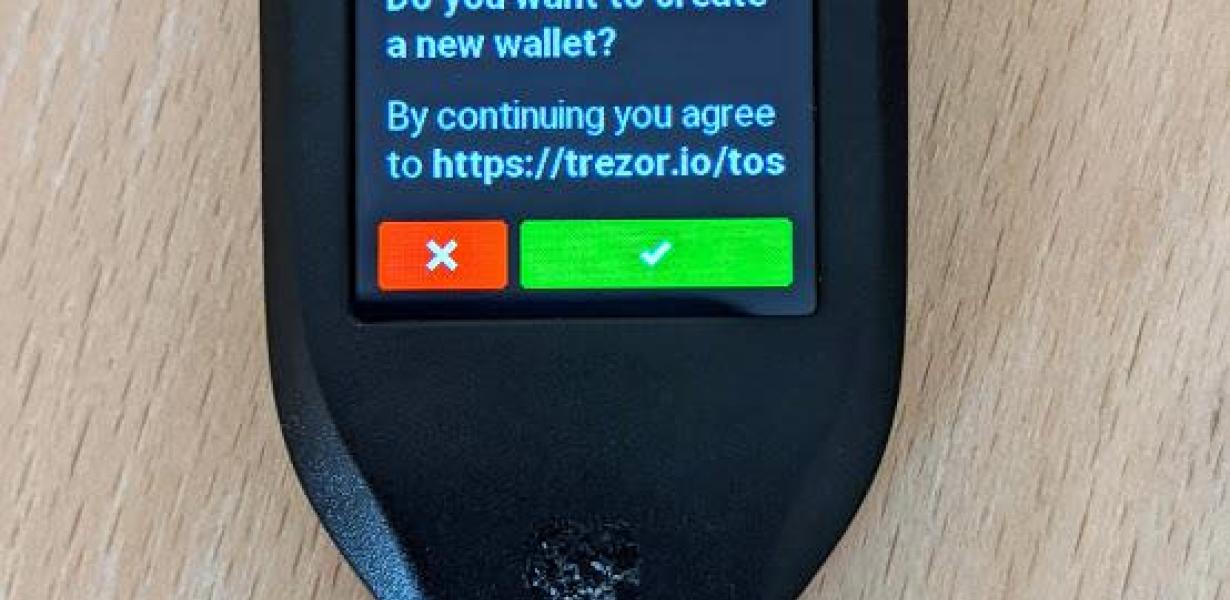
3. Click on the “New Wallet” button.
4. Enter a strong password and click on the “Create” button.
5. Your new TREZOR wallet is now ready to use!
A Step-By-Step Guide to Setting Up Your Trezor Wallet
If you are new to storing your cryptocurrency offline, or if you are upgrading from an older Trezor wallet, this guide will help you get started.
1. Download and install the Trezor wallet app on your mobile device.
2. Open the app and sign in.
3. Click on the three lines in the top left corner of the screen.
4. Select “Trezor Wallet” from the list of options.
5. On the next screen, you will be prompted to create a new wallet.
6. In the “Name” field, type a name for your wallet.
7. In the “Description” field, type a brief description of your wallet.
8. In the “Location” field, type a location where you want to store your wallets files.
9. In the “File Format” field, select “Trezor Wallet (BIP39)”.
10. Click on the “Create Wallet” button.
11. Your wallet will now be created and will be displayed in the Trezor Wallet app. Click on the wallet to open it.
12. To create a new wallet, click on the “New Wallet” button.
13. On the next screen, you will be prompted to select a password.
14. Type a password in the “Password” field and click on the “Create Wallet” button.
15. Your new wallet will now be created and will be displayed in the Trezor Wallet app. Click on the wallet to open it.
16. To access your wallets files, click on the “View Wallet Info” button.
17. On the next screen, you will be prompted to select a file to view.
18. Click on the “Browse” button and select the file you want to view.
How to Set Up Your Trezor Wallet in Minutes
To set up your Trezor wallet, follow these steps:
1. Connect your Trezor to your computer.
2. Open the TREZOR app.
3. Click on “New Wallet”.
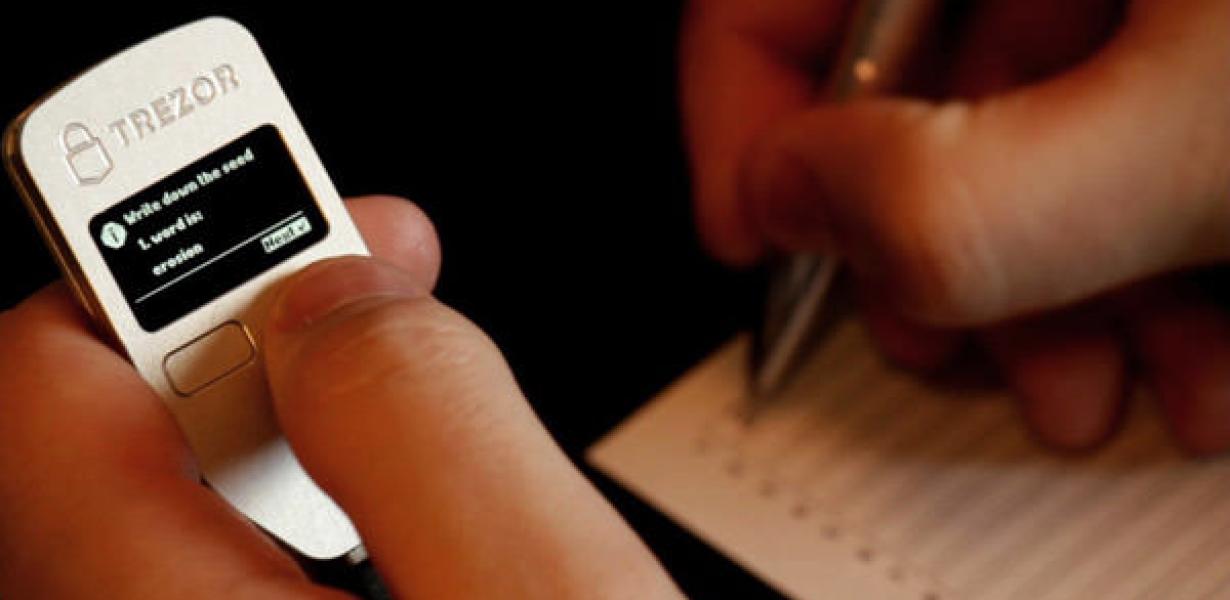
4. Enter your 12-word backup phrase.
5. Click on “Create New Wallet”.
6. Confirm your password.
7. Your new Trezor wallet is now ready to use!
The Easiest Way to Set Up Your Trezor Wallet
1. Download the TREZOR Wallet from trezor.io.
2. Install the TREZOR Wallet on your computer.
3. Connect your TREZOR to your computer with a USB cable.
4. In the TREZOR Wallet, click on the “TREZOR” button.
5. In the “TREZOR Settings” window, click on the “Add Account” button.
6. In the “Add Account” window, click on the “Select a Wallet” button.
7. In the “Select a Wallet” window, click on the “TREZOR Wallet” button.
8. In the “TREZOR Wallet” window, click on the “Account” button.
9. In the “Account” window, enter your 12-word backup key.
10. Click on the “Next” button.
11. In the “Account Details” window, verify that the correct account name has been entered.
12. Click on the “Next” button.
13. In the “Account Finish” window, click on the “Finish” button.
14. Your TREZOR is now set up and ready to use!
How to Get Started with Trezor Wallet
1. To start using the Trezor Wallet, you need to download and install the application on your computer.
2. Once the application is installed, open it and click on the "New Wallet" button.
3. Enter your desired password and click on the "Create" button.
4. After creating your wallet, you will be presented with a list of accounts. Click on the "Add Account" button and enter the address of the account you want to use.
5. Next, click on the "Trezor" button and select the type of wallet you want to use.
6. After selecting your wallet type, you will be asked to provide some basic information about the account. This information includes the account's name, its email address, and the password for the account.
7. Next, you will be asked to select a security level for your wallet. There are three options available: minimal, standard, and maximum. Select the option that best suits your needs and click on the "Next" button.
8. Finally, you will be asked to confirm your details and to create a backup of your wallet. Click on the "Finish" button to finish setting up your Trezor Wallet.
Setting Up Your Trezor Wallet for the First Time
1. Download and install the Trezor Wallet on your computer.
2. Connect your Trezor device to your computer.
3. Enter your Trezor device’s 24-word recovery seed into the Trezor Wallet.
4. Click the “Create New Wallet” button.
5. Choose a name for your new wallet and click the “Create Wallet” button.
6. Click the “Backup Your Wallet” button.
7. Click the “Settings” button.
8. Click the “Advanced” button.
9. Scroll down to the “Security Settings” section and click the “Enable Two-Factor Authentication” button.
10. Click the “OK” button.
11. Click the “Close” button to finish setting up your Trezor Wallet.
A Beginner's Guide to Setting Up a Trezor Wallet
If you are new to cryptocurrency, setting up a Trezor wallet may be your first step. A Trezor wallet is a secure way to store your cryptocurrency. It is a device that looks like a small metal box and has a unique passphrase. You need to keep this passphrase secret, as it is the key to accessing your coins.
To set up a Trezor wallet, you first need to download the Trezor app. The app will ask for your email address and password. After you have completed these steps, you will be able to create a new Trezor wallet.
To create a new Trezor wallet, first open the Trezor app. Next, click on the “Create new wallet” button. You will be asked to enter your email address and password. After you have completed these steps, you will be able to select the type of wallet you want to create. There are three types of wallets available: desktop, mobile, and web.
To create a desktop wallet, first open the Trezor app and click on the “Desktop” button. Next, you will be asked to enter your passphrase. After you have completed these steps, you will be able to select the type of wallet you want to create. There are two types of wallets available: single key and multi-key. To create a multi-key wallet, first open the Trezor app and click on the “Multi-key” button. Next, you will be asked to enter your passphrase for each key. After you have completed these steps, you will be able to select the type of wallet you want to create. There are two types of wallets available: individual and shared. To create an individual wallet, first open the Trezor app and click on the “Individual” button. Next, you will be asked to enter your passphrase for each key. After you have completed these steps, you will be able to select the type of wallet you want to create. There are two types of wallets available: public and private. To create a private wallet, first open the Trezor app and click on the “Private” button. Next, you will be asked to enter your passphrase for each key. After you have completed these steps, you will be able to select the type of wallet you want to create. There are three types of wallets available: default, hidden, and secure. To create a default wallet, first open the Trezor app and click on the “Default” button. Next, you will be asked to enter your passphrase for your default wallet. After you have completed these steps, you will be able to select the type of wallet you want to create. There are two types of wallets available: standard and extended. To create a standard wallet, first open the Trezor app and click on the “Standard” button. Next, you will be asked to enter your passphrase for your standard wallet. After you have completed these steps, you will be able to select the type of wallet you want to create. There are three types of wallets available: cold storage, hot storage, and multi-signature. To create a cold storage wallet, first open the Trezor app and click on the “Cold storage” button. Next, you will be asked to enter your passphrase for your cold storage wallet. After you have completed these steps, you will be able to select the type of wallet you want to create. There are three types of wallets available: hardware, web, and paper. To create a web wallet, first open the Trezor app and click on the “Web” button. Next, you will be asked to enter your passphrase for your web wallet. After you have completed these steps, you will be able to select the type of wallet you want to create. There are two types of wallets available: HD (hardware) and SPV (software). To create a paper wallet, first open the Trezor app and click on the “Paper” button. Next, you will be asked to enter your passphrase for your paper wallet. After you have completed these steps, you will be able to select the type of wallet you want to create.