Add Crn To Metamask
Adding CRN to Metamask is a simple process that allows you to add the currency to your Metamask account. After adding the currency, you will be able to use it for transactions and other purposes.
How to Add a CRN to Metamask
To add a CRN to Metamask, follow these steps:
1. In Metamask, click on the wrench icon in the top left corner.
2. Under "Add Custom Token," click on the "CRN" tab.
3. Enter the CRN into the "Token Symbol" field and the "Token Name" field.
4. Click on the "Generate" button.
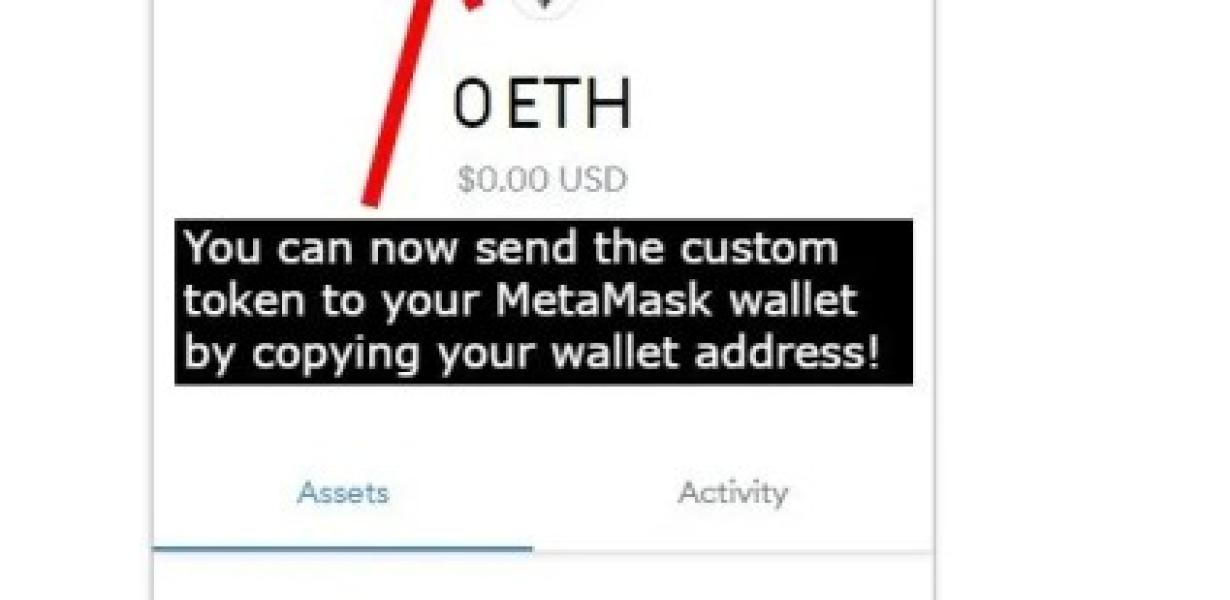
5. Copy the generated CRN and paste it into your clipboard.
6. Go to Metamask's "Settings" page and copy the "Token Address" field.
7. Paste the CRN into the "Token Address" field and click on the "Save" button.
Adding a CRN to Your Metamask Account
To add a CRN to your Metamask account, follow these steps:
1. Click on the "Metamask" button in the upper-left corner of your browser.
2. In the "Metamask" window that appears, click on the "Add Account" button.
3. On the "Add Account" window that appears, enter your email address and password.
4. Click on the "Properties" button in the "Add Account" window.
5. In the "Property" window that appears, click on the "CRN" field.
6. Enter the CRN of the company you work for.
7. Click on the "Submit" button in the "Property" window.
8. Congratulations, your CRN has been added to your Metamask account!
Using a CRN with Metamask
Metamask is a decentralized application that allows users to manage their cryptocurrency holdings and transactions. To use Metamask, first install it on your computer. Then, open the Metamask app and click on the "Add Account" button.
Next, enter your CRN and click on the "Connect" button. After you've completed the connection, your CRN will be displayed in the "My Accounts" section of the Metamask app.
Getting Started with CRNs and Metamask
If you are new to CRNs and Metamask, we recommend reading our guide on how to get started with CRNs and Metamask. In that guide, we discuss the different types of CRNs and how to use them with Metamask.
If you just want to start using CRNs right away, you can do so by following these steps:
1. Install Metamask.
2. Register for a CRN account.
3. Set up a Metamask wallet.
4. Add a CRN token to your Metamask wallet.
5. Start trading CRN tokens.
What is a CRN?
A CRN is a Customer Reference Number.
How to Use a CRN with Metamask
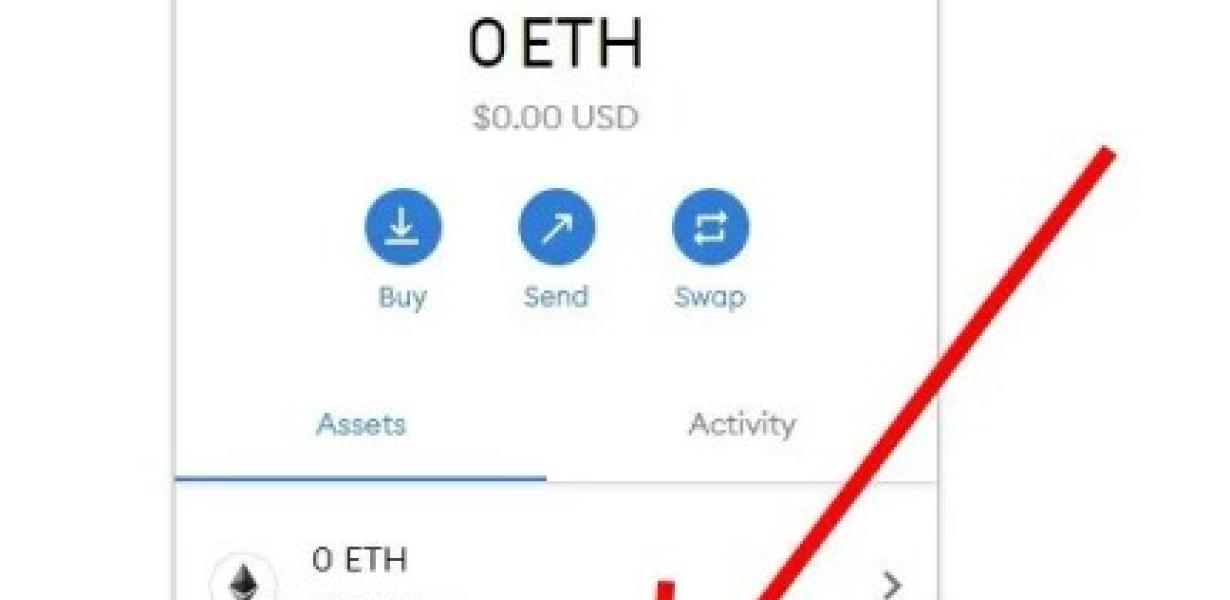
To use a CRN with Metamask, you first need to create a Metamask account. Once you have an account, you will need to add a token. To do this, open the Metamask app and click on the three lines in the top left corner. Under "Tokens," click on "Add a new token."
Next, enter the details for your CRN token. You will need to provide your CRN's name (for example, "CRN-123456"), the Ethereum address that you will use to receive payments from users, and the amount of ETH that you will give to the token creator.
Finally, you will need to add a rule that will allow you to use your CRN token. To do this, click on the "Add a new rule" button and enter the following information:
Name: "Use CRN token"
Type: "Access tokens"
Rule: "Any account that has this token added as a rule can use it"
Click on the "Add rule" button and you will be prompted to add the details for your CRN token's access token. Add the details for your CRN token's access token and ensure that the rule matches the name you provided earlier.
Now that you have added your CRN token and set up its access token, you can start using it with Metamask. To do this, open the Metamask app and click on the three lines in the top left corner. Under "Tokens," click on "Add a new token."
Next, enter the details for your CRN token. You will need to provide your CRN's name (for example, "CRN-123456"), the Ethereum address that you will use to receive payments from users, and the amount of ETH that you will give to the token creator.
Finally, you will need to add a rule that will allow you to use your CRN token. To do this, click on the "Add a new rule" button and enter the following information:
Name: "Use CRN token"
Type: "Access tokens"
Rule: "Any account that has this token added as a rule can use it"
Click on the "Add rule" button and you will be prompted to add the details for your CRN token's access token. Add the details for your CRN token's access token and ensure that the rule matches the name you provided earlier.
Setting up a CRN with Metamask
To set up a CRN with Metamask, you first need to create an account on the Metamask website. Once you have an account, you can follow these steps to set up a CRN with Metamask:
1. Open the Metamask website and click on the "Add Account" button in the top-left corner.
2. On the "Add Account" page, click on the "Create a New Account" button.
3. On the "Create a New Account" page, enter your Metamask account name and password.
4. Click on the "Login" button to login to your Metamask account.
5. In the top-right corner of the page, click on the "My Accounts" button.
6. On the "My Accounts" page, click on the "Add a New Account" button.
7. On the "Add a New Account" page, enter your desired CRN name and select the type of account you would like to create: ERC20 or OTC.
8. Click on the "Create Account" button to create your CRN with Metamask.
9. After your CRN has been created, you will be redirected to the "My Accounts" page. In the top-right corner of the page, you will see your newly created CRN listed under "My Accounts".
Creating a CRN for Metamask
Metamask is a decentralized application that allows users to control their identity and digital assets. It allows users to access and manage their Ethereum and ERC20 tokens, as well as other cryptocurrencies.
Using CRNs in Metamask
Metamask is a decentralized platform that allows users to interact with the Ethereum network and other decentralized applications. Metamask allows users to create and manage their own personal Ethereum wallets, and also to use decentralized applications (dApps).
When you open Metamask, you will see a "New Wallet" button on the left-hand side of the screen. Click on the "New Wallet" button to open the new wallet creation wizard.
On the "New Wallet" wizard page, you will need to provide some basic information about your wallet. In the "Description" field, you can provide a short description of your wallet. In the "Algorithm" field, you can choose to use the Ledger Nano S as your wallet's backup store. In the "Destination" field, you can choose to store your wallet on Metamask's servers. In the "Metamask OAuth2" field, you can provide your Metamask account's OAuth2 authorization code.
In the "Components" field, you can choose to add a security component to your wallet. The options available in this field include a security token, a password manager, and a hardware wallet.
In the "Add Security Component" dialog box, you will need to provide some basic information about your security component. In the "Description" field, you can provide a brief description of your security component. In the "Type" field, you can choose to add a security token to your wallet. In the "Grantee" field, you can choose to add your Metamask account as the owner of the security token. In the "Access Level" field, you can choose to add read-only or read-write access to your security component.
In the "Add Security Component" dialog box, you will also need to provide some basic information about your security component. In the "Description" field, you can provide a brief description of your security component. In the "Type" field, you can choose to add a security token to your wallet. In the "Grantee" field, you can choose to add your Metamask account as the owner of the security token. In the "Access Level" field, you can choose to add read-only or read-write access to your security component.
In the "Add Security Component" dialog box, you will also need to provide some basic information about your security component. In the "Description" field, you can provide a brief description of your security component. In the "Type" field, you can choose to add a security token to your wallet. In the "Grantee" field, you can choose to add your Metamask account as the owner of the security token. In the "Access Level" field, you can choose to add read-only or read-write access to your security component.
When you have completed the wizard, click on the "Create Wallet" button to create your new wallet. Your wallet will be created and displayed in the "Wallets" section of Metamask. You can access your wallet by clicking on the "Wallet" button in the "Wallets" section of Metamask, or by using the address generated when you created your wallet.