Nicehash to Exodus wallet.
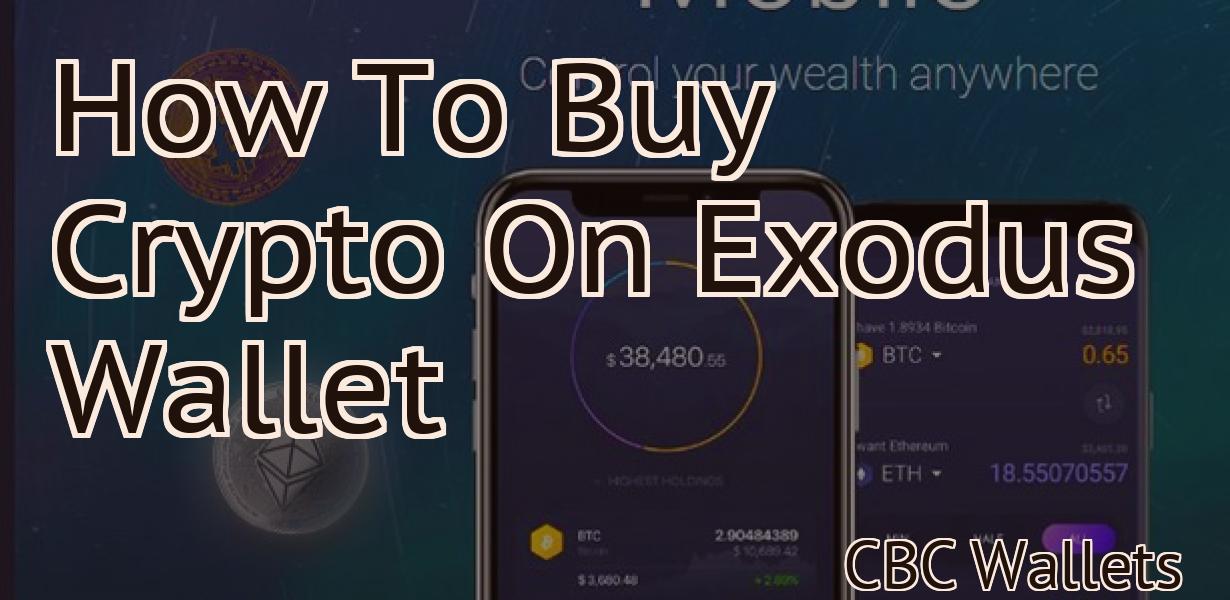
Nicehash is a cryptocurrency mining marketplace where you can buy or sell hashing power. Exodus is a desktop wallet for cryptocurrencies.
How to Migrate from Nicehash to Exodus Wallet
1. Create an Exodus Wallet
To migrate from Nicehash to Exodus, you first need to create an Exodus wallet. To do this, visit exodus.io and click on the “Create New Wallet” button.
2. Choose a Cryptocurrency to Migrate From
Next, you will need to choose a cryptocurrency to migrate from Nicehash to Exodus. To do this, select the “Select a Cryptocurrency” button and select the cryptocurrency you want to migrate from Nicehash to Exodus.
3. Add Your Nicehash Address
After selecting a cryptocurrency, you will need to add your Nicehash address. To do this, click on the “Add New Address” button and enter your Nicehash address.
4.Choose a Cryptocurrency to Migrate From
Next, you will need to choose a cryptocurrency to migrate from Nicehash to Exodus. To do this, select the “Select a Cryptocurrency” button and select the cryptocurrency you want to migrate from Nicehash to Exodus.
5. Review Your Settings
After selecting a cryptocurrency, you will need to review your settings. To do this, click on the “Review Settings” button and review the settings for your chosen cryptocurrency.
6. Click on the “Migrate” Button
After reviewing your settings, you will next need to click on the “Migrate” button. This will begin the migration process from Nicehash to Exodus.
Easy Steps to Switch from Nicehash to Exodus Wallet
1. First, make sure you have a wallet installed on your computer. Exodus is available as an open-source wallet, so any computer with an internet connection should be able to use it.
2. Next, go to Exodus’ homepage and click the “Download” button.
3. On the next page, click the “Windows” button and then click the “Download” button.
4. On the next page, click the “Linux” button and then click the “Download” button.
5. Once the downloads have finished, open the Exodus wallet file that you downloaded.
6. On the next page, you will see a list of wallets. Select “NiceHash” and then click the “Import” button.
7. On the next page, you will be prompted to enter your NiceHash username and password. Do not forget this information!
8. After entering your credentials, Exodus will start importing your NiceHash wallet data. This process may take a few minutes, so be patient!
9. Once the import has completed, you will be able to see all of your NiceHash coins and mining rewards in Exodus.
From Nicehash to Exodus Wallet: A Step-by-Step Guide
1. Create an Exodus Wallet
First, you will need to create an Exodus wallet. To do so, go to https://exodus.io and click on “Create New Wallet.”
2. Add a Bank Account
Next, you will need to add a bank account. To do so, enter your bank account information into the “Bank Account” section of the Exodus Wallet.
3. Add your Bitcoin Address
Next, you will need to add your Bitcoin address. To do so, enter your Bitcoin address into the “Bitcoin Address” section of the Exodus Wallet.
4. Add a Ethereum Address
Finally, you will need to add a Ethereum address. To do so, enter your Ethereum address into the “Ethereum Address” section of the Exodus Wallet.
Migrating from Nicehash? Here's How to Move to Exodus Wallet
Exodus is a digital asset wallet with a built-in exchange that allows users to buy and sell cryptocurrencies and digital assets. Exodus also has a built-in cold storage feature that allows users to store their cryptocurrencies offline.
Ready to Switch from Nicehash? Follow These Steps to Use Exodus Wallet
1. First, open Exodus wallet and sign in.
2. On the home screen, click on the "Settings" button.
3. Under the "General" tab, click on the "Switching to New Wallet" button.
4. On the next screen, enter your Nicehash wallet address and password. Click on the "Next" button.
5. On the final screen, review the information and click on the "Finish" button.
6. Exodus will now start syncing with Nicehash and you will be ready to start trading!
Making the Move from Nicehash to Exodus Wallet
There are a few things you will need in order to make the move from Nicehash to Exodus Wallet:
1. A desktop or laptop with an internet connection
2. The Exodus Wallet software
3. Your Nicehash account information (username, password, and worker ID)
4. Bitcoin or Ethereum (or other supported cryptocurrency)
5. An external hard drive or USB memory stick
1. Install the Exodus Wallet software on your computer.
2. Log in to your Nicehash account.
3. Click on the "Accounts" tab.
4. Click on the "Withdraw" button next to your Nicehash account name.
5. Enter your Nicehash username, password, and worker ID.
6. Click on the "Withdraw Funds" button.
7. Select the Bitcoin or Ethereum (or other supported cryptocurrency) you wish to withdraw from your Nicehash account.
8. Click on the "Withdraw Funds" button.
9. Copy the wallet address that appears on the screen.
10. Log in to your external hard drive or USB memory stick.
11. Navigate to the wallet address you copied in step 10.
12. Click on the "Extract" button.
13. Double-click on the Exodus Wallet application to open it.
14. Navigate to the "My Accounts" tab.
15. Click on the "Deposits" button.
16. Select the Bitcoin or Ethereum (or other supported cryptocurrency) you deposited to your Nicehash account in step 5.
17. Click on the "Withdraw Funds" button.
18. Enter your Nicehash username and password.
19. Click on the "Withdraw Funds" button.