Metamask Web3
MetaMask is a web3 browser extension that allows you to interact with decentralized applications (dapps) on the Ethereum network. With MetaMask, you can easily access your Ethereum account and make transactions without having to run a full node. MetaMask also lets you switch between different Ethereum networks, so you can easily test your dapp on different networks.
How to use Metamask with web3
To use Metamask with web3, you will first need to create an account at metamask.io. Once you have created an account, you will need to install the Metamask Chrome Extension.
Once you have installed the Metamask Chrome Extension, you can open it and click the “Add Account” button.
On the next screen, you will need to input your Metamask account credentials. After you have entered your credentials, click the “Add Account” button.
You will now be able to access your Metamask account from the “My Account” tab in the Metamask Chrome Extension.
Next, you will need to create a new Ethereum wallet. To do this, click on the “Create Wallet” button in the My Account tab in the Metamask Chrome Extension.
After you have created your new Ethereum wallet, you will need to input your wallet address. You will also need to input your password.
After you have input your wallet address and password, click the “Create Wallet” button.
You will now be able to access your newly created Ethereum wallet from the “ wallets” tab in the Metamask Chrome Extension.
Next, you will need to add a new Ethereum node to your network. To do this, click on the “Connect” button in the “wallets” tab in the Metamask Chrome Extension.
After you have added a new Ethereum node to your network, you will need to input your node’s address. You will also need to input your node’s port number.
After you have input your node’s address and port number, click the “Connect” button.
You will now be able to access your newly added Ethereum node from the “Nodes” tab in the Metamask Chrome Extension.
Next, you will need to add a new Ethereum contract to your network. To do this, click on the “Add Contract” button in the “Nodes” tab in the Metamask Chrome Extension.
After you have added a new Ethereum contract to your network, you will need to input your contract’s address. You will also need to input your contract’s contract code.
After you have input your contract’s address and code, click the “Add Contract” button.
You will now be able to access your newly added Ethereum contract from the “Contracts” tab in the Metamask Chrome Extension.
Metamask and web3 – the perfect combination
When it comes to decentralized applications, there are a few key things you need to think about. One of these is how to access the blockchain network.
One popular way to do this is using a blockchain platform such as Ethereum or NEO. However, this can be a bit difficult for some people. That’s where metamask comes in.
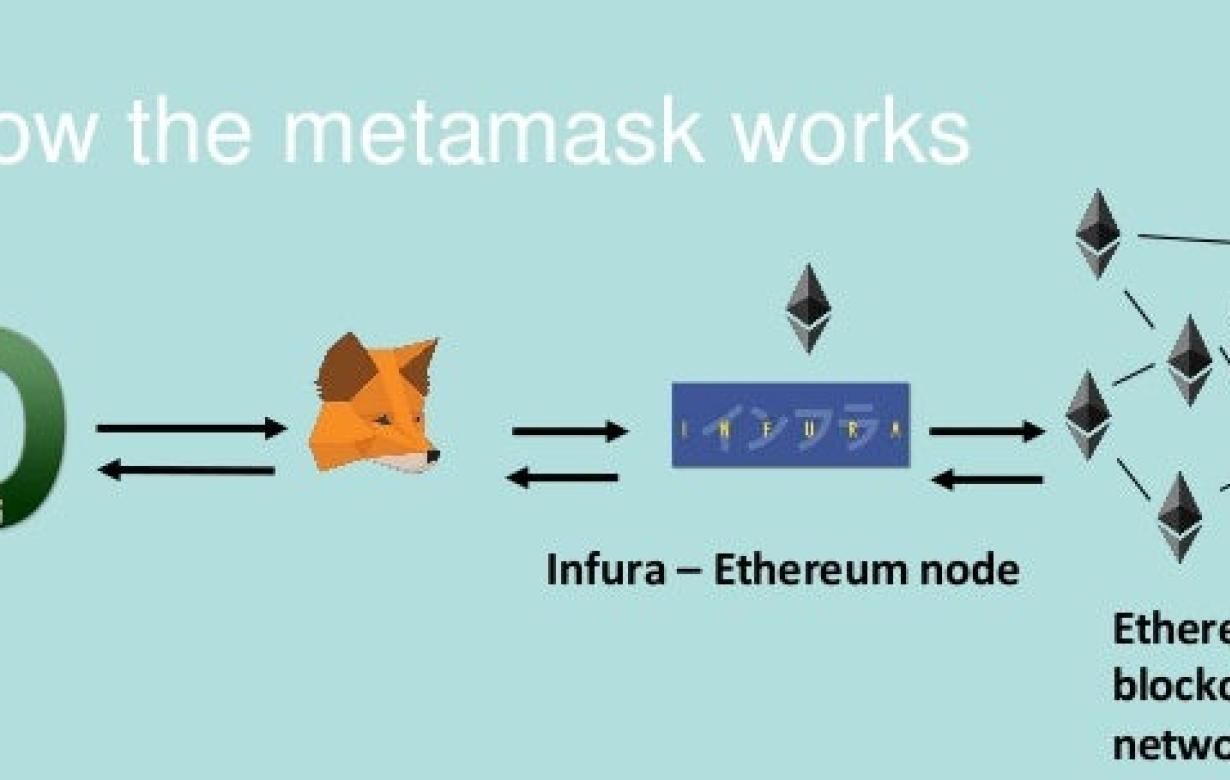
Metamask is a platform that allows you to access the Ethereum network and other decentralized applications with ease. It does this by allowing you to use your regular browser to access the blockchain network.
This makes metamask the perfect choice for those who want to use decentralized applications but don’t want to learn complex blockchain technology. Plus, metamask also supports a wide range of cryptocurrencies, making it the perfect choice for investment opportunities.
If you’re looking to invest in cryptocurrencies, then metamask is the perfect platform for you. It’s easy to use, and it supports a wide range of cryptocurrencies. Plus, it offers great investment opportunities.
The ultimate guide to using Metamask with web3
Metamask is a browser extension that allows you to interact with the Ethereum blockchain. It requires a personal Ethereum wallet to be installed on your computer, and you can use it to send and receive Ethereum, as well as manage your accounts and transactions.
Before you can start using Metamask, you'll need to set up your personal Ethereum wallet. You can find instructions on how to do this here. Once you have your personal Ethereum wallet set up, you can install Metamask from the Chrome Web Store.
Once Metamask is installed, you'll need to open it and select the "Add Account" button. This will open the Ethereum account creation window. In the "Account Name" field, enter a name for your account. In the "Account Email" field, enter an email address for your account. In the "Passphrase" field, enter a password for your account. In the "Eth Address" field, enter the Ethereum address for your account. In the "Metamask Address" field, enter the Metamask address for your account. Click the "Create Account" button.
Now that you have created your account, you'll need to add it to Metamask. To do this, open Metamask and click on the "Add Account" button. This will open the Ethereum account selection window. In the "Account Name" field, enter the name of the account that you added in step 2. In the "Account Email" field, enter the email address of the account that you added in step 2. In the "Passphrase" field, enter the password of the account that you added in step 2. In the "Eth Address" field, enter the Ethereum address of the account that you added in step 2. In the "Metamask Address" field, enter the Metamask address of the account that you added in step 2. Click the "Add Account" button.
Now that your account is added to Metamask, you can start using it to interact with the Ethereum blockchain. To send Ethereum, open Metamask and select the "Send Ether" button. This will open the "Send Ether" window. In the "To Address" field, enter the Ethereum address that you want to send the Ethereum to. In the "Amount" field, enter the amount of Ethereum that you want to send to the address in the "To Address" field. Click the "Send Ether" button.
To receive Ethereum, open Metamask and select the "Receive Ether" button. This will open the "Receive Ether" window. In the "From Address" field, enter the Ethereum address that you want to receive the Ethereum from. In the "Amount" field, enter the amount of Ethereum that you want to receive from the address in the "From Address" field. Click the "Receive Ether" button.
Metamask + web3 = power
Metamask is a tool that allows you to interact with decentralized applications and smart contracts on the Ethereum blockchain. With Metamask, you can store your private keys in the browser and interact with contracts and applications without having to install a separate wallet.
To use Metamask, you first need to install the extension. Once installed, you will be able to access Metamask by clicking on the “Metamask” icon in the top right corner of your browser.
Once you are in Metamask, you will need to click on the “Add Wallet” button and select the Ethereum wallet that you want to use. (If you do not have an Ethereum wallet, you can create one here).
Next, you will need to add your private keys by clicking on the “Add Key” button. You will need to enter your Metamask address and password, and then click on the “Generate New Key” button.
After you have added your keys, you will need to click on the “Connect” button and then on the “Ethereum” tab. You will then need to input the address of the Ethereum blockchain where you want to store your tokens. (You can find the address of the Ethereum blockchain here).
Finally, you will need to click on the “Deploy” button and then on the “My Contracts” tab. You will then need to input the contract address, and then click on the “Deploy” button.
Once the contract has been deployed, you will be able to access your tokens by clicking on the “My Contracts” tab and then on the “Token” tab. You will then need to input the address of the token contract, and then click on the “Access” button.
How to unlock the power of Metamask with web3
Metamask is a browser extension that enables users to interact with smart contracts and decentralized applications (DApps) on the Ethereum blockchain.
To unlock the power of Metamask, follow these steps:
1. Open the Metamask extension on your browser.
2. Click on the three lines in the top right corner of the Metamask window.
3. In the "Configure Metamask" dialog box, click on the "Advanced" button.
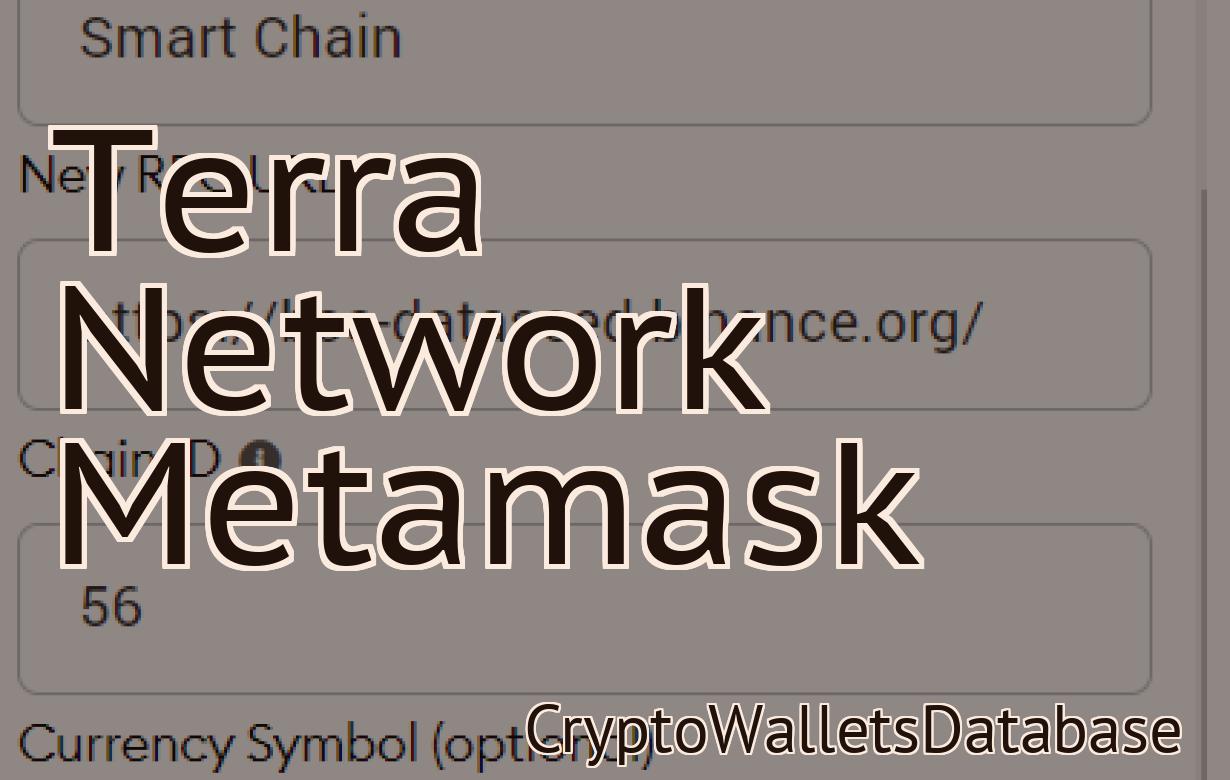
4. In the "Advanced" dialog box, under "Web3 provider," click on the "Add..." button.
5. In the "Add Web3 Provider" dialog box, enter "https://etherscan.io" into the "Provider URL" field and click on the "OK" button.
6. Under "Configure other settings," click on the "Enable" button.
7. Under "Configure Wallet," click on the "Enable" button.
8. Click on the "Metamask" logo in the top left corner of the Metamask window to open the Metamask wallet.
9. In the Metamask wallet, click on the "Contracts" tab.
10. Under "Ethereum Contracts," click on the "Add..." button.
11. In the "Add Ethereum Contract" dialog box, enter the contract address and click on the "OK" button.
12. Click on the "Token Contracts" tab and enter the token contract address into the "Contract Address" field.
13. Click on the "Deploy" button to deploy the contract to the Ethereum blockchain.
The key to success: using Metamask with web3
If you want to use Metamask with web3, the first step is to create an account on Metamask.io and install the Metamask extension. Once you have an account and installed the extension, you can open it and click on the New Wallet button to create a new Metamask wallet.
Next, you will need to add an Ethereum address to your Metamask wallet. To do this, click on the Add Address button and enter the address of an Ethereum account that you own or control.
Once you have entered the address, you will need to confirm it by clicking on the Confirm button.
Now, you can start using Metamask with web3. To do this, first click on the gear icon in the upper right-hand corner of the Metamask window and select the Settings option.
In the Settings window, you will need to select the Web3 provider option and then select the Ethereum network.
Finally, you will need to enter your Metamask wallet address and password in the appropriate fields and click on the OK button to save the changes.
Now, whenever you want to use web3 with your Metamask wallet, you will need to first open the Settings window and select the Web3 provider option. Then, you will need to enter your Metamask wallet address and password in the appropriate fields and click on the Connect button.
Now, your Metamask wallet will be connected to the Ethereum network and you can start using web3 to interact with smart contracts and other Ethereum applications.