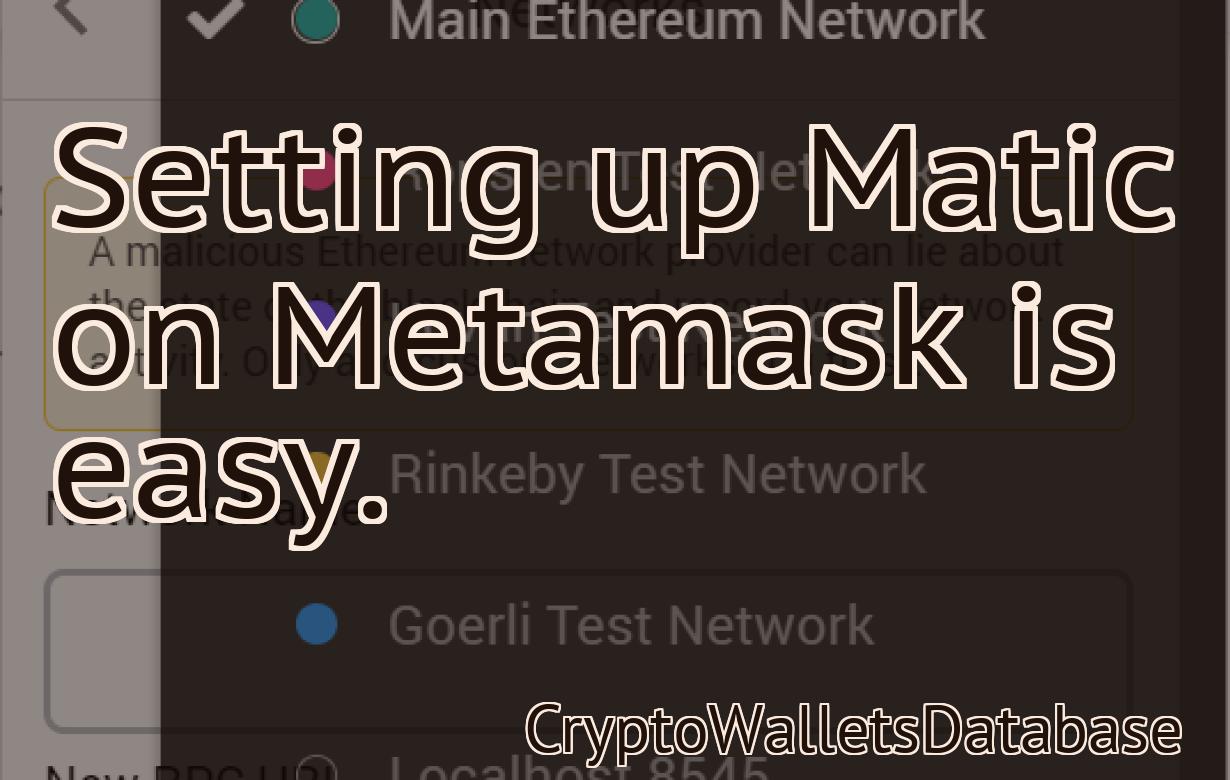
Adding Matic To Metamask
Adding Matic to Metamask is a simple and straightforward process that requires just a few clicks. After adding Matic to your Metamask account, you will be able to use all of the features and benefits that the platform has to offer.
How to add Matic to Metamask
To add Matic to Metamask, follow these steps:
Open Metamask and click on the three lines in the top left corner of the screen.
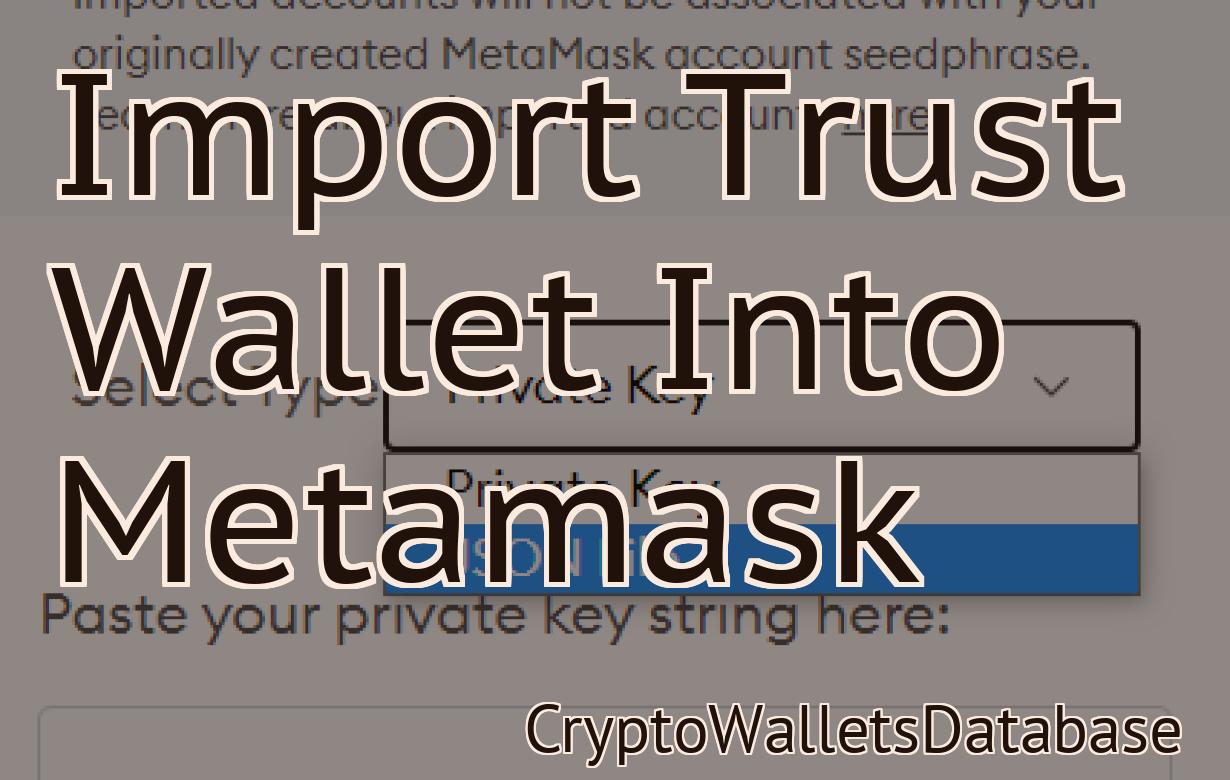
Click on Add Token.
Type Matic in the search bar and press enter.
Select Matic from the list and click on OK.
Metamask will now show you your Matic tokens.
Adding Matic to your Metamask wallet
If you don’t have Metamask, you can download it here. Once you have Metamask installed, open it and click on the “Add Account” button in the top right corner.
From the list of options on the left, select “Matic”, enter your Metamask address and click on the “Connect” button.
Congratulations! Matic is now integrated into your Metamask wallet.
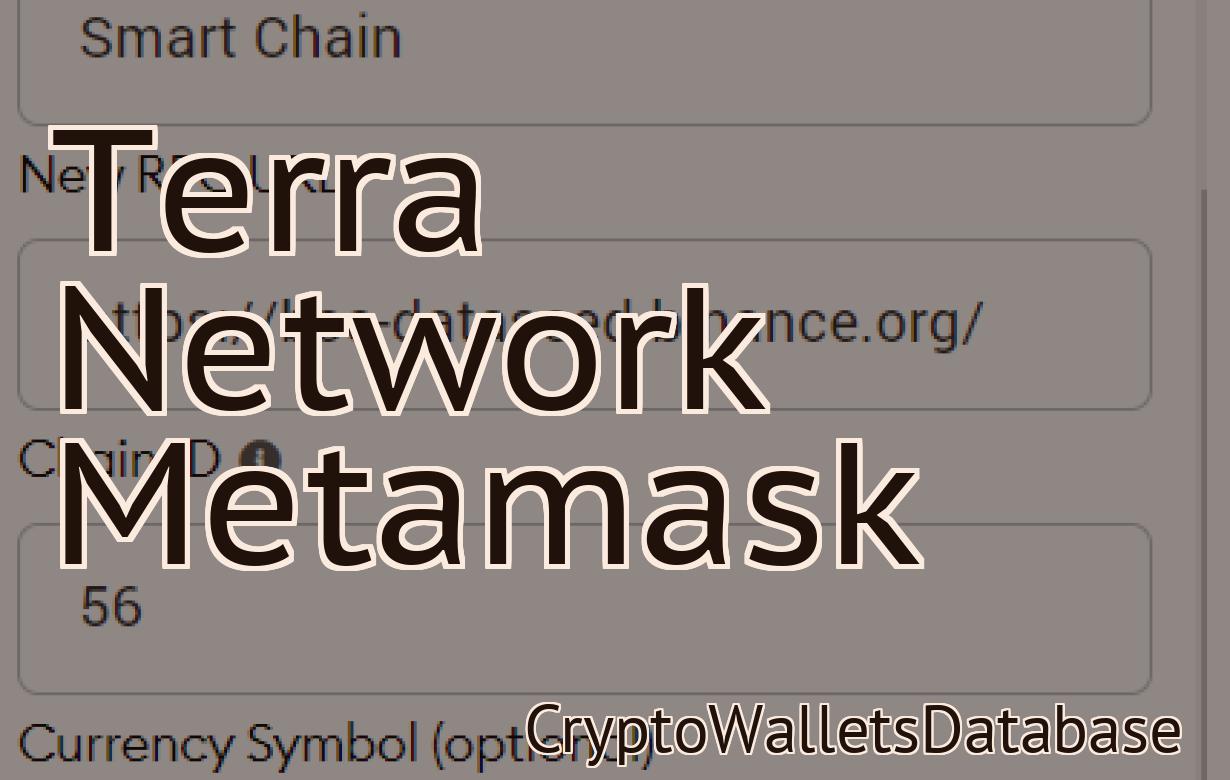
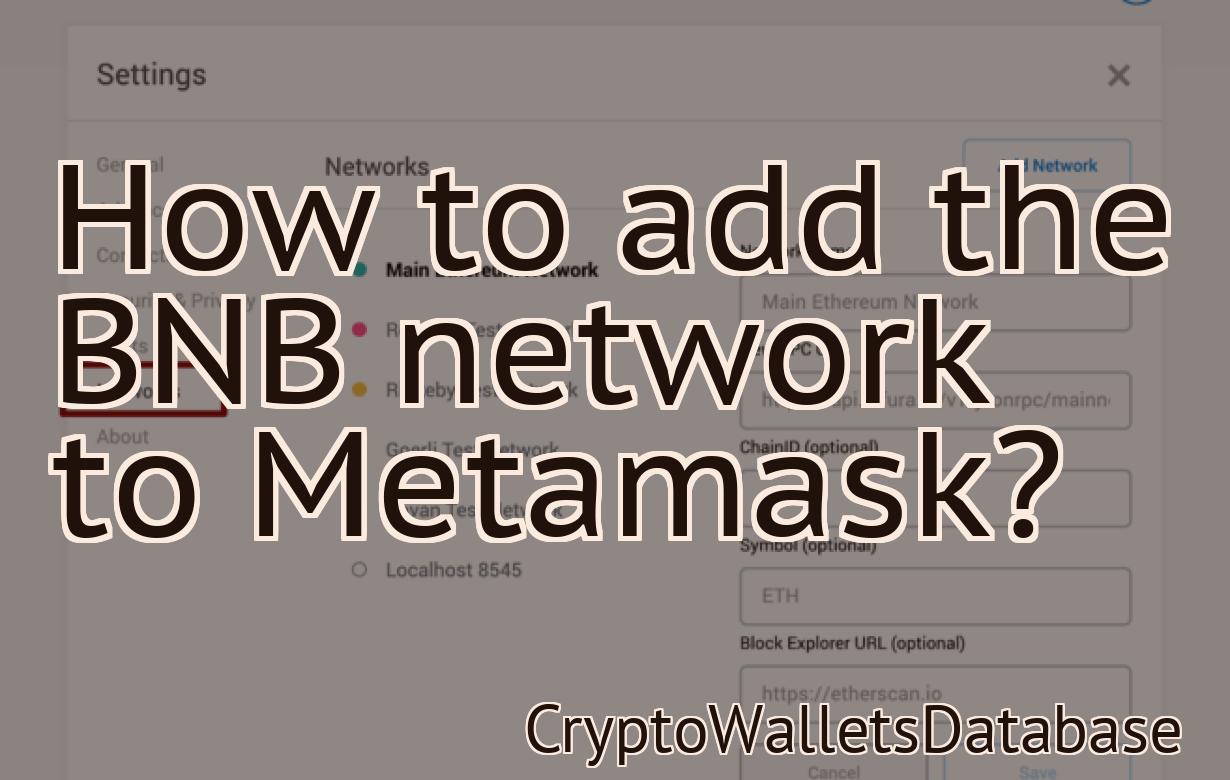
Matic Network - how to add it to Metamask
1. Open Metamask and click on the three lines in the top left corner.
2. Select "Add Contract" from the drop-down menu.
3. In the "Add Contract" dialog, paste the following address into the "Contract Address" field:
0x0c4e4d0eccfdaaefb724bf8e11a2dd1d6cadf9
4. Click on the "Add" button.
5. In the "Metamask Transaction" dialog, paste the following information into the "Destination" field:
0x0c4e4d0eccfdaaefb724bf8e11a2dd1d6cadf9
6. Click on the "Deploy" button.
7. Congratulations, you have added Matic Network to your Metamask account!
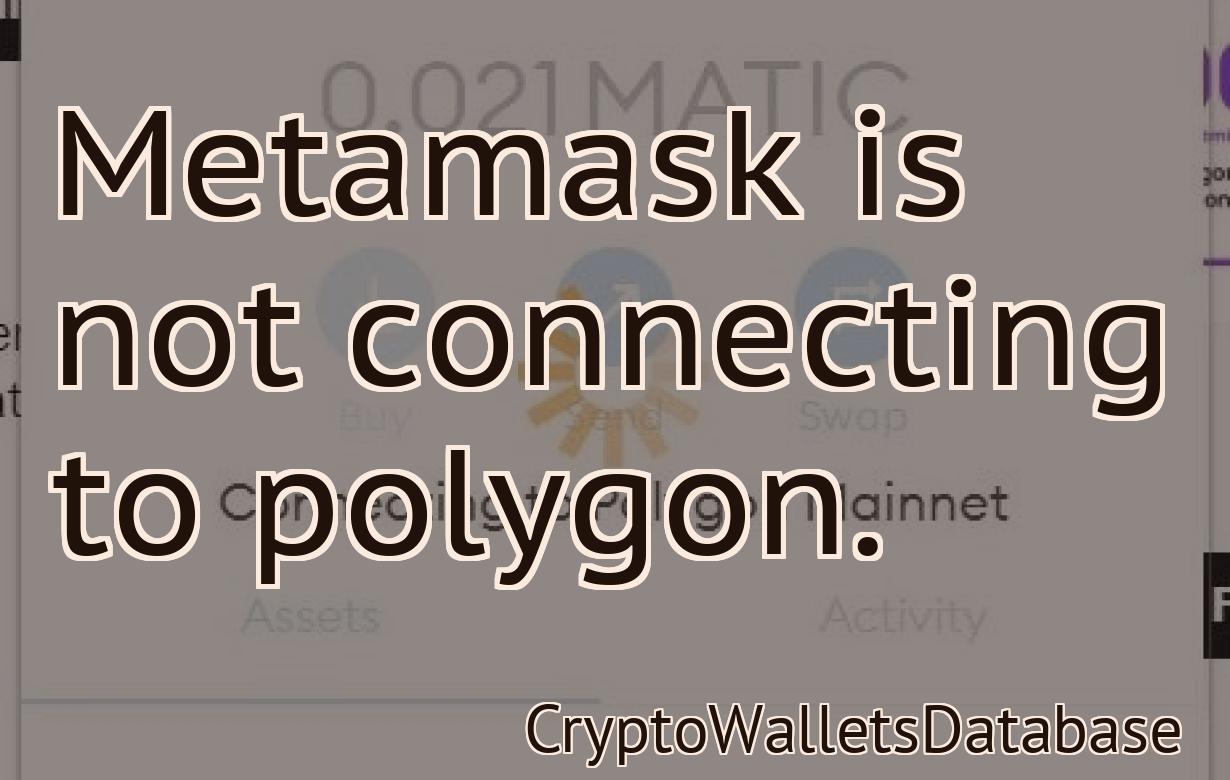
How to connect Matic Network to Metamask
1. Go to https://metamask.io/ and create an account.
2. Click on the “Keys” button at the top of the page.
3. Under “My Keys,” find the “Matic Network” key and click on it.
4. Copy the key and paste it into the “Address field” on Matic Network’s main page.
5. Click on the “Connect” button.
6. Matic Network will ask you to confirm your identity. Type in the address you copied from Metamask and click on the “Connect” button.
Matic Network - connecting it to Metamask
In order to use the Matic Network, you will need to install Metamask. Metamask is a browser extension that allows you to interact with the Matic Network. Once you have installed Metamask, follow these steps to connect your Matic Network account to Metamask:
1. Open Metamask and click on the three lines in the top right corner.
2. In the "Projects" tab, scroll down and select "Matic."
3. Click on the "Connect" button next to the Matic account.
4. In the "Metamask connection" window, enter your Matic Network account credentials and click on the "Connect" button.
5. You will now be able to send and receive Matic Network tokens using Metamask.
Using Matic Network with Metamask
Metamask is a decentralized platform that allows users to interact with the Ethereum network. You can use it to send and receive ETH, as well as manage your accounts and transactions.
To use Matic with Metamask, first install Metamask on your computer. After installation is complete, open Metamask and click on the “Add Account” button. In the “Add Account” window, enter the following information:
1. Address: The address where you want to send Matic tokens
2. Account Name: The name of your Matic account
3. Password: The password for your Matic account
4. Gas Limit: The gas limit for your transaction (in ETH)
5. Decimals: The number of decimals for your transaction (0-18)
6. Amount (ETH): The amount of ETH you want to send to your Matic account
7. Memo: A memo for your transaction
8. Confirm: Click “Confirm” to send the transaction
Now, open the Matic app and click on the “Create New Transaction” button. In the “Transaction Details” window, enter the following information:
1. Address: The address where you want to send Matic tokens
2. Amount (Matic): The amount of Matic you want to send to your account
3. Memo: A memo for your transaction
4. Confirm: Click “Confirm” to send the transaction
Your Matic tokens will be sent to the address that you entered in step 1.
How to access Matic Network through Metamask
Step 1. First, open Metamask and click on the three lines in the top left corner.
Step 2. Select Accounts and then Add Account.
Step 3. Type Matic Network in the Username field and click on the green button to add the account.
Step 4. In the Password field, type matic and click on the green button to save the password.
Step 5. Click on the blue Metamask button in the top right corner to open the Metamask interface.
Step 6. In the top left corner, click on the three lines.
Step 7. Under Networks, click on Matic Network.
Step 8. Under Accounts, click on Login to Matic Network.
Step 9. Type your Matic Network login credentials in the login form and click on the green button to log in.
Getting started with Matic Network and Metamask
If you are not familiar with Matic Network and Metamask, we recommend reading our guides first.
Matic Network is an open-source, decentralized network that allows users to send and receive payments with the help of smart contracts. Metamask is a popular extension for Ethereum that allows users to interact with smart contracts and other dApps.
To get started with Matic Network and Metamask, we recommend following these steps:
1. Install Metamask
To use Metamask, you first need to install it on your computer. You can find the latest version of Metamask here.
2. Create an Matic Network account
Next, you need to create an Matic Network account. To do this, you will need to provide your email address and create a password. You will also be required to provide some personal information, such as your name and address.
3. Add a payment channel to your Metamask account
Once you have created your Matic Network account, you can add a payment channel to your account. To do this, open Metamask and click on the “Channels” tab. Under “Channels,” select the “Add Channel” button and provide the following information:
Name: The name of the payment channel
Address: The address of the wallet where you will receive payments from users
Gas Limit: The gas limit of the payment channel
Gas Price: The gas price of the payment channel
4. Set up a Matic Network contract
Next, you will need to set up a Matic Network contract. To do this, open the Matic Network website and click on the “Contracts” tab. Under “Contracts,” select the “Create Contract” button and provide the following information:
Name: The name of the Matic Network contract
Address: The address of the Matic Network contract
Token Symbol: The symbol of the Matic Network token
Decimals: The number of decimals of the Matic Network token
5. Send and receive payments on the Matic Network contract
Now that you have set up your Matic Network contract, you can start sending and receiving payments on it. To do this, you will need to send payments to the contract’s address and receive payments from the contract’s address.
How to use Matic Network with Metamask
1. Visit the Matic Network website and create an account.
2. Download Metamask, which is a browser extension that allows you to interact with the Ethereum network.
3. Go to the Matic Network website and click on the “Register” link in the header.
4. On the registration form, enter your email address and choose a password.
5. Click on the “Login” button to log in to Metamask.
6. In the “Contracts” tab, select the “Ether” contract and click on the “Get Info” button.
7. In the “Info” tab, under the “Function” column, click on the “Access” button next to the function name.
8. On the “Access” page, click on the “Enable” button next to the function you want to use.
9. In the “Matic Network” tab, under the “Contracts” column, select the “Matic Network” contract and click on the “Deploy” button.
10. On the “Deploy” page, enter your gas limit and gas price.
11. Click on the “Deploy” button to deploy the contract.
12. In the “Matic Network” tab, under the “Contracts” column, click on the “Logs” tab to view the logs of the contract.
13. To use the Matic Network contract, you need to issue a request to the contract. To do this, go to the “Request” tab and enter the details of your request.
14. If you want to cancel your request, go to the “Cancel Request” tab and click on the “Cancel Request” button.