Metamask cannot add BSC.
If you're having trouble adding BSC to Metamask, this guide will help you troubleshoot the issue.
Metamask Adds Support for Binance Smart Chain (BSC)
Metamask has just announced support for the Binance Smart Chain (BSC). This means that users can now use their Metamask accounts to access and trade on the BSC.
This is a big addition for Binance, as the BSC is one of the most advanced smart chains out there. It allows for quick and easy transactions, as well as enhanced security.
With Metamask support, Binance users can now easily access the BSC and start trading. This is great news, as the BSC is becoming increasingly popular among cryptocurrency traders.
How to Add BSC to Metamask
1. In the Metamask interface, click on the three lines in the top right corner.
2. On the left side of the window, click on "Add Account".
3. Type BSC into the "Account Name" field and click on the "Next" button.
4. Type your Metamask address into the "Metamask Address" field and click on the "Next" button.
5. Type your BSC key into the "BSC Key" field and click on the "Next" button.
6. Type "Yes, I am sure" into the "Are you sure you want to add this account?" field and click on the "Next" button.
7. Click on the "Close" button to close the window.
Now You Can Use Metamask with Binance Smart Chain (BSC)
Metamask is a great tool for users to interact with the Ethereum network. Recently, Binance announced that they are adding Metamask support to their BSC platform. This means that users can now use Metamask to access and trade on the BSC platform.
This is a great addition to the BSC platform, as it allows users to easily access the benefits of the BSC platform. Additionally, it allows users to easily exchange Ethereum for Binance Coin (BNB). This makes the BSC platform a great choice for users who want to invest in Ethereum and other cryptocurrencies.
Adding BSC to Your Metamask Wallet
To add BSC to your Metamask wallet, open the Metamask wallet and click on the “Add Token” button. Search for “BSC” and click on the “Add” button. You will then be prompted to input your BSC address.
Using Metamask with Binance Smart Chain
The Metamask extension for Binance allows users to interact with the Binance Smart Chain. With this extension, users can issue, trade, and manage BNB tokens on the Binance Smart Chain.
To get started using the Metamask extension with the Binance Smart Chain, first install the extension on your browser. Next, open the Metamask extension and click on the three lines in the top right corner of the window. From here, you can select the “Binance Smart Chain” option.
Once you have selected the “Binance Smart Chain” option, you will be able to access the Binance Smart Chain interface. To begin issuing BNB tokens, first click on the “Create New Token” button. This will open up a new window where you can enter the details of your new token. You will need to input the name of your token, the logo, and the total supply of tokens. After you have entered all of the required information, click on the “Create” button to create your new token.
To trade your newly created token on the Binance Smart Chain, first click on the “Exchange” button. This will open up a new window where you can choose to sell or buy your token. After you have chosen your desired action, click on the “Submit” button to commence your trade.
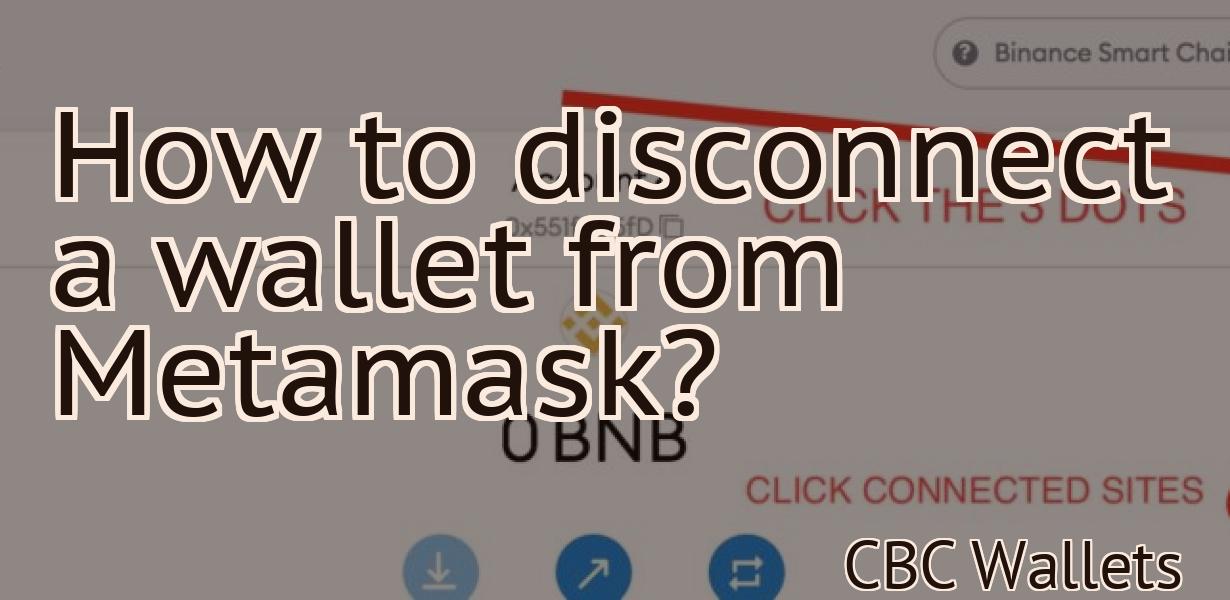
Connecting Metamask to Binance Smart Chain
To connect Metamask to Binance Smart Chain, follow these steps:
1. Launch Metamask.
2. Navigate to the Binance Smart Chain tab.
3. Click on the Metamask Connect button.
4. Enter your Metamask password.
5. Click on the Connect button.
Accessing Binance Smart Chain with Metamask
To access the Binance Smart Chain with Metamask, first install Metamask. After installation, open Metamask and click on the three lines in the top right corner.
Then click on the three lines in the top left corner, and select Binance from the list.
Finally, under Accounts, click on Metamask Accounts.
On the Metamask Accounts page, copy the Binance Smart Chain address (it will look like Binance_SMART_CHAIN_Address).
Then, open the Binance Smart Chain page (by clicking on the three lines in the top right corner of Metamask and then clicking on Binance Smart Chain), and paste the Binance Smart Chain address into the Address field.
Click on the Access button next to the Allow button.
Next, click on the Login button to log in to your Binance account.
After logging in, you will be asked to approve the transaction. Click on the Approve button.
You will now be in the Binance Smart Chain!
How to Use Metamask with Binance Smart Chain
To use Metamask with Binance Smart Chain, you first need to install the Metamask extension on your browser. After you have installed the Metamask extension, you need to open it and click on the “Configure” button.
Next, you need to click on the “Add Wallet” button and select the Binance Smart Chain wallet from the list. After you have selected the Binance Smart Chain wallet, you need to click on the “Connect” button.
Once you have connected your Binance Smart Chain wallet to Metamask, you will need to input your Binance account credentials. After you have input your account credentials, you will need to click on the “OK” button.
Now, you will need to add a new transaction. To do this, you will need to open the Metamask extension and click on the “Transactions” button.
After you have opened the transactions window, you will need to select the “Add New Transaction” button. After you have added the new transaction, you will need to enter the details of the transaction, including the address and the amount of cryptocurrency that you are sending.
Finally, you will need to click on the “Send Transaction” button and wait for the transaction to be processed.
Configuring Metamask for Binance Smart Chain
To configure Metamask for the Binance Smart Chain, follow these steps:
1. Launch Metamask.
2. Click on the three lines in the top left corner of the Metamask window. These lines will be labeled "Add Account," "Settings," and "API."
3. Enter the following information into the "Add Account" field:
a. Binance ID: 888888
b. Email Address: bnb@mail.com
c. Password: 123456
4. Click on the "Settings" button. This will open the "Settings" window.
5. In the "Settings" window, click on the "API" tab. This will open the "API" window.
6. In the "API" window, click on the "Configure" button. This will open the "Configure" window.
7. In the "Configure" window, click on the "Metamask" button. This will open the "Metamask" window.
8. In the "Metamask" window, click on the "Add Account" button. This will add the Binance Smart Chain account to Metamask.
9. Click on the "OK" button in the "Metamask" window. This will close the "Configure" window and return you to the "Settings" window.
10. Click on the "OK" button in the "Settings" window. This will close the "Settings" window and return you to the Metamask window.
11. In the "Metamask" window, click on the "My Accounts" button. This will open the "My Accounts" window.
12. In the "My Accounts" window, click on the "Binance Smart Chain" icon ( ). This will open the "Binance Smart Chain" window.
13. In the "Binance Smart Chain" window, click on the "Account Settings" button. This will open the "Account Settings" window.
14. In the "Account Settings" window, click on the "TX Fee Settings" button. This will open the "TX Fee Settings" window.
15. In the "TX Fee Settings" window, click on the "Set Custom Fee" button. This will open the "Set Custom Fee" dialog box.
16. In the "Set Custom Fee" dialog box, enter 0 in the "TX Fee Amount" field and click on the "Set Custom Fee" button. This will set the custom TX fee for this account to 0 Binance Coin (BNB).
17. Click on the "OK" button in the "Account Settings" window. This will close the "Account Settings" window and return you to the "My Accounts" window.
18. In the "My Accounts" window, click on the "Binance Smart Chain" icon ( ). This will open the "Binance Smart Chain" window again.
19. In the "Binance Smart Chain" window, click on the "Logout" button. This will log you out of Metamask and return you to the Binance website.
Setting Up Metamask for Binance Smart Chain
To use Metamask for the Binance Smart Chain, you first need to install it. Metamask is a desktop application that allows you to safely and securely interact with the Ethereum blockchain.
Once you have installed Metamask, open it and click on the Metamask icon in the top left corner.
Next, click on the Settings icon in the top right corner.
In the Settings window, click on the Add Wallet button.
In the Add Wallet window, click on the Import Wallet button.
Next, click on the Browse button and select the Ethereum wallet file that you wish to use with Metamask.
Finally, click on the Import Wallet button.
Once the Ethereum wallet has been imported into Metamask, you will need to generate a new Ethereum address. To do this, click on the Generate New Address button in the bottom left corner of the Metamask window.
Next, enter a name for your Ethereum address and click on the Generate New Address button.
Your new Ethereum address will now be displayed in the Metamask window. You can now safely close Metamask and open the Binance Smart Chain.
Using Binance Smart Chain with Metamask
To use Binance Smart Chain with Metamask, first open Metamask and create a new account. Then, on Binance, click the three lines in the top left corner of the main screen and select "Accounts." In the Accounts section, select the account you just created and click "Deposits." On the Deposit page, under the "Methods" heading, select "Binance Smart Chain." Under "Amount," input the amount of Bitcoin you want to deposit and click "Submit." After your Bitcoin has been deposited, open Metamask and click the "Waves" tab. In the "Waves Contract Address" field, input the address generated by Binance and click "Generate New Address." Copy the address and return to Binance. On the Binance main screen, click the three lines in the top left corner of the main screen and select "Balances." In the Balances section, select the "Bitcoin" tab and paste the address you copied from Metamask into the "Address" field. Click "Withdraw." After your Bitcoin has been withdrawn, close Metamask.