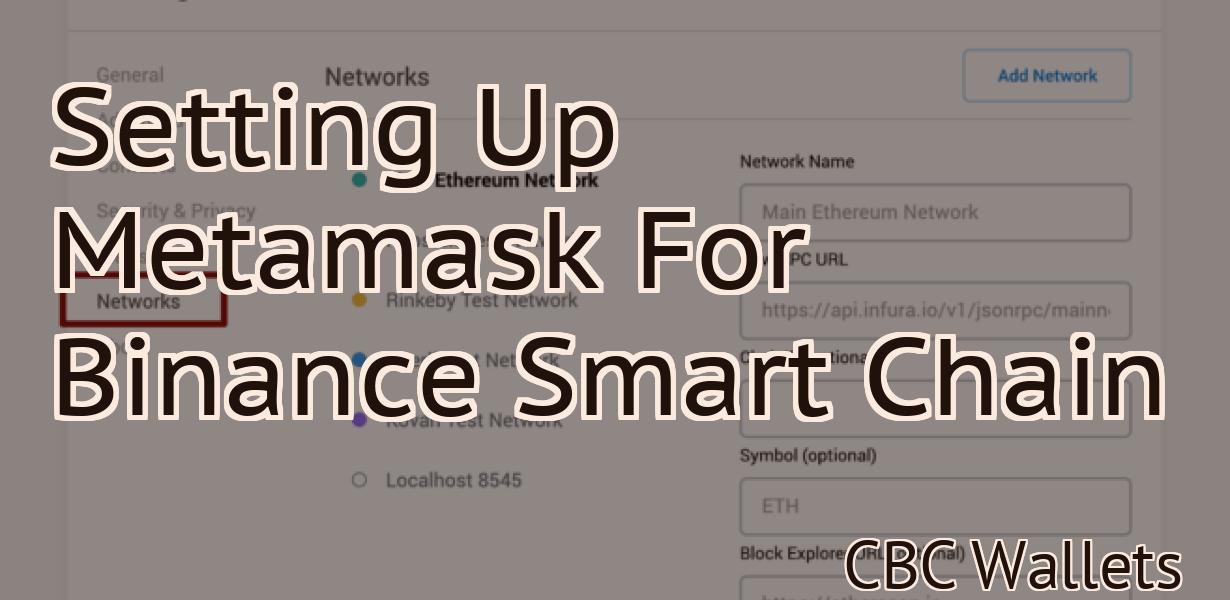
How To Create A Metamask Wallet
If you're looking to create a Metamask wallet, there are a few things you'll need to do. First, you'll need to create an account on the Metamask website. Once you've done that, you'll be able to download the Metamask extension for your browser. After you've installed the extension, you'll be able to create your wallet and start using it right away.
Metamask: How to Create a Wallet
and Add Funds
To create a Metamask wallet and add funds, follow these steps:
1. Open Metamask and click on the “Create a New Wallet” button.
2. In the “Create a New Wallet” window, provide your name, email address, and password.
3. Click on the “Create My Wallet” button to create your Metamask wallet.
4. Click on the “Add Funds” button to add Ethereum or ERC20 compatible tokens to your Metamask wallet.
5. Enter the amount of Ethereum or ERC20 compatible tokens you want to add to your Metamask wallet.
6. Click on the “Submit” button to add the Ethereum or ERC20 compatible tokens to your Metamask wallet.
How to Use Metamask: The Beginner's Guide
Metamask is a decentralized application (DApp) that allows users to interact with the Ethereum network. Metamask provides an easy-to-use interface that allows users to manage their cryptocurrency and ether holdings, making it a popular choice for cryptocurrency investors.
To start using Metamask, you first need to download the app from the Google Play Store or Apple App Store. After you have downloaded and installed Metamask, you will need to create a new account. To do this, click on the Metamask logo in the bottom right corner of the main screen and select "Create New Account." You will then be prompted to enter your name, email address, and password. After you have created your account, you will be able to access your Metamask account and start trading cryptocurrencies.
To start trading cryptocurrencies, you first need to open a trade window. To do this, click on the three lines in the top left corner of the main screen and select "Open Trade Window." You will then be prompted to select an asset. After you have selected an asset, you will be able to enter the amount of cryptocurrency that you want to trade. After you have entered the amount of cryptocurrency, you will be able to select the price at which you want to trade the asset. Finally, you will be able to select the trade type (buy or sell). After you have selected the trade type, you will be able to enter the amount of cryptocurrency that you want to spend. Finally, you will be able to select the market maker that you want to use. After you have selected the market maker, you will be able to enter the amount of cryptocurrency that you want to pay them. After you have entered all of the information required, click on the " sell " button to submit your trade request.
To view your recent trades, click on the "History" button in the top right corner of the main screen. You will then be able to view all of your recent trades, as well as the details of each trade.
How to Set Up a Metamask Wallet
1. First, open the Metamask app and click on the three lines in the top right corner (see image below).
2. On the next screen, click on “Create a new account”.
3. Enter your name, email address, and password.
4. Click on “Create an ERC20 Wallet”.
5. On the next screen, select the “Metamask” wallet type and click on “Create”.
6. On the next screen, you will be asked to input your Ethereum address. Metamask will then generate a unique key for you and store it on the app (see image below).
7. You can now click on the “Metamask” button in the top left corner of the app to open it. On the main screen, you will see a list of all the tokens you have stored in your Metamask wallet. (See image below).
8. To add a new token, click on the “+” button next to the token you want to add and enter the details of the token (see image below).
9. To remove a token from your Metamask wallet, click on the “-” button next to the token and enter your password (see image below).
10. You can now continue to use your Metamask wallet to store your tokens and make transactions.
How to Create a Metamask Account
To create a Metamask account, follow these steps:
1. Go to metamask.io and click on the “Sign Up” button.
2. Fill in your email address and password.
3. Click on the “Create New Account” button.
4. On the “Create New Account” page, click on the “Create a Metamask Account” button.
5. On the “Create New Account” page, you will be asked to choose a name for your Metamask account. You can choose any name that you want.
6. You will then be asked to choose a password. Make sure that you choose a strong password that is easy to remember.
7. After you have created your Metamask account, you will be prompted to download the Metamask Ethereum Wallet. Click on the “Download” button to download the Metamask Ethereum Wallet.
8. After you have downloaded the Metamask Ethereum Wallet, open it up. You will see a page like the one below.
9. On the “Metamask Main Page” page, you will see a button called “Register a Token”. Click on the “Register a Token” button to register a new token.
A Step-by-Step Guide to Creating a Metamask Wallet
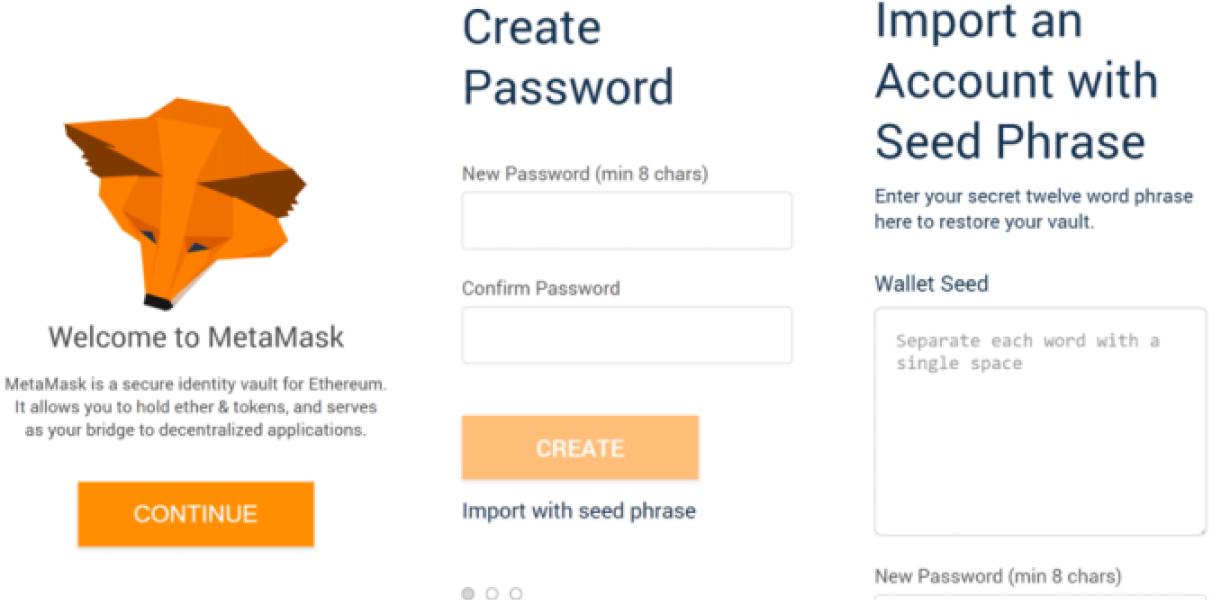
1. Download and install Metamask on your computer.
2. Open Metamask and click on the "Create a New Wallet" button.
3. In the "Create a New Wallet" dialog, enter a name for your wallet and click on the "Create" button.
4. Metamask will generate a 12-word recovery phrase for your wallet. Make sure to write this down and keep it safe!
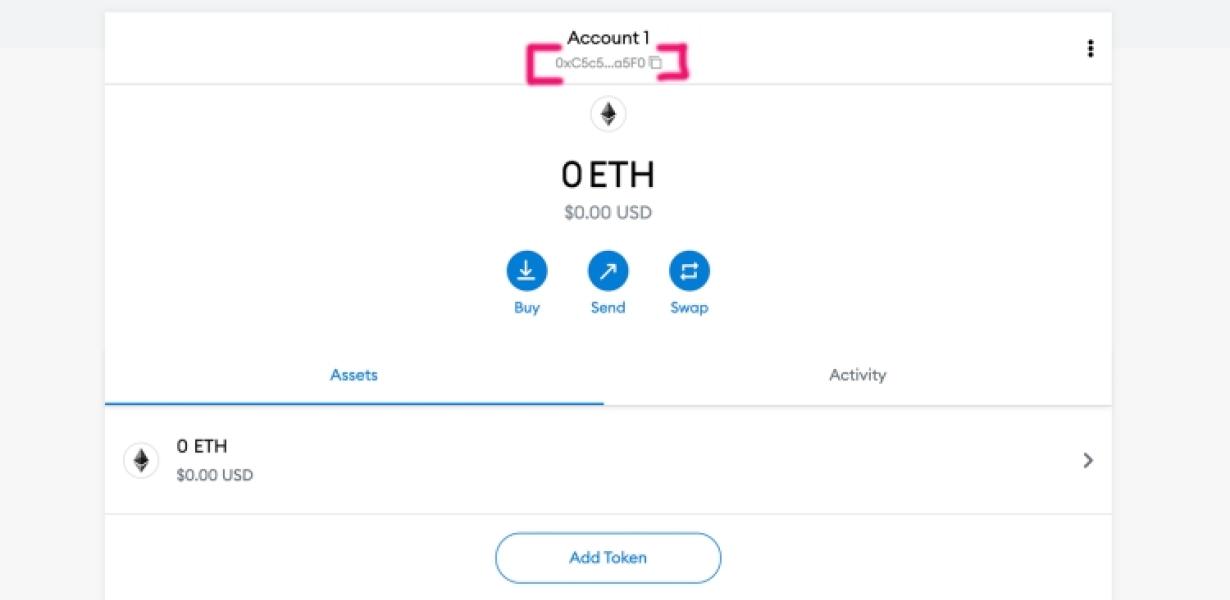
5. Metamask will now generate a new public address for your wallet. You will need this address to send and receive tokens. Click on the "Copy Public Address" button to copy it to your clipboard.
6. Click on the "Settings" button in Metamask and select the "Token Management" tab.
7. In the "Token Management" tab, click on the "Add Token" button.
8. In the "Add Token" dialog, enter the following information:
a. The name of the token you want to add to your wallet
b. The symbol of the token
c. The amount of tokens you want to add to your wallet
d. The address of the token's blockchain address (this is the address where the tokens will be stored)
e. Click on the "Add" button to add the token to your wallet.
9. Metamask will now display all the tokens in your wallet. To view information about a specific token, click on the token's name in the list.
10. To send tokens from your wallet, click on the "Send" button next to the token's name in the list and enter the recipient's public address. You can also specify how many tokens you want to send.
11. To receive tokens, click on the "Receive" button next to the token's name in the list and enter the recipient's public address. Metamask will then send the specified number of tokens to the recipient's address.
How to Generate a Metamask Wallet
1. Go to Metamask.io and create an account.
2. Click on the "Create a New Wallet" button.
3. On the "Create a New Wallet" window, enter your Metamask wallet password.
4. Select the "Ethereum" blockchain network.
5. Click on the "Create a New Wallet" button.
6. On the "Create a New Wallet" window, select the "Generate Address" button.
7. On the "Generate Address" window, enter your desired Ethereum address.
8. Click on the "Create Address" button.
9. On the "Congratulations! Your Address Has Been Created!" window, copy your address.