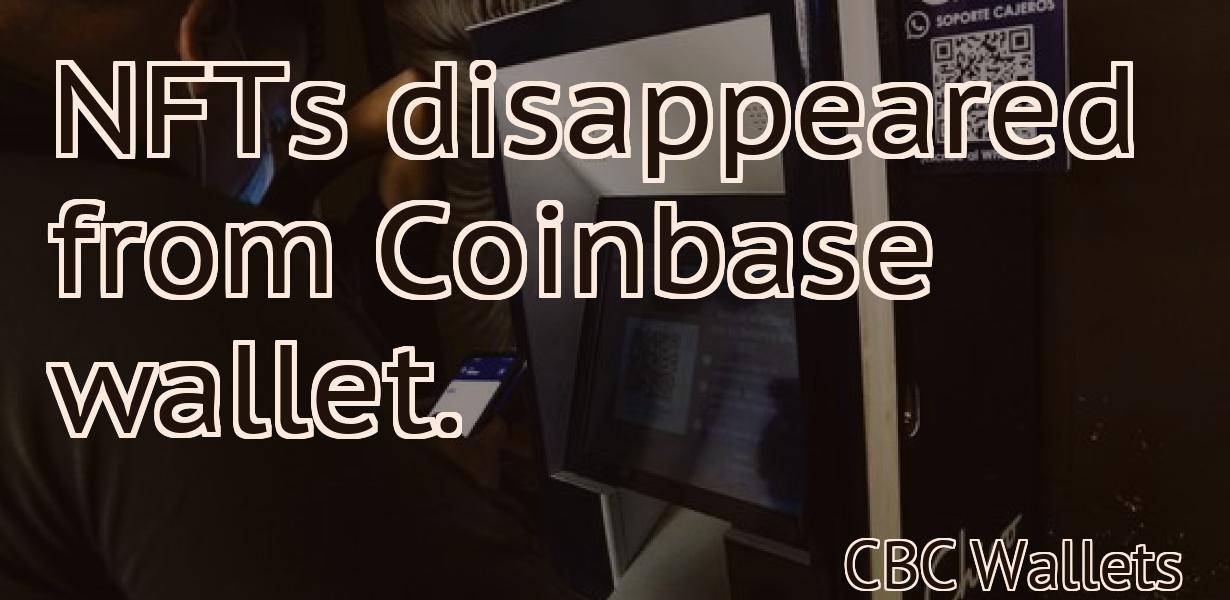
How to transfer an NFT to a Coinbase wallet.
If you're looking to add an NFT to your Coinbase wallet, there are a few simple steps to follow. First, make sure that the NFT is stored on a compatible blockchain with Coinbase Wallet. Then, open your Coinbase Wallet and navigate to the "Collectibles" tab. From there, select the "+ Add Collectible" option and choose the blockchain that your NFT is stored on. Finally, follow the instructions provided by Coinbase Wallet to complete the transfer.
How to Send NFTs to Your Coinbase Wallet
To send NFTs to your Coinbase wallet, follow these steps:
1. Open Coinbase and click on the "Accounts" button in the top-right corner.
2. In the "Accounts" page, click on the "Send" button next to the NFT you want to send.
3. On the "Send NFT" screen, enter the NFT's recipient address and click "Send".
4. If the NFT you're sending is a ERC-20 token, you'll need to input the token's address andGas price. Click "Next".
5. On the "Gas Price" screen, input the amount of gas you want to spend and click "Next".
6. On the "Input Data" screen, enter the data you want to send with the NFT and click "Next".
7. On the "Output Data" screen, click "Generate Transaction".
8. On the "Transaction Details" screen, review the transaction details and click "Submit".
How to Add NFTs to Your Coinbase Wallet
1. Go to Coinbase and sign in.
2. Click on the “Accounts” tab at the top of the page.
3. Click on the “Add account” button in the bottom left corner.
4. Enter your name, email address, password, and a secure 2-factor authentication code.
5. Click on the “Create account” button.
6. Click on the “Send/Request” button in the top right corner.
7. Click on the “NFTs” tab.
8. Click on the “Add NFT” button.
9. Enter the name of the NFT you want to add to your account, and select the type of NFT (Bitcoin, Ethereum, Litecoin, or Bitcoin Cash).
10. Click on the “Create NFT” button.
11. Copy the public address of the NFT you just added to your account. You will need this address to send or receive NFTs.
12. Click on the “Close” button in the top right corner.
13. Click on the “Back” button in the top left corner to return to the Accounts tab.
14. Click on the “Send” button in the top right corner.
15. Enter the public address you copied from step 12 into the “To” field, and enter the amount of NFTs you want to send into the “Amount” field.
16. Click on the “Send” button.
17. If the transfer was successful, you will see a message indicating that the NFTs have been sent to your Coinbase account.
How to Store NFTs in Your Coinbase Wallet
To store a NFT in your Coinbase wallet, follow these steps:
Open your Coinbase wallet. Click on the "NFTs" tab. Right click on the NFT you want to store and select "Store NFT." Enter a description of the NFT. Click on "Create NFT." Copy the public address of the NFT. Go to https://www.coinbase.com/join and enter the public address you copied. Click on "Sign Up." Join a coinbase account. Click on "Accounts." Under "Your Accounts," click on "Deposits." Select the deposit you want to use for the NFT. Under "Send," click on "Addresses." Copy the NFT address. Go to https://www.coinbase.com/join and enter the NFT address you copied. Click on "Sign Up." Join a coinbase account. Click on "Accounts." Under "Your Accounts," click on "Banking." Select " depositing." Paste in the NFT address you copied. Click on "Send." Select the amount you want to send to the NFT address. Select the payment method you want to use. Click on "Submit."
Congratulations! You have successfully stored a NFT in your Coinbase wallet.
How to Retrieve NFTs from Your Coinbase Wallet
If you have a Coinbase wallet, you can retrieve your NFTs by following these steps:
1. Log into your Coinbase account.
2. Click on the "Account" tab at the top of the page.
3. Under "My Account," click on "Transactions."
4. On the Transactions page, click on the "Send" button next to the NFT you want to retrieve.
5. On the "Send Transaction" page, enter the address of the recipient and click on "Send."
6. After the transaction has been sent, you will receive a notification confirming the transfer.
How to Manage NFTs in Your Coinbase Wallet
There are a few ways to manage NFTs in your Coinbase wallet. You can create a new NFT, send an NFT to another wallet, or view your NFTs.
1. Create a New NFT
To create a new NFT, go to the "NFTs" tab in your Coinbase account and click on the "Create New NFT" button.
You'll be prompted to enter a name for your NFT and select a wallet from which to send it. Once you've entered all the necessary information, click on the "Create NFT" button to create your NFT.
2. Send an NFT to Another Wallet
You can send an NFT to another wallet by going to the "NFTs" tab in your Coinbase account and clicking on the "Send NFT to Another Wallet" button.
You'll be prompted to enter the recipient's address and the amount of NFTs you want to send. Once you've entered all the necessary information, click on the "Send NFT to Another Wallet" button to send the NFTs.
3. View Your NFTs
You can view your NFTs by going to the "NFTs" tab in your Coinbase account and clicking on the "View NFTs" button.
You'll be able to see all of the NFTs that you've created and sent, as well as any NFTs that you've received.

How to Protect Your NFTs in Your Coinbase Wallet
First, you need to create a new Coinbase wallet and generate a new private key.
Next, you need to add a new NFT to your Coinbase wallet.
To add a new NFT to your Coinbase wallet:
1. Open your Coinbase wallet and click on the 'Add New Asset' button.
2. Enter the asset's symbol into the 'Symbol' field.
3. Enter the asset's name into the 'Name' field.
4. Click on the 'Create NFT' button.
5. Click on the 'New NFT' button to create a new NFT.
6. Enter the asset's details into the 'Description' field.
7. Enter the asset's value into the 'Value' field.
8. Click on the 'Create NFT' button.
9. Your new NFT will be added to your Coinbase wallet.
How to Secure Your NFTs in Your Coinbase Wallet
If you would like to secure your NFTs in your Coinbase wallet, you can do so by following these steps:
1. Open your Coinbase wallet and click on the “View Wallet Info” button.
2. Under the “Accounts and Balances” section, click on the “NFTs” tab.
3. Under the “NFTs” tab, click on the “Create NFT” button.
4. On the “Create NFT” screen, enter a name for your NFT and select a type of NFT from the list.
5. Click on the “Create NFT” button to create your NFT.
6. After your NFT has been created, click on the “Details” button to view information about it.
7. To secure your NFT, click on the “Lock NFT” button. This will ensure that only you can access it.
How to Use Your Coinbase Wallet for NFT Transactions
To use your Coinbase wallet for NFT transactions, first open the Coinbase wallet and create an account. Next, locate the "Send" tab and select "NFT Transaction." In the "To Address" field, enter the address of the recipient of the NFT. In the "To Value" field, enter the value of the NFT. Finally, in the "Amount" field, enter the amount of NFT you are sending. Click "Send Transaction." Your NFT will be transferred to the recipient's address and a confirmation message will be displayed.

How to Maximize the Potential of Your Coinbase Wallet for NFT Transactions
To maximize the potential of your Coinbase wallet for NFT transactions, it is important to keep the following in mind:
1. Make sure you have a strong password and 2-factor authentication enabled.
2. Make sure your wallet is updated to the latest version.
3. Keep your wallet encrypted.
4. Do not store large amounts of NFTs in your wallet.
5. Only make NFT transactions that you are comfortable with.