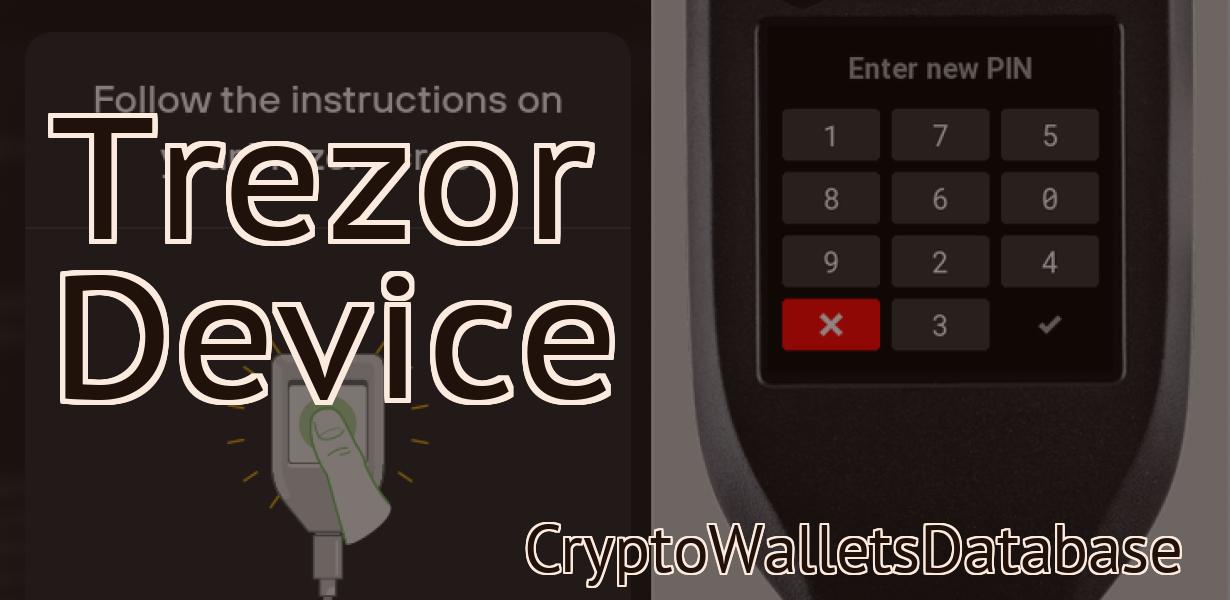
Ledger Nano S My Ether Wallet
If you're looking for a way to securely store your Ethereum coins, the Ledger Nano S My Ether Wallet is a great option. This hardware wallet connects to your computer via USB and allows you to manage your ETH coins with the MyEtherWallet software. The Ledger Nano S includes a built-in display so you can double-check and confirm each transaction, and it also supports other popular cryptocurrencies like Bitcoin, Litecoin, and more.
How to Set Up a Ledger Nano S and MyEtherWallet
To set up a ledger nano s and myetherwallet, follow these steps:
1. Go to https://www.ledger.com/ and click on the "Get Started" button.
2. Click on the "Ledger Nano S" link.
3. On the left side of the screen, click on the "Settings" button.
4. On the "Settings" page, click on the "MyEtherWallet" link.
5. On the "MyEtherWallet" page, click on the "Add New Account" button.
6. On the "Add New Account" page, enter your myetherwallet address.
7. Click on the "Register" button.
8. Click on the "Write Your First Eth Address" button.
9. Enter your Ledger Nano S account number and click on the "Write" button.
10. Click on the "Register" button to finish setting up your ledger nano s and myetherwallet account.
Using a Ledger Nano S with MyEtherWallet
One option for storing Ethereum is to use a Ledger Nano S. This device allows you to store your Ethereum offline in a secure manner. MyEtherWallet is an online Ethereum wallet that supports Ledger Nano S.
To use MyEtherWallet to store your Ethereum, first install the MyEtherWallet app on your computer. Once the app is installed, open it and click on the "Send Ether & Tokens" button. In the "To" field, input the address of the Ethereum account you want to send the Ether to. In the "Amount" field, input the amount of Ethereum you want to send. In the "Gas Price" field, input the gas price (in Gwei) of the transaction. Click on the "Send Transaction" button.
Your Ethereum will be sent to the address you entered in the "To" field. To view the transaction history on MyEtherWallet, click on the " History " button. The transaction history will show the details of the transaction, including the gas price and the amount of Ethereum sent.

Storing ETH on a Ledger Nano S with MyEtherWallet
If you are storing ETH on a Ledger Nano S, the safest way to do so is to store it in MyEtherWallet. MyEtherWallet is a free, open-source, client-side interface for Ethereum wallets that allows you to easily create and manage your Ethereum accounts.
To store your ETH in MyEtherWallet:
1. Open MyEtherWallet and create an account.
2. Click on the "Add Custom Token" button and input the following information:
Token Name: Ethereum
Token Symbol: ETH
Decimals: 18
3. Click on the "Create New Wallet" button and input the following information:
Address: 0x8b4d1B5538a79831A9AEE5F5a27CD6bC19C2B2C
Keystore File: /Users/[YOUR USERNAME]/.myetherwallet/keystore
Password: yourpassword
4. Click on the "Save" button and enter your password in the "Confirm Password" field.
5. Click on the "View Wallet Info" button and verify the following information:
Address: 0x8b4d1B5538a79831A9AEE5F5a27CD6bC19C2B2C
Keystore File: /Users/[YOUR USERNAME]/.myetherwallet/keystore
Password: yourpassword
How to Use a Ledger Nano S with MyEtherWallet
To use a Ledger Nano S with MyEtherWallet, first connect your device to your computer.
Then, open MyEtherWallet and click on the “Add New Wallet” button.
Select the “Ledger Nano S” option and enter your MyEtherWallet account address.
Click on the “Create New Transaction” button and enter the details of your transaction.
Finally, click on the “Send Transaction” button and wait for the confirmation message.
How to Create an ETH Wallet with a Ledger Nano S and MyEtherWallet
1. Download the MyEtherWallet application from www.myetherwallet.com.
2. Open the application and click on the “Create New Wallet” button.
3. On the “Create New Wallet” window, enter a unique name for your wallet and click on the “Next” button.
4. On the “Your Address” window, enter your desired Ethereum address. You can also use the “Generate New Address” button to generate a new address.
5. Enter the amount of Ethereum you want to store in your wallet and click on the “Next” button.
6. On the “View Wallet Info” window, you will need to provide your Ethereum wallet address and password. Make sure to keep your wallet address and password confidential!
7. Click on the “Finish” button to create your MyEtherWallet account.
8. Next, you will need to connect your Ledger Nano S to your computer.
9. Click on the “Ledger Nano S” icon on the MyEtherWallet application to open the device manager.
10. In the device manager, click on the “Install Device Drivers” button.
11. Click on the “Choose Files” button and select the Ethereum wallet file you downloaded from step 1.
12. Click on the “Install” button to install the Ethereum wallet on your Ledger Nano S.
13. Once the installation is complete, restart your Ledger Nano S.
14. Open the MyEtherWallet application and click on the “Send Ether & Tokens” button.
15. On the “Send Ether & Tokens” window, enter your desired Ethereum address and click on the “Send Ether & Tokens” button.
16. You will receive a confirmation message that your transaction was successful.
Hardware Wallets: The Ledger Nano S and MyEtherWallet
The Ledger Nano S is a great option for those who are looking for a more secure and user-friendly wallet. It has a built-in security features and supports a variety of cryptocurrencies.
MyEtherWallet is also a great option for those who are looking for a secure and user-friendly wallet. It supports a variety of cryptocurrencies, as well as Ethereum and ERC20 tokens.
The Best Way to Use a Ledger Nano S with MyEtherWallet
If you want to use a Ledger Nano S with MyEtherWallet, you first need to set up a MyEtherWallet account. After you have an account, you can follow these instructions to add a Ledger Nano S to your account and start using it to store your Ethereum tokens:
1. Go to MyEtherWallet and click on the "Add New Wallet" button.
2. In the "Add New Wallet" window, enter the following information:
- Your MyEtherWallet username
- Your MyEtherWallet password
- A descriptive name for your wallet (e.g. "MyEtherWallet Test")
3. Click on the "New Address" button.
4. In the "New Address" window, enter the following information:
- The desired address (e.g. "0x9bbe8a69cba73e0d63f2dc1c1d8aad5baccc")
- The amount of Ethereum tokens you want to send to this address (e.g. "100 ETH")
5. Click on the "Generate Transaction" button.
6. Copy the generated transaction data and paste it into a text editor.
7. Go to the "Send Ether & Tokens" section of MyEtherWallet and paste the copied transaction data into the "To" field.
8. Enter the amount of Ethereum tokens you want to send to the address in the "Amount To Send" field.
9. Click on the "Send Transaction" button.
10. Wait until the transaction has been sent and confirmed.
How to Keep Your ETH Safe with a Ledger Nano S and MyEtherWallet
If you are storing your Ethereum in a Ledger Nano S, you can follow these steps to keep your ETH safe:
1. Connect your Ledger Nano S to your computer.
2. Open the Ledger Nano S application.
3. Click on the "ETH" tab.
4. Click on the "Services" button.
5. Under "ETH Storage," click on the "Add a New Account" button.
6. Enter the following information:
- Account Name: MyEtherWallet
- Email Address: [email protected]
- Password: [password]
7. Click on the "Create Account" button.
8. Select the "MyEtherWallet" account from the list.
9. Click on the "Settings" button.
10. Under "Account Settings," click on the "API Keys" tab.
11. Copy the "API Key" and "Secret Key" values.
12. Click on the "Send Ether & Tokens" button.
13. In the "Ether or tokens to send:" field, paste in the "API Key" and "Secret Key" values that you copied in step 11.
14. In the "To Address:" field, paste in the address of the MyEtherWallet account that you want to send the ETH to.
15. Click on the "Send Transaction" button.
16. Confirm the transaction by clicking on the "Yes" button.
Protecting Your ETH with a Ledger Nano S and MyEtherWallet
If you want to keep your ETH safe and secure, you can use a Ledger Nano S and MyEtherWallet.
To use a Ledger Nano S, first set up a new account. You can do this by going to https://www.ledger.com and clicking on “register”.
Once you have set up your new account, you will need to input your private key. You can find your private key on the device itself or on the backup that you created.
Next, you will need to set up a MyEtherWallet account. To do this, go to https://www.myetherwallet.com and click on “create account”.
Next, you will need to input your personal information. You will need to provide your name, email address, and password.
Finally, you will need to input your private key. You can find your private key on the device itself or on the backup that you created.
Once you have completed these steps, you will be ready to start using your Ledger Nano S and MyEtherWallet to protect your ETH.
Securing Your ETH with a Ledger Nano S and MyEtherWallet
The Ethereum blockchain is one of the most secure blockchains in existence. However, even with a secure Ethereum wallet, it is always best to take steps to protect your ETH holdings.
One way to do this is to store your Ethereum on a Ledger Nano S. Ledger is a popular hardware wallet that supports Ethereum and a variety of other cryptocurrencies.
To securely store your Ethereum on a Ledger Nano S, first open the Ledger application on your computer. Next, connect your Ledger Nano S to your computer using the supplied USB cable.
Once connected, open the Ledger application and click on the "New Account" button. In the "Account Name" field, enter "Ethereum". In the "Account Password" field, enter your password. Click on the "Create Account" button.
Next, click on the "ETH Wallet" button. In the "Eth Wallet Address" field, enter the Ethereum address that you created in step 2. In the "Eth Wallet Password" field, enter your password again. Click on the "Create" button.
Now, click on the "ETH Wallet" button again. In the "Account Type" field, select "Ledger Wallet". In the "Ledger Wallet Password" field, enter your password again. Click on the "Create" button.
Your Ethereum will now be securely stored on your Ledger Nano S. To access your Ethereum, open the Ledger application and click on the "ETH Wallet" button. In the "Account Type" field, select "Ledger Wallet". In the "Ledger Wallet Password" field, enter your password again. Click on the "Open" button.
Your Ethereum will now be displayed in the "ETH Wallet" section of the application. To send or receive Ethereum, simply click on the "Send ETH" or "Receive ETH" buttons, respectively.
Using a Ledger Nano S and MyEtherWallet to Store ETH
If you are using a Ledger Nano S and MyEtherWallet, you can store your ETH on the device. To do this, open MyEtherWallet and click on the "Contracts" tab. Next, select the "ETH" contract and click on the "JSON" button next to the address field. This will open the contract's JSON file. Copy the address of the contract's "0x0000000000000000000000000000000000000000" field and paste it into the "Address" field in MyEtherWallet. Next, click on the "Generate New Wallet" button and paste the address of your Ledger Nano S into the "Keystore File" field. Click on the "Create New Wallet" button and your wallet will be created.