How to set up Binance Smart Chain on MetaMask?
This article will show you how to set up Binance Smart Chain on MetaMask. You will need to have the MetaMask extension installed in order to follow these steps.
How to set up Binance Smart Chain on Metamask
1. Go to Metamask and sign in.
2. Click on the “Accounts” button in the top left corner.
3. In the Accounts page, click on the “Add Account” button.
4. Enter the following information into the “Description” field and click on the “Create Account” button.
5. In the “Metamask Address” field, copy the Metamask address you used to sign in to Binance.
6. In the “Binance API Key” field, paste your Binance API key.
7. In the “Metamask Password” field, paste your Metamask password.
8. Click on the “Update Account” button to finish setting up your Metamask account.
9. Return to the Binance Smart Chain page and click on the “Register” button.
10. In the “Register” form, enter your Metamask address, Binance API key, and Metamask password.
11. Click on the “Register” button to finish setting up your Binance Smart Chain account.
Setting up Binance Smart Chain on Metamask
1. Install Metamask on your computer.
2. Open Metamask and create an account.
3. Click on the “Add Account” button in the top left corner of the Metamask window.
4. Enter the following information into the “Account Name” field and click on the “Create Account” button.
5. Click on the “Metamask” logo in the top right corner of the Metamask window to open the Metamask interface.
6. Click on the “Binance” logo in the top left corner of the Metamask window to open the Binance interface.
7. Under the “Tokenomics” tab, click on the “Configure” button.
8. Under the “Smart Contracts” tab, click on the “Configure” button.
9. Under the “Binance Chain” tab, click on the “Create New Chain” button.
10. Enter the following information into the “Chain Name” field and click on the “Create Chain” button.
11. Under the “Configure” tab, click on the “Gas Limit” button.
12. Under the “Configure” tab, click on the “Token Exchange Rate” button.
13. Under the “Configure” tab, click on the “Enable ICOs” button.
14. Click on the “Close” button in the top right corner of the Metamask window to close the Metamask interface.
15. Click on the Metamask logo in the top right corner of the Metamask window to open the Metamask interface.
16. Under the “Binance” logo in the top left corner of the Metamask window, click on the “Exchanges” tab.
17. Under the “Binance Chain” tab, click on the “Buy BNB” button.
18. Enter the following information into the “Amount” field and click on the “Buy BNB” button.
19. Click on the “Metamask” logo in the top right corner of the Metamask window to close the Metamask interface.
How to install Binance Smart Chain on Metamask
1. First, open Metamask and click on the three lines in the top left corner.
2. On the next page, click on the “Add new account” button.
3. Enter your email address and password, and click on the “Create account” button.
4. Once you have logged in, click on the “INSERT WALLET ADDRESS” button and paste your Binance wallet address.
5. Click on the “CREATE ACCOUNT” button, and you will be taken to the main Binance account page.
6. On the left-hand side, under the “Binance Smart Chain” heading, click on the “Install Binance Smart Chain” button.
7. You will be asked to select a device from the list. We recommend using a desktop computer.
8. Once you have selected a device, click on the “Install Binance Smart Chain” button.
9. You will be taken to a page where you will be asked to confirm the installation. Click on the “Install Binance Smart Chain” button to continue.
10. You will now be prompted to install the Binance Chain client. Click on the “Install Binance Chain Client” button to begin the installation process.
11. Once the installation has completed, you will be taken to a page where you can find information about the Binance Chain client. Click on the “Info” button to read more about the Binance Chain client.
12. You will now need to create a Binance account in order to use the Binance Chain client. Click on the “Create Account” button to begin the process.
13. You will be asked to enter your email address and password. Once you have entered these details, you will be taken to the main Binance account page.
14. On the left-hand side, under the “Binance Smart Chain” heading, click on the “Login” button.
15. You will be taken to a page where you can login with your existing Binance account or create a new account. Click on the “Login” button to begin the process.
16. After you have logged in, you will be taken to the main Binance page. Under the “Binance Smart Chain” heading, click on the “My Accounts” button.
17. On the My Accounts page, you will see all of your accounts, including your Binance Smart Chain account. Click on the “My Accounts” button to view your Binance Smart Chain account details.
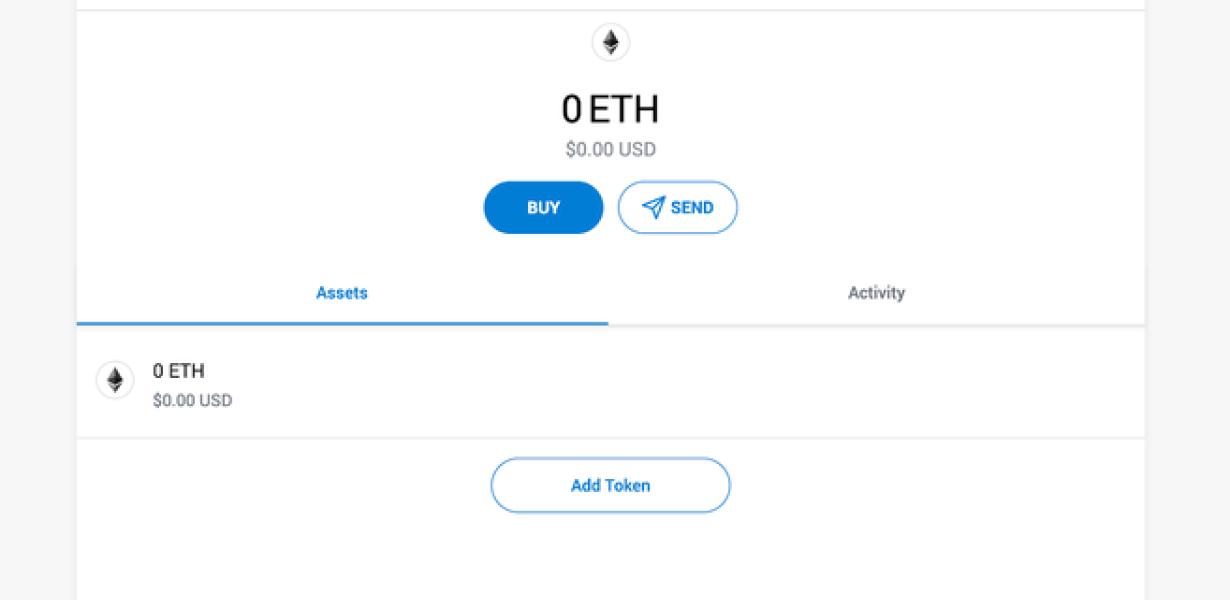
18. Under the “Binance Smart Chain” heading, you will see all of your transactions and balances. You can also see your current holdings of BNB tokens in your account.
19. To transfer BNB tokens from your account to another platform, such as Ethereum or Bitcoin, you will first need to transfer them from Binance Smart Chain to your main Binance account. Click on the “Transfer” button next to the BNB token you want to transfer and enter the amount you want to transfer.
20. Once you have transferred the BNB tokens, you will need to wait for the transfer to complete before you can use them on another platform.
Installing Binance Smart Chain on Metamask
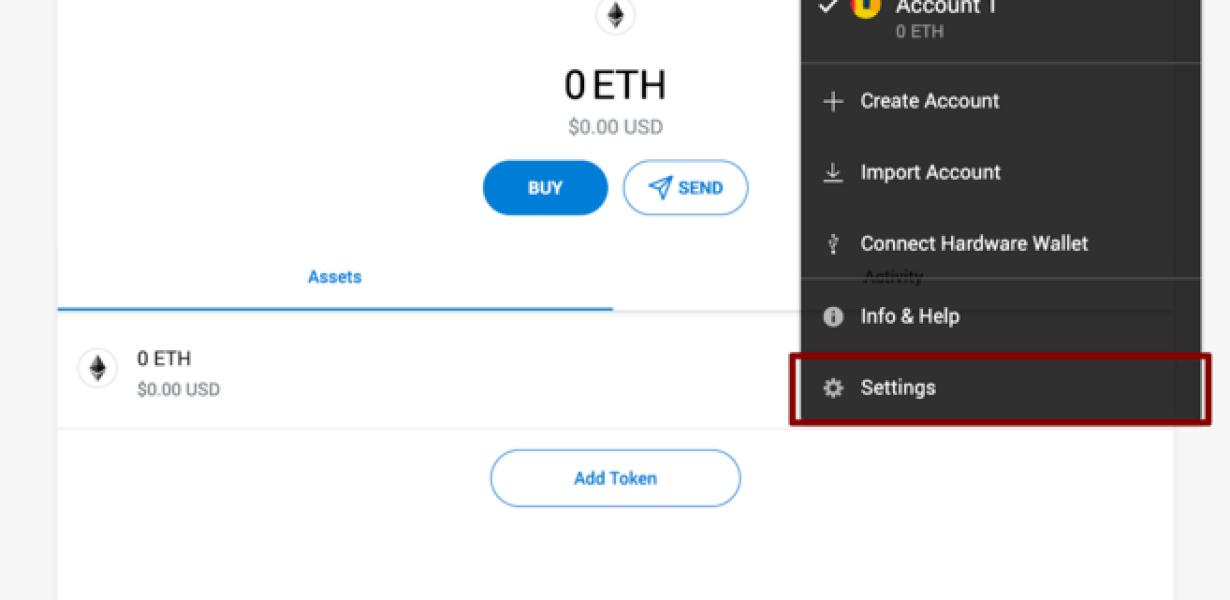
To install Binance Smart Chain on Metamask, first open the Metamask App and click on the three dots in the top right corner. This will open the Metamask Settings page.
Next, click on the Accounts tab and then on the Add New Account button.
Enter the required details for your new Binance Smart Chain account, including your Metamask address and password.
Click on the Confirm button to finish setting up your new Binance Smart Chain account.
Now that you have an account with Metamask and Binance Smart Chain installed, you can start trading!
To start trading Binance Smart Chain, first open the Metamask App and click on the three dots in the top right corner. This will open the Metamask Settings page.
Next, click on the Accounts tab and then on the Binance Smart Chain button.
You will now be able to trade Binance Smart Chain using the Metamask interface.
If you have any questions or problems setting up Binance Smart Chain on Metamask, please feel free to ask in the comments below or on our social media pages!
How to configure Binance Smart Chain on Metamask
1. Open Metamask and click on the "3 vertical lines in the top right corner" to open the Settings menu.
2. Click on the "Add New Account" button at the bottom of the Settings menu.
3. Enter the following information into the "Name" field and click on the "Create Account" button.
4. Next, click on the "Login" button at the top left of the Metamask window.
5. Enter your Binance login credentials into the "Binance Login" field and click on the "Log In" button.
6. Click on the "Metamask" button in the top left corner of the Metamask window to open the Metamask interface.
7. Click on the "Binance Smart Chain" button at the top of the Metamask interface.
8. On the Binance Smart Chain page, click on the "Enable" button to enable the Binance Smart Chain module.
9. Next, click on the "Configure" button to open the Binance Smart Chain configuration page.
10. On the Binance Smart Chain configuration page, you will need to provide the following information:
a. The Binance Smart Chain ID: This is your Binance Smart Chain ID. You can find this ID in the "My Accounts" section of your Binance account.
b. The Binance Smart Chain Secret: This is your Binance Smart Chain secret. You can find this secret in the "My Accounts" section of your Binance account.
c. The Listening Port: This is the port that Binance Smart Chain will use to listen for incoming transactions. You can find this port in the "Settings" section of your Binance account.
d. The Gas Limit: This is the gas limit that Binance Smart Chain will use when performing transactions. You can find this limit in the "Settings" section of your Binance account.
e. The Timestamp: This is the timestamp that Binance Smart Chain will use when recording transactions. You can find this timestamp in the "Settings" section of your Binance account.
f. The Fee Rate: This is the fee rate that Binance Smart Chain will use when performing transactions. You can find this rate in the "Settings" section of your Binance account.
11. Click on the "Save" button to save your settings and return to the main Binance Smart Chain page.
12. Click on the "Start" button to start the Binance Smart Chain module.
Configuring Binance Smart Chain on Metamask
1. Click on the “Binance” logo in the top left corner of the Metamask home screen.
2. On the Binance home screen, click on the “Settings” button in the top right corner.
3. Under the “Settings” tab, click on the “Smart Chain” option.
4. On the Smart Chain Settings page, you will need to input the following information:
1. The name of your Binance smart chain (e.g. MyBinanceChain).
2. The ticker symbol of your Binance smart chain (e.g. BNB).
3. The token address of your Binance smart chain (e.g. 0x9b5cc693f7b28dfdcebffbdeba884f8cfffa6f1d).
5. If you want to use a private key to access your Binance smart chain, you will need to input that information as well.
6. Click on the “Save” button to save your settings.
7. Click on the “OK” button to confirme your settings.
8. Click on the “Metamask” logo in the top left corner of the Metamask home screen to open the Metamask wallet.
9. On the Metamask home screen, click on the “Binance” logo in the top left corner of the Metamask wallet.
10. On the Binance home screen, click on the “Deposit” button in the top right corner.
11. In the Deposit dialog box, click on the “+” button to add a new deposit address.
12. In the Add Address dialog box, enter the following information:
1. The name of your Binance smart chain (e.g. MyBinanceChain).
2. The ticker symbol of your Binance smart chain (e.g. BNB).
3. The token address of your Binance smart chain (e.g. 0x9b5cc693f7b28dfdcebffbdeba884f8cfffa6f1d).
13. Click on the “Add Address” button to add your Binance smart chain deposit address to your Metamask wallet.
14. Click on the “Deposit” button to deposit your BNB tokens into your Metamask wallet.
How to use Binance Smart Chain with Metamask
1. Install Metamask.
2. Open Metamask and click on the “Add Account” button.
3. Enter your Binance account name and password.
4. Click on the “Metamask Account” button to open your Binance account in Metamask.
5. Click on the “View Wallet Info” button to open your Binance account in Metamask and view your Smart Chain address.
6. Copy the Smart Chain address from your Metamask account.
7. Go to Binance and click on the “Create Account” button.
8. Enter your Binance account name and password.
9. Click on the “Register With Smart Contracts” button and paste your Smart Chain address into the “Contract Address” field.
10. Click on the “Register” button to register your account with Binance and create a Smart Contract.
Using Binance Smart Chain with Metamask
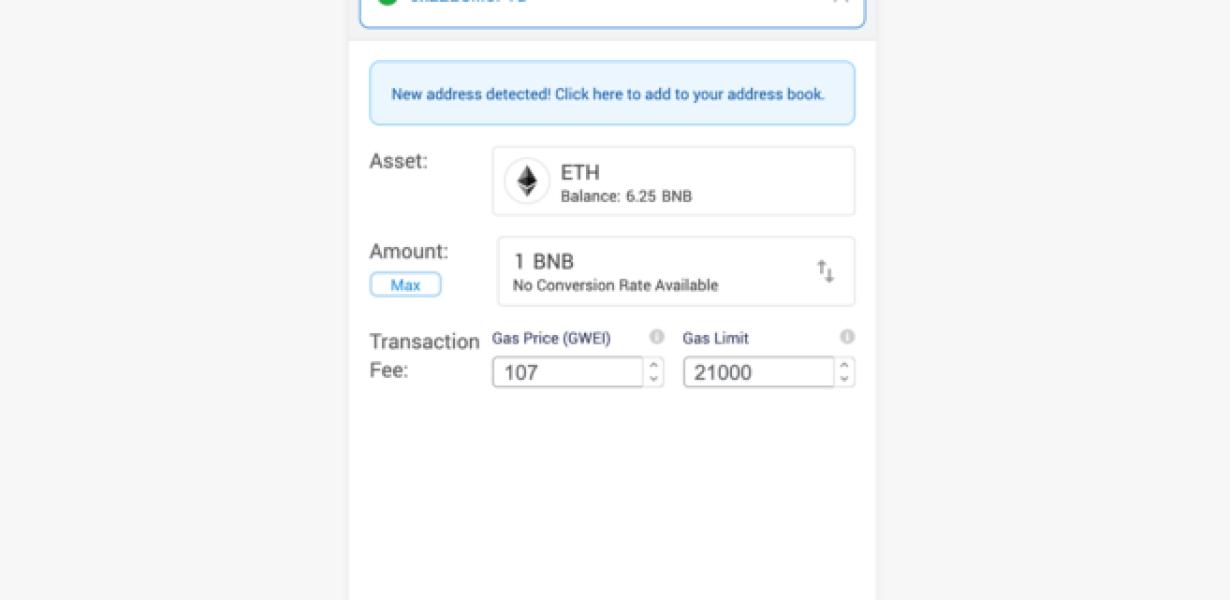
To use the Binance Smart Chain with Metamask, open Metamask and click on the "gas" tab. Under "Configure gas settings," set the gas limit to 30000 and click "Save."
Now, open Binance and click on the "Account" button in the top left corner. Under "Funds," click on the "Deposits" tab and select the "Binance Smart Chain" option. Under "Withdrawals," select the "Binance Smart Chain" option and enter your Metamask address. Click on the "Withdraw" button and your Binance Smart Chain tokens will be transferred to your Metamask account.
How to connect Binance Smart Chain to Metamask
1. Launch Metamask and sign in.
2. Click on the three lines in the top right corner of the Metamask window and select " Settings "
3. On the left side of the Settings window, under " Accounts ," click on the toggle next to " Binance Smart Chain " to turn it on.
4. In the " Connections " section, click on the three lines in the top right corner of the Metamask window and select " Add connection ."
5. In the " Address " field, type in " ws://localhost:8080/smart_chain " and hit Enter.
6. In the " Port " field, type in " 8080 " and hit Enter.
7. In the " Username " field, type in " metamask " and hit Enter.
8. In the " Password " field, type in " metamask " and hit Enter.
9. In the " Receive ERC20 tokens " field, type in " true " and hit Enter.
10. In the " Send ERC20 tokens " field, type in " false " and hit Enter.
11. Click on the blue arrow in the top left corner of the Metamask window to open the drop-down menu and select " Show All Tokens " to view all the ERC20 tokens that you have transferred to Binance Smart Chain.
Connecting Binance Smart Chain to Metamask
In order to connect the Binance Smart Chain to the Metamask wallet, follow these steps:
1. Open the Metamask wallet and click on the three lines in the top right corner.
2. Select Add Custom Token.
3. Enter the following information into the Add Custom Token box:
Name: Binance Chain
Symbol: BNB
Decimals: 18
4. Click on Generate New Address.
5. Copy the address that is displayed and click on it to open the Binance Chain wallet on your computer.
6. Go to Binance and click on the three lines in the top right corner.
7. Select Settings and then Account.
8. Under My Binance Account, click on Deposit and then Bitcoin.
9. On the Bitcoin deposit page, paste the address that you copied from the Metamask wallet into the Binance Chain wallet.
10. Click on Deposit to complete the process.