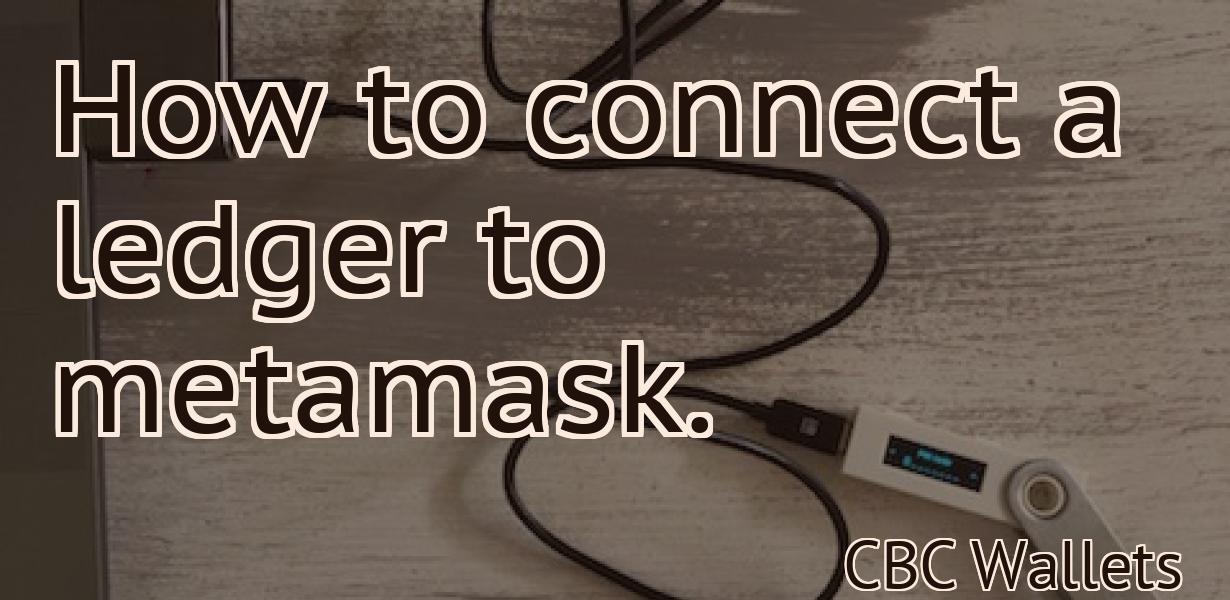
How to connect Metamask to Trezor?
In order to connect Metamask to Trezor, you will need to install the Trezor Connect extension. Once installed, open the extension and follow the instructions. You will then be able to use your Trezor hardware wallet with Metamask.
How to connect Metamask to Trezor
1. Open the Metamask app on your computer and click on the "Connect to Trezor" button.
2. Enter your Trezor's 24-word recovery seed into the Metamask window.
3. Click on the "Connect" button.
4. Your Trezor will start syncing with Metamask. This process can take a few minutes.
5. Once the syncing is complete, you'll be able to access your Trezor's wallet and transactions.
How to set up Metamask
Please follow these instructions to set up Metamask:
1. Download the Metamask plugin from the Chrome Web Store or Mozilla Add-ons.
2. Open the Metamask plugin and click on the blue "Connect" button.
3. Enter your Metamask account details and click on the "Connect" button.
4. You will now be in the Metamask main interface. On the left hand side, you will see a list of all the ERC20 tokens you have registered with Metamask.
5. To add a new token, click on the "Add New Token" button and enter the details of the token you want to add.
6. To view information about a token, such as its price and market cap, click on the token's name.
7. To send or receive tokens, click on the "Withdraw" or "Send" buttons, respectively.
How to use Metamask
To use Metamask, first install it on your computer. You can do this by going to https://metamask.io/ and clicking on theDownload button. Once Metamask is installed, open it and click on thebutton.
Next, click on thebutton in the top left corner of Metamask. This will open up the Metamask settings page.
In the Metamask settings page, click on thebutton next to theaccount name. This will open up the Metamask account settings page.
On the Metamask account settings page, you will need to enter your password. Next, you will need to select thenetwork you want to use. For this tutorial, we will be using the Ethereum network.
After you have selected the network, you will need to click on thebutton. This will open up the Ethereum network settings page.
On the Ethereum network settings page, you will need to select theoption. After you have selected theoption, you will need to click on thebutton. This will open up the Gas Limit settings page.
On the Gas Limit settings page, you will need to enter your gas limit. After you have entered your gas limit, you will need to click on thebutton. This will open up the Transaction Settings page.
On the Transaction Settings page, you will need to enter your address. After you have entered your address, you will need to click on thebutton. This will open up the Gas Settings page.
On the Gas Settings page, you will need to enter your gas price. After you have entered your gas price, you will need to click on thebutton. This will open up the Confirmations Settings page.
On the Confirmations Settings page, you will need to enter your desired number of confirmations. After you have entered your desired number of confirmations, you will need to click on thebutton. This will open up the Withdrawal Settings page.
On the Withdrawal Settings page, you will need to enter your wallet address. After you have entered your wallet address, you will need to click on thebutton. This will open up the Withdrawals Confirmation Settings page.
On the Withdrawals Confirmation Settings page, you will need to enter your desired number of confirmations. After you have entered your desired number of confirmations, you will need to click on thebutton. This will open up the Withdrawals Confirmation Settings page.
On the Withdrawals Confirmation Settings page, you will need to enter your email address. After you have entered your email address, you will need to click on thebutton. This will send a confirmation email to your email address. After you have received the confirmation email, you can then click on thebutton to complete your withdrawal process.
What is Metamask?
Metamask is a browser extension that allows you to interact with decentralized applications (DApps) and smart contracts. It allows you to store and manage your tokens, make transactions, and access your account information.

What is Trezor?
Trezor is a hardware wallet that lets you securely store your bitcoins and other cryptocurrencies. It was created by SatoshiLabs, a company based in Prague, Czech Republic.

How to store cryptocurrency offline with Trezor
Trezor is a hardware wallet that can securely store your cryptocurrencies offline. To do this, follow these steps:
1. Connect your Trezor to your computer.
2. Open the Trezor wallet.
3. Click on the "New Account" button.
4. Enter your name, email address, and password.
5. Click on the "Create New Wallet" button.
6. Select the "Cryptocurrencies" tab.
7. Click on the "Add a Cryptocurrency" button.
8. Enter the details of the cryptocurrency you want to store.
9. Click on the "Save" button.
10. Click on the "Create New Wallet" button.
11. Select the "Cryptocurrencies" tab.
12. Click on the "Add a Cryptocurrency" button.
13. Enter the details of the cryptocurrency you want to store.
14. Click on the "Save" button.
15. Click on the "Done" button.
How to keep your cryptocurrency safe with Trezor
Trezor is a hardware wallet that helps you keep your cryptocurrency safe. To use Trezor, first connect it to your computer. Then, create a new wallet by entering your addresses and passwords. Finally, store your cryptocurrencies in the Trezor wallet.
Trezor vs Ledger – which is better for storing cryptocurrency?
There is no definitive answer to this question as it depends on your specific needs and preferences. However, if you are looking for a secure solution to store your cryptocurrency, then the Trezor would be a better option than the Ledger.
Trezor is considered to be more secure than the Ledger due to its dedicated hardware wallet feature. This means that your cryptocurrency is inaccessible from outside sources, meaning that it is protected from hackers. Additionally, the Trezor also has a backup feature so that you can restore your wallet in case of emergency.
On the other hand, the Ledger is also a secure solution for storing your cryptocurrency, but it does not come with a hardware wallet feature. This means that your cryptocurrency is not protected from outside sources. Additionally, the Ledger does not have a backup feature, so you will need to rely on third-party services in case of emergency.
How to use a hardware wallet like Trezor
When you first get a Trezor, you will need to create a new wallet. You will need to set a password and 12 words to authorize your TREZOR. After you have created your wallet, you will need to insert your TREZOR into your computer. Next, you will need to open a web browser and type in "http://trezor.io". After you have typed in the web address, you will need to click on the "Create a new Wallet" button. After you have clicked on the "Create a new Wallet" button, you will need to enter your password and 12 words. After you have entered your password and 12 words, you will be asked to confirm your password. After you have confirmed your password, you will be taken to the "Your Trezor" page. On the "Your Trezor" page, you will need to click on the "Settings" button. On the "Settings" page, you will need to click on the "Passphrase" button. After you have clicked on the "Passphrase" button, you will need to enter your passphrase. After you have entered your passphrase, you will be taken to the "Your Trezor" page. On the "Your Trezor" page, you will need to click on the "Unlock Your Trezor" button. After you have clicked on the "Unlock Your Trezor" button, you will be taken to the "Your Trezor" page. On the "Your Trezor" page, you will need to click on the "Verify Your Transaction" button. After you have clicked on the "Verify Your Transaction" button, you will be taken to the "Your Trezor" page. On the "Your Trezor" page, you will need to click on the "Download Your Transaction" button. After you have clicked on the "Download Your Transaction" button, you will be taken to the "Your Trezor" page. On the "Your Trezor" page, you will need to click on the "View Your Transaction" button. After you have clicked on the "View Your Transaction" button, you will be taken to the "Your Trezor" page. On the "Your Trezor" page, you will need to click on the "Sign Your Transaction" button. After you have clicked on the "Sign Your Transaction" button, you will be taken to the "Your Trezor" page. On the "Your Trezor" page, you will need to click on the "Submit Your Transaction" button. After you have clicked on the "Submit Your Transaction" button, your transaction will be confirmed.
The beginners guide to using a hardware wallet like Trezor
Trezor is a hardware wallet that allows users to store their cryptocurrencies offline. To use Trezor, first make sure you have an appropriate device, like a computer or phone.
Next, install the Trezor app on your device. Once installed, open the app and click on the "Create New Wallet" button.
On the next screen, enter your 12-word backup seed into the textbox and click on the "Next" button.
Next, choose a location on your device where you want to store your Trezor wallet. You can either select a specific folder or create a new folder specifically for your Trezor wallet.
Finally, click on the "Create Wallet" button and confirm your creation by entering your 12-word backup seed into the textbox.
How to keep your Bitcoin safe with Trezor
Trezor is a hardware wallet that is specifically designed to secure bitcoins. It is a small, black device that plugs into a computer via a USB port.
To use Trezor, first create a new wallet. You can do this by heading to trezor.com and clicking on the "Create New Wallet" button.
Once you have created your new wallet, you will need to copy the 12-word backup phrase to the device. To do this, open the Trezor device and click on the "Trezor Wallet" button.
Next, click on the "Add New Address" button and paste in the bitcoin address that you want to protect. Make sure to double-check the address before clicking on the "Save" button.
Once you have added the bitcoin address, click on the "Save" button and then click on the "Close" button.
Now, you will need to set up PIN protection for your Trezor. To do this, open the Trezor device and click on the "Trezor Wallet" button.
Next, click on the "Options" button and then on the "Security" button.
Finally, select the "Two-Step Authentication" option and enter your PIN code. You will now be prompted to enter your password once more. Once you have completed this step, your Trezor device is now fully protected.