How To Connect Metamask To Ledger
If you're a fan of Ledger hardware wallets, you'll be glad to know that you can now use your Ledger device with the MetaMask browser extension. In this article, we'll show you how to connect your Ledger hardware wallet to MetaMask so you can start using it to store your Ethereum and ERC-20 tokens.
How to connect Metamask to Ledger
To connect Metamask to your Ledger, open the Metamask app and click on the three lines in the top right corner. On the left side of the screen, select Settings. On the Settings page, scroll down to find the Connections section and click on the Connections button. In the Connections window, select Ledger from the list of devices and click on the Connect button. Finally, enter your Metamask account credentials and click on the Connect button.
How to connect Metamask to your Ledger device
To connect Metamask to your Ledger device, first open Metamask and click on the three lines in the top left corner.
Then, select your Ledger device from the list on the right.
Finally, click on Connect.
Now that you have a Ledger, how do you set it up with Metamask?
To set up your Ledger with Metamask, first open Metamask and click on the three lines in the top left corner. This will open the Metamask Settings page. Under the Accounts section, click on the Add Account button and enter the following details:
Name: Ledger
Email: [email protected]
Password: 3 words
You will then be asked to choose a Auth0 provider. We recommend using the Ledger Connect provider. Click on the blue + button to add it to your list of providers.
Now we need to add an address to your Ledger. Click on the blue Add Account button and enter the following details:
Address: 4JK3hBx9R4cwBKZnAWy7jd8pEW5Vwwv5S
You will then be asked to choose a token issuer. We recommend using MyEtherWallet. Click on the blue + button to add it to your list of issuers.
Next, click on the blue Settings button in the top right corner and under the General section, click on the Add Wallet Access Token button. This will open the Add Wallet Access Token dialog. In the Token Contract Address field, enter the address of the contract that you created in step 2 of this guide. In the Token Symbol field, enter the symbol of the contract that you created in step 2 of this guide. In the Decimals field, enter 18. Click on the blue Save button to save your token access token.
Now we need to add an account to your Metamask wallet. Click on the blue gear icon in the top right corner and select Settings. Under the Accounts section, click on the Add Account button and enter the following details:
Name: Ledger (Metamask)
Email: [email protected]
Password: 3 words
You will then be asked to choose aAuth0 provider. We recommend using the Ledger Connect provider. Click on the blue + button to add it to your list of providers.
Now we need to add an address to your Metamask wallet. Click on the blue gear icon in the top right corner and select Settings. Under the Accounts section, click on the Add Address Button and enter the following details:
Address: 4JK3hBx9R4cwBKZnAWy7jd8pEW5Vwwv5S
You will then be asked to choose a token issuer. We recommend using MyEtherWallet. Click on the blue + button to add it to your list of issuers.
Next, click on the blue Settings button in the top right corner and under the General section, click on the Add Wallet Access Token button. This will open the Add Wallet Access Token dialog. In the Token Contract Address field, enter the address of the contract that you created in step 2 of this guide. In the Token Symbol field, enter the symbol of the contract that you created in step 2 of this guide. In the Decimals field, enter 18. Click on the blue Save button to save your token access token.
Now we need to add an account to your Metamask wallet. Click on the blue gear icon in the top right corner and select Settings. Under the Accounts section, click on the Add Account Button and enter the following details:
Name: Metamask (Ledger)
Email: [email protected]
Password: 3 words
The ins and outs of connecting Metamask to your Ledger
First, open Metamask and click on the three lines in the top left corner.
On the right side of the window, you will see a list of accounts. Underneath this, you will see a “Connect to Ledger” button.
Click on this button and Metamask will prompt you for your Ledger credentials. You can find these details under the “Settings” tab on your Ledger account.
Once you have entered your credentials, Metamask will ask you to connect to your Ledger device. Click on the “Connect” button and Metamask will take you to the Connect dialog.
On this dialog, you will need to provide the following information:
Your Metamask account name (e.g. “metamask_test”)
Your Ledger device name (e.g. “ledger_d1”)
Your PIN or recovery phrase
Once you have entered all of the required details, click on the “Connect” button to connect to your Ledger device. Metamask will then ask you to verify your connection. Click on the “Verify” button and Metamask will take you to the Verification dialog.
On this dialog, you will need to provide the following information:
Your Metamask account name (e.g. “metamask_test”)
Your Ledger device name (e.g. “ledger_d1”)
The amount of ether you want to send to your Ledger device (in wei)
The address of the token contract you want to send the ether to (e.g. 0x9b725d0f7cba19cadc0ddc1bf575a2bbaa2eb8a2)
Once you have entered all of the required details, click on the “Verify” button to confirm your connection. Metamask will then ask you to confirm your transfer. Click on the “Confirm” button and Metamask will take you to the Confirmation dialog.
On this dialog, you will need to provide the following information:
Your Metamask account name (e.g. “metamask_test”)
Your Ledger device name (e.g. “ledger_d1”)
The amount of ether you want to send to your Ledger device (in wei)
The address of the token contract you want to send the ether to (e.g. 0x9b725d0f7cba19cadc0ddc1bf575a2bbaa2eb8a2)
Once you have entered all of the required details, click on the “Confirm” button to confirm your transfer. Metamask will then ask you to create a new wallet. Click on the “Create New Wallet” button and Metamask will take you to the New Wallet dialog.
On this dialog, you will need to provide the following information:
Your Metamask account name (e.g. “metamask_test”)
Your Wallet Name (e.g. “Ether Wallet”)
Your Password (12 characters long)
Once you have entered all of the required details, click on the “Create New Wallet” button to create your new wallet. Metamask will then ask you to write down your 12-character password. Click on the “Write Down Password” button and Metamask will take you to the Write Down Password dialog.
How to get the most out of your Ledger by connecting it to Metamask
1. Install Metamask on your computer.
2. Open Metamask and click on the three lines in the top right corner.
3. Select "Connect to Ledger" and enter your Metamask address.
4. Click on "Connect".
5. Select the account you want to use and click on "Use Account".
6. Click on "Next".
7. Click on "Create New Transaction".
8. Enter the amount you want to send and the recipient's address.
9. Click on "Next".
10. Click on "Add Custom Token".
11. Select the token you want to send and click on "Create Transaction".
12. Click on "Send Transaction".
How to ensure a secure connection between Metamask and Ledger
To ensure a secure connection between Metamask and Ledger, we recommend using a VPN.
Why you should connect Metamask to your Ledger
Metamask is a plugin that connects to your Ledger device to manage your ERC-20 tokens. It allows you to manage your tokens, send and receive transactions, and view your balance. Metamask is free to download and use.
How to make the most of your Ledger by connecting it to Metamask
To make the most of your Ledger by connecting it to Metamask:
1. Install Metamask on your computer.
2. Open Metamask and click on the three dots in the top right corner.
3. In the pop-up window, click on "Add New Account."
4. In the "Metamask Account Name" field, enter "Ledger."
5. In the "Metamask Account Password" field, enter your Ledger account password.
6. Click on "Connect."
7. In the "Metamask Account" field, click on "Ledger."
8. In the "Ledger Wallet Address" field, enter your Ledger wallet address.
9. In the "Ledger Wallet Secret" field, enter your Ledger wallet secret.
10. Click on "Connect."
Connecting Metamask to your Ledger for the first time
Metamask is a browser plugin that allows you to interact with the Ethereum network. To use Metamask, you'll first need to install it.
Once you've installed Metamask, open it and click on the "Connect" button.
On the next page, you'll be prompted to provide your Ledger's email address and password. Once you've entered these details, Metamask will automatically connect to your Ledger.
Getting started with Metamask? Here's how to connect it to your Ledger
Nano S
1. First, download and install Metamask on your computer.
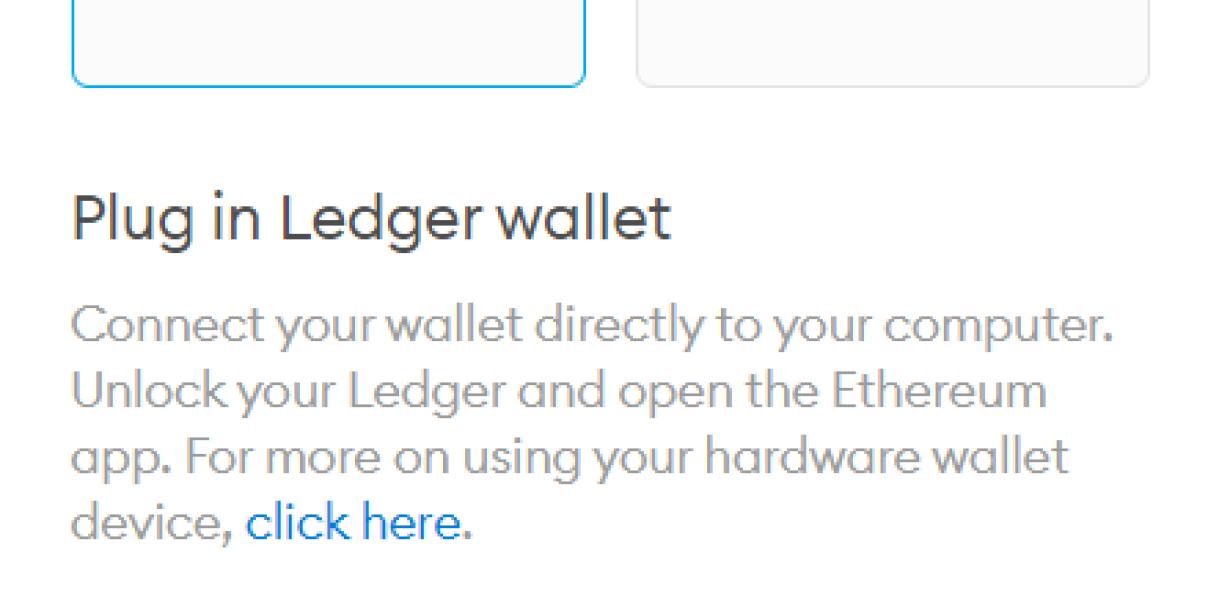
2. Next, connect your Ledger Nano S to your computer using the USB cable.
3. Click on the Metamask icon in the top right corner of your computer screen.
4. On the Metamask screen, click on the Open Wallet button.
5. On the Metamask wallet screen, click on the Add Wallet button.
6. In the Add Wallet dialog box, enter the following details:
a. The address of the Metamask wallet you want to use. This can be found on the Metamask home screen.
b. The password of the Metamask wallet. This is required to make any transactions.
c. The ticker symbol for the Metamask wallet. This can be found on the Metamask home screen.
7. Click on the Send Ether & Tokens button.
8. On the Ether & Tokens screen, you will see a list of all the tokens and contracts in your Metamask wallet. You can now start trading these tokens and contracts.

If you have a Ledger, here's how to connect it to Metamask
If you have a Ledger Nano S or a Ledger Blue, follow these instructions:
1. On your computer, open the Metamask app. If you don't have it, install it here.
2. Click on the three lines in the top left corner of the Metamask app.
3. Click on "add account."
4. In the "add account" pop-up, click on "Ledger."
5. In the "Ledger" pop-up, click on "connect."
6. In the "connect" pop-up, click on "OK."
7. In the " Ledger" pop-up, click on "login."
8. In the "login" pop-up, enter your ledger's PIN and password.
9. In the "login" pop-up, click on "sign in."
10. In the "sign in" pop-up, click on "Metamask."
11. In the "Metamask" pop-up, click on "properties."
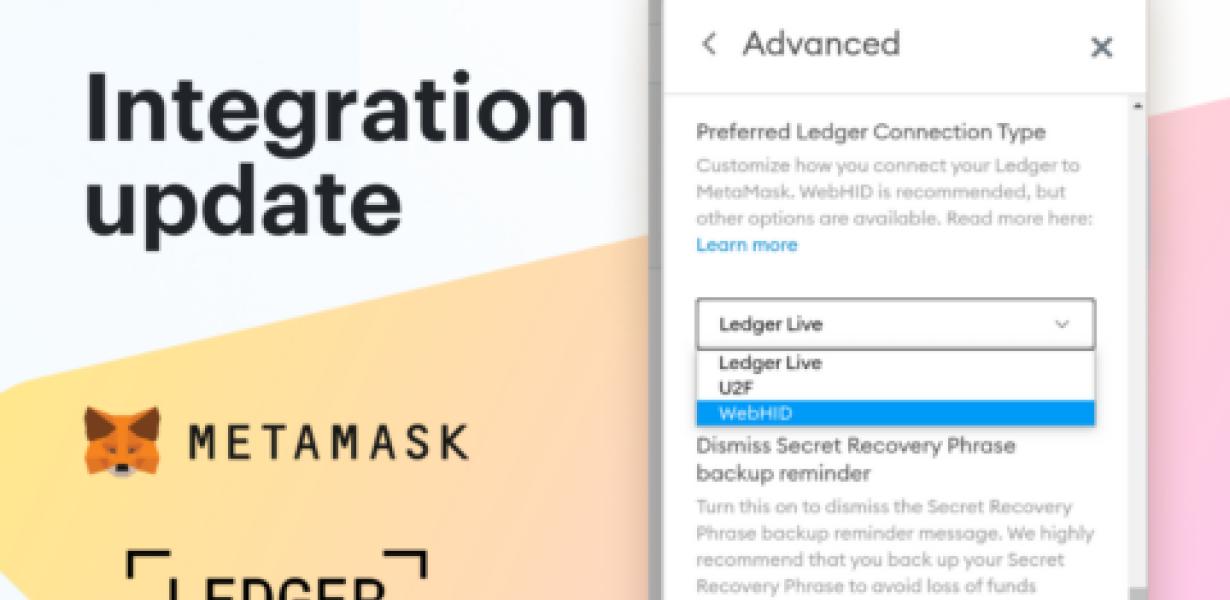
12. In the "properties" pop-up, click on "ledger connections."
13. In the "ledger connections" pop-up, click on the "Ledger Nano S" or "Ledger Blue" icon.
14. In the " Ledger Nano S" or "Ledger Blue" pop-up, click on "Connect."
15. In the "Connect" pop-up, click on "OK."