Setting up Matic on Metamask is easy.
Setting up Matic on Metamask is easy. All you need to do is add the Matic Network to your Metamask wallet.
How to set up Matic on Metamask
1. Open Metamask and click on the three lines in the top left corner.
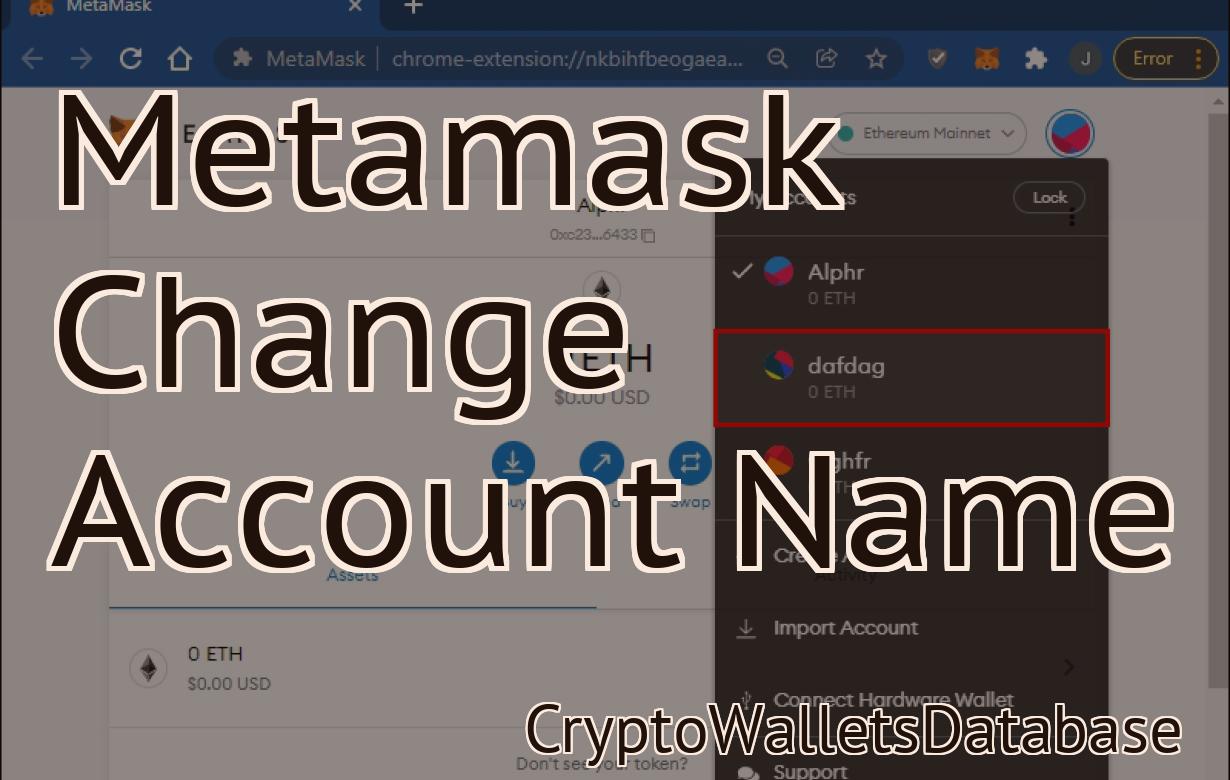
2. Click on "Add Account."
3. Fill in your details for Matic, including your name and email address.
4. Click on "Connect."
5. You will now be asked to login to Matic. Enter your username and password and click on "Login."
6. You will now be taken to the Matic home page. On the left-hand side, you will see a list of your connected accounts. To add a new account, click on the "+" sign next to the "Metamask" account.
7. On the right-hand side, you will see a list of your tasks. To add a new task, click on the "+" sign next to the "Task" you want to create.
8. You will now be asked to choose a task type. To choose a task type, click on the "Type" dropdown menu and select the desired task type.
9. In the "Description" field, you can write a brief description of your task.
10. To start working on your task, click on the "Start" button.
Getting started with Matic on Metamask
1. Open Metamask and click on the “Add Wallet” button in the top left corner.
2. Select Matic from the list of wallets and click on the “Create New Account” button.
3. Enter your name, email address, and password and click on the “Create Account” button.
4. You will now be taken to the Matic homepage. On the homepage, you will see a list of currencies that you can trade with. To start trading, click on the “Trades” button and select the currency that you want to trade with.
5. Next, you will need to find a trade pair that you want to trade with. To do this, click on the “Pairs” button and select the currency that you want to trade with.
6. Finally, you will need to find an exchange that you want to trade with. To do this, click on the “Exchanges” button and select the exchange that you want to trade with.
Setting up Matic Network on Metamask
To setup Matic Network on Metamask, you first need to create an account at Matic Network.
Once you have created your account, you can then click on the “Connect” button in the top right corner of the Metamask home screen.
On the next screen, you need to input the details of your Matic Network account.
After entering your account details, you will be prompted to select a use case.
The use case you select will determine the type of Matic Network token you are creating.
If you are creating a voting token, you will need to input the ERC20 address of the token contract, and the total supply of tokens.
If you are creating a liquidity token, you will need to input the ERC20 address of the token contract, and the total supply of tokens.
You will also need to input the Ethereum address of the Metamask account you are using to connect to Matic Network.
After entering your details, click on the “Create Matic Network Token” button.
On the next screen, you will be prompted to select a name for your Matic Network token.
You can then select a logo for your Matic Network token.
After completing the design process, click on the “Create Matic Network Token” button.
Your Matic Network token will now be created, and will be available for use in the Metamask wallet.
Configuring Matic for use on Metamask
To use Matic on Metamask, follow these steps:
1. Open Metamask and click on the three lines in the top left corner.
2. Click on "Settings" in the menu that appears.
3. In the "Settings" window, click on "Extensions."
4. In the "Extensions" window, click on the "Add extension" button.
5. In the "Add extension" window, type "Matic" into the "Search engine" field and click on the "Install" button.
6. Click on the "Matic" extension button to open the Matic extension.
7. In the Matic extension, click on the "Configure" button.
8. In the Matic extension, click on the "Servers" tab.
9. In the Matic extension, click on the "Add server" button.
10. In the "Add server" window, type "https://matictoken.com/" into the "Server address" field and click on the "Add" button.
11. In the "Add server" window, type "https://localhost:8001/" into the "Server port" field and click on the "Add" button.
12. In the "Add server" window, type "metamask:*" into the "Client ID" field and click on the "Add" button.
13. In the "Add server" window, type "metamask:*" into the "Client Secret" field and click on the "Add" button.
14. Click on the "OK" button to close the "Add server" window.
15. Click on the "Close all windows" button in the top left corner of the Matic extension window to close all windows associated with Matic.
How to access Matic Network via Metamask
First, install Metamask.
Next, open Metamask and click on the 3 lines in the top left corner.
In the popup that appears, select "Add Account."
In the "Add Account" popup, enter Matic Network and click on "Add."
You will now be connected to the Matic Network!
Using Matic Network with Metamask
Metamask is a crypto wallet that supports Matic Network. You can use Metamask to interact with the Matic Network dApp.
To use Metamask with the Matic Network, first install the Metamask extension.
Once you have installed the Metamask extension, open it and click on the “Add new” button.
In the “Add new” dialog, click on the “Web3” tab and select the “Matic Network” contract from the list.
Click on the “Select Contract” button and select the matic_mainnet.json file.
Once you have selected the contract, Metamask will display information about the contract.
Now, you need to add a Matic Network account. To do this, click on the “Add Account” button and enter your Matic Network account details.
Metamask will now display information about the Matic Network account.
Next, you need to add a Matic Network wallet address. To do this, click on the “Add Wallet Address” button and enter your Matic Network wallet address.
Metamask will now display information about the Matic Network wallet address.
Finally, you need to add a Matic Network wallet password. To do this, click on the “Add Wallet Password” button and enter your Matic Network wallet password.
Metamask will now display information about the Matic Network wallet password.
Connecting Matic to Metamask
If you want to use Matic with Metamask, you'll need to create a connection between the two.
To do this, open Metamask and click on the "Connect" button in the upper right-hand corner.
Then, input your Matic credentials and click on the "Connect" button again.
You'll now be able to use Matic with Metamask!
Integrating Matic with Metamask
Matic can be integrated with Metamask to give users the ability to access Matic content without having to leave the Metamask interface. To do this, you will need to add an extension to your Metamask account and then configure Matic to use that extension.
To add an extension to your Metamask account:
1. Open the Metamask app on your desktop or mobile device.
2. Click on the three lines in the top left corner of the Metamask window.
3. Under "Extensions," click on the "+" button to add a new extension.
4. Enter the name of the extension (e.g., Matic), click on the "Create" button, and then click on the "Open" button.
5. Click on the "Configure" button next to the Matic extension to open the extension's configuration page.
6. Under "Settings," click on the "Integration" tab and then select the "Matic" integration option.
7. Click on the "Save" button to finish setting up the integration.
8. To use Matic with Metamask, open the Metamask app and click on the "Add a Site" button.
9. In the "Site URL" field, enter the Matic site address (e.g., https://www.matic.co).
10. In the "Secret Key" field, enter the Matic secret key (e.g., abc123).
11. Click on the "Add" button to add the site to your Metamask account.
12. To use Matic content, open the Metamask app and click on the "Open a Site" button.
13. In the "Site URL" field, enter the Matic site address (e.g., https://www.matic.co).
14. In the "Secret Key" field, enter the Matic secret key (e.g., abc123).
15. Click on the "Open" button to open the site's content in your browser.