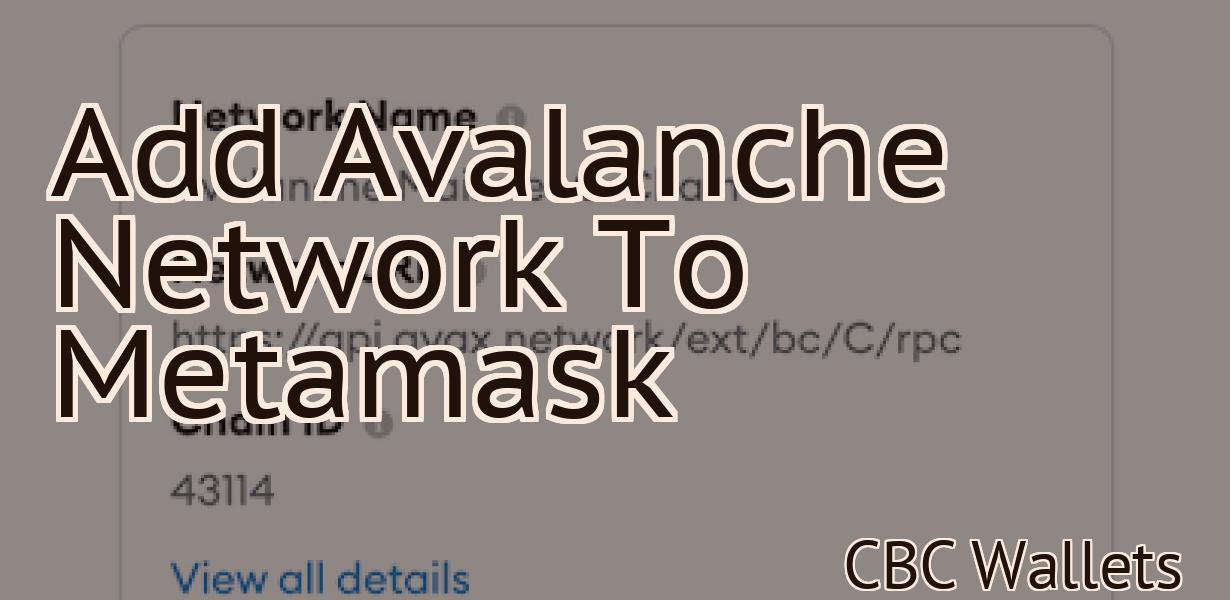
Add Bsc Network To Metamask
If you're a fan of the Binance Smart Chain and you use Metamask, you can now add the BSC Network to your Metamask wallet! This guide will show you how to do it.
How to Add a BSC Network to Metamask
To add a BSC network to Metamask, first open the Metamask app on your mobile device.
Next, click on the three lines in the top left corner of the Metamask window.
On the right side of the Metamask window, click on "Settings."
Under " Networks," click on the "+ Add Network" button.
Enter the following information into the "Name" field:
BSC Network Name
In the "Description" field, you can write a description of your BSC network.
Click on the "Connect" button.
Metamask will now verify that your BSC network is connected. Once it is verified, Metamask will display the BSC network's token in the "Token" field.
Adding a BSC Network to Metamask
To add a BSC Network to Metamask, follow these steps:
1. In Metamask, select the “Settings” button in the upper-right corner.
2. In the “Settings” panel, scroll down to the “Network” section and click on the “Add Network” button.
3. In the “Add Network” dialog, enter the following information:
Name: BSC Network
Address: bsc-network.local
Port: 443
4. Click on the “Connect” button to add the BSC Network to Metamask.
Adding a BSC Network to Your Metamask Wallet
To add a BSC network to your Metamask wallet, follow these steps:
1. Open your Metamask wallet and click on the three lines in the top left corner.
2. From the drop-down menu, select "Add Network."
3. Click on the "+" button in the top right corner of the window and select "BSC."
4. Enter the BSC network's public address in the text field and click on the "Connect" button.
5. You will now be able to send and receive BSC tokens on the network.
How to Connect a BSC Network to Metamask
To connect a BSC network to Metamask, follow these steps:
1. Go to metamask.com and sign in.
2. Click on the three lines in the top-left corner of the screen.
3. Under " Networks ," click on the "+" sign next to your BSC network.
4. Under " Connections ," click on the "Metamask" connection button.
5. Under " Address ," type in the Metamask address (e.g. 0x27aabcd27).
6. Under " Port ," type in 1883.
7. Click on the "Connect" button.
Connecting a BSC Network to Metamask
To connect your BSC Network to Metamask, you will need:
1. A Metamask account.
2. A BSC Network account.
3. The Metamask extension.
4. The BSC Network extension.
To connect your BSC Network to Metamask, follow these steps:
1. Open the Metamask extension.
2. Click on the arrow in the top-right corner of the main screen.
3. Select Connect to Networks.
4. Select your BSC Network from the list.
5. Click on Connect.
How to Use Metamask with a BSC Network
Metamask is a Chrome extension that enables users to interact with decentralized applications (DApps) and smart contracts on the Ethereum blockchain.
To use Metamask with a BSC network, first open a web browser and navigate to https://bsc.network/. Click the "Create a New Account" button and enter your desired BSC network username and password. Click the "Create Account" button to finish registration.
Once you have registered for a BSC network account, open Metamask and click the "Add Wallet" button. From the "Add Wallet" window, select "Ethereum Wallet" and click the "Choose File" button. Navigate to the folder where you saved your BSC network account's private key. Select the private key and click the "Open" button.
Next, click the "Metamask" button in the top left corner of the Metamask window and select "Generate New Wallet". In the "Metamask Wallet Generation Process" window, enter your desired BSC network address and password. Click the "Create" button to finish generating your Metamask wallet.
To use Metamask with a BSC network, open your Metamask wallet and click the "Send Ether & Tokens" button. In the "Select Wallet Address" window, enter the BSC network address that you registered for in step two. In the "Amount to Send" window, enter the amount of Ethereum or tokens that you want to send to the BSC network address. Click the "Send Ether & Tokens" button to send the Ethereum or tokens to the BSC network address.
Using Metamask with a BSC Network
Metamask is a browser extension that allows users to interact with the Ethereum network. With Metamask, BSC users can easily send and receive ether, as well as make transactions on the Ethereum network. To use Metamask with a BSC network, first download and install the Metamask extension. After installing Metamask, open it and click on the "Add Account" button. Next, enter your BSC account details and click on the "Connect" button. Once connected, you will be able to access all of the features of the Metamask extension.
Getting Started with Metamask and a BSC Network
Metamask is a browser extension that allows users to interact with decentralized applications (Dapps) and smart contracts. Metamask also allows users to hold ERC-20 tokens and other tokens issued on the Ethereum blockchain.
To get started with Metamask, you will first need to install the extension on your browser. You can find the latest version of Metamask at the Chrome Web Store or the Firefox Add-ons Store.
Once Metamask is installed, you will need to create a Metamask wallet. To do this, open Metamask and click on thebutton in the top right corner. Next, click on thebutton to open the Metamask wallet creation wizard.
In the wizard, you will need to provide some basic information about yourself. Next, you will need to provide a password for your Metamask wallet. You will also need to provide an email address so that you can receive notifications about new transactions from your Metamask wallet.
Finally, you will need to choose a payment method. You can choose to pay with Bitcoin, Ethereum, or Zcash. Once you have selected your payment method, click on thebutton to continue.
Next, you will need to add an ERC-20 token to your Metamask wallet. To do this, click on thebutton in the top right corner of the Metamask wallet screen and selectfrom the list of available tokens.
Next, you will need to provide some information about the ERC-20 token that you are adding to your Metamask wallet. First, you will need to choose the denomination of the ERC-20 token. Next, you will need to provide the token's address and the amount of tokens that you want to add to your Metamask wallet.
Finally, you will need to confirm the addition of the ERC-20 token to your Metamask wallet by clicking on thebutton.
Now that you have added an ERC-20 token to your Metamask wallet, you can start interacting with it by using the Metamask wallet's built-in functions. For example, you can send and receive tokens using the Metamask wallet's built-in transaction function. Alternatively, you can use the Metamask wallet's built-in wallet functions to manage your ERC-20 tokens.
Setting Up Metamask for use with a BSC Network
Metamask is a browser extension that allows users to securely conduct transactions and access their digital assets without having to sign up for a cryptocurrency exchange or use a third-party service. To set up Metamask for use with a BSC Network, follow these steps:
1. First, download and install the Metamask extension from the Chrome Web Store.
2. After installation, open the Metamask extension and click on thebutton in the top right corner.
3. In the Metamask window that opens, click on thebutton next to the name of your BSC Network account.
4. Next, click on thebutton to open the settings page for your BSC Network account.
5. On the settings page, you will need to enter your BSC Network username and password. After entering your credentials, click on thebutton to set up Metamask for use with your BSC Network.
6. Finally, click on thebutton to open the main Metamask window. Here, you will be able to navigate to your BSC Network account and make transactions using cryptocurrencies such as Bitcoin and Ethereum.