Use the ledger with metamask.
The Metamask browser extension allows you to easily interact with Ethereum-enabled websites. In order to use Metamask with a Ledger device, you'll need to configure it to work with the "Ledger Wallet" app. This guide will show you how to do that.
Using a Ledger with MetaMask
The first step to using a ledger with MetaMask is to install MetaMask.
Once MetaMask is installed, open it and click on the three dots in the upper-right corner. This will open the Settings page.
On the Settings page, click on the Add Account button.
On the Add Account page, enter the following information:
Name: My Ledger
Email: [email protected]
Password: mypassword
Once this information is entered, click on the Save button.
Next, open the Ledger app and click on the My Accounts tab.
On the My Accounts tab, click on the Add Account button.
On the Add Account page, enter the following information:
Name: My Ledger
Description: My Ledger is a ledger for my transactions
Email: [email protected]
Phone Number: myphonenumber
Once this information is entered, click on the Save button.
Next, open the MetaMask app and click on the 3 dots in the upper-right corner. This will open the Settings page.
On the Settings page, click on the Add Account button.
On the Add Account page, enter the following information:
Name: My Ledger
Description: My Ledger is a ledger for my transactions using MetaMask
Email: [email protected]
Phone Number: myphonenumber
Once this information is entered, click on the Create Account button.
How to use a Ledger with MetaMask
To use a Ledger with MetaMask, first install the Ledger app on your device.
Once the Ledger app is installed, open it and click on the three lines in the top left corner.
On the next page, click on the + sign in the top right corner to add a new account.
Enter the email address and password for the new account, and click on the create button.
Once the new account has been created, click on the three lines in the top left corner and select the newly created account from the list.
On the next page, click on the devices tab and select the Ledger device from the list.
Click on the connect button to start using the Ledger with MetaMask.
The benefits of using a Ledger with MetaMask
There are many benefits to using a Ledger with MetaMask. These include:
Security: The security features of a Ledger and MetaMask make it difficult for hackers to access your funds.
The security features of a Ledger and MetaMask make it difficult for hackers to access your funds. Speed: Transactions on a Ledger are faster than on other platforms, such as Bitcoin.
Transactions on a Ledger are faster than on other platforms, such as Bitcoin. Cross-platform compatibility: The Ledger is compatible with both desktop and mobile devices.
The Ledger is compatible with both desktop and mobile devices. Privacy: Your personal information is not stored on the Ledger.
How to set up a Ledger with MetaMask
1. Go to https://www.metamask.io and create a new account.
2. Click on the "Add Account" button and enter your desired Ethereum address.
3. Click on the "Use Metamask" button and open the MetaMask app.
4. On the left side of the MetaMask app, click on the "Ledgers" button.
5. Click on the "Create New Ledger" button and enter the desired name for your ledger.
6. Click on the "Add Address" button and enter the desired Ethereum address that you want to use for your ledger.
7. Click on the "Create Account" button and confirm your settings.
Getting the most out of your Ledger with MetaMask
MetaMask is a browser extension that enables you to interact with the Ethereum blockchain. When you open MetaMask, you will be asked to log in with your Ethereum account address and password. After you log in, you will be presented with a list of contracts and transactions that you have made. You can also use MetaMask to manage your Ethereum assets, send and receive payments, and access your wallet.
Tips for using a Ledger with MetaMask
1. Connect your Ledger to your computer.
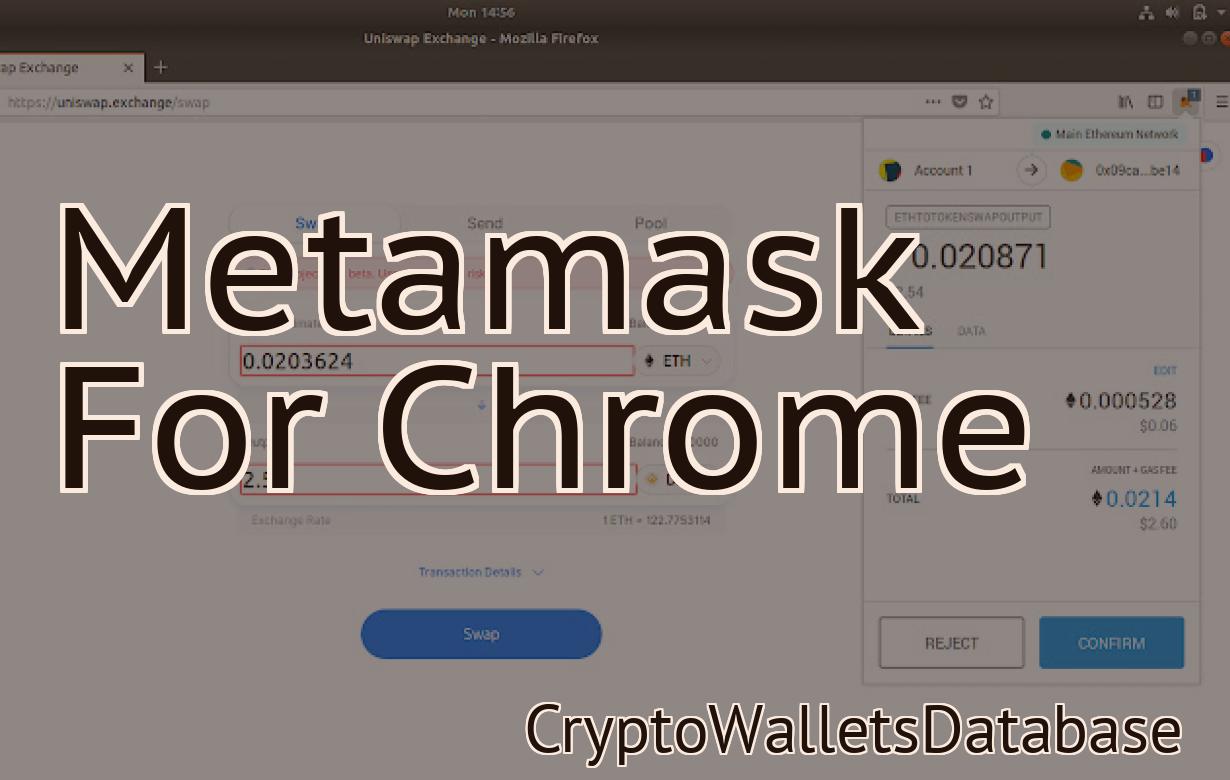
2. Install the MetaMask extension for Chrome.
3. Open the MetaMask extension and click on the "Ledger" button.
4. Click on the "Connect to Ledger" button.
5. Enter your ledger's address and click on the "Connect" button.
6. You will now be able to see your transactions and assets in your MetaMask account.
Making the most of a Ledger with MetaMask
Ledger is a hardware wallet that supports many cryptocurrencies, including Ethereum. When you first open the Ledger, you will be asked to set up a new account. You can choose to use a preexisting Ethereum address or create a new one.
When you create a new account, you will be asked to choose a password. You will also be required to verify your identity by submitting a copy of your government-issued ID or driver’s license.
Once you have set up your account, you can start using the Ledger to store your Ethereum. You can send and receive Ethereum using the Ledger’s built-in wallet interface. The Ledger also supports Ethereum transactions via the MetaMask browser extension. When you open the MetaMask extension, you will be asked to input your Ethereum address and password. After you have entered these details, you will be able to send and receive Ethereum transactions.
How to get the most out of your Ledger with MetaMask
To get the most out of your Ledger with MetaMask, we recommend following these tips:
1. Install the MetaMask extension on your browser.
2. Connect your Ledger to your computer using the USB cable.
3. In MetaMask, click on the “Settings” button.
4. On the “Settings” page, click on the “Add a new account” button.
5. Type in your Ledger account name and password.
6. Click on the “Connect” button.
7. Your account is now connected to MetaMask.
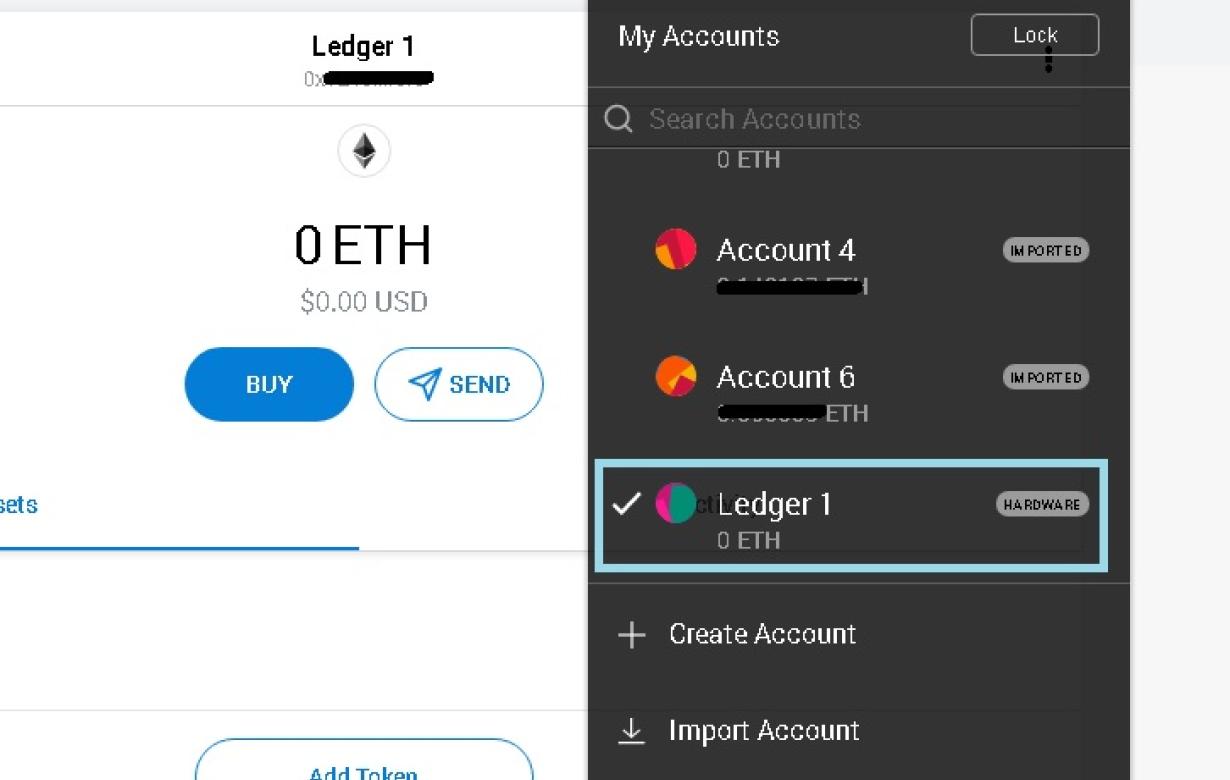
8. In MetaMask, click on the “Accounts” tab.
9. Click on the “Ledger” account icon.
10. On the “Ledger” account page, you will see your current balance and transactions.
Getting the most out of MetaMask with a Ledger
MetaMask is a browser extension that allows you to interact with decentralized applications (dApps) and other blockchain-based services. When you install MetaMask, it prompts you to install a Ledger wallet.
Once you have installed the MetaMask and Ledger wallet extensions, you can start using them to manage your cryptocurrencies. You can use MetaMask to send and receive cryptocurrencies, store them in a secure wallet, and access them from any web browser.
To make the most of MetaMask and your Ledger wallet, we recommend using the following tips:
Use MetaMask to manage your cryptocurrencies . MetaMask allows you to easily send and receive cryptocurrencies, store them in a secure wallet, and access them from any web browser.
. MetaMask allows you to easily send and receive cryptocurrencies, store them in a secure wallet, and access them from any web browser. Use a hardware wallet to store your cryptocurrencies . A hardware wallet is a secure device that helps you store your cryptocurrencies offline.
. A hardware wallet is a secure device that helps you store your cryptocurrencies offline. Backup your cryptocurrencies . Always make sure to backup your cryptocurrencies in case something happens to your computer or device.
. Always make sure to backup your cryptocurrencies in case something happens to your computer or device. Make sure to read the MetaMask and Ledger wallet instructions. These instructions help you set up and use the extensions correctly.
Using a Ledger for MetaMask
MetaMask is a popular browser extension that allows users to conduct transactions with cryptocurrencies like Bitcoin and Ethereum. To create a ledger for MetaMask, follow these steps:
1. Open MetaMask and click on the three lines in the top left corner.
2. On the "Ledgers" tab, click on "New ledger."
3. In the "Name" field, type a name for your ledger.
4. In the "Description" field, type a description of your ledger.
5. Click on "Create."
6. Your ledger will now appear in the list on the "Ledgers" tab.
The best way to use a Ledger with MetaMask
To use a Ledger with MetaMask, first install the Ledger Wallet app on your device. Then, open the app and click on the "Add New Account" button.
Next, enter the details of your MetaMask account, including its address and private key. Finally, click on the "Connect to MetaMask" button to finish setting up your Ledger.
Once your Ledger is connected to your MetaMask account, you can use it to store cryptocurrencies (e.g. Bitcoin, Ethereum, etc.) and other digital assets. To do this, open the "Accounts" tab in the Ledger Wallet app and select your MetaMask account from the list of accounts.
Next, select the cryptocurrencies or other assets you want to store and click on the "New Transaction" button. You will then be asked to provide the details of your transaction, including the address and amount of currency or asset you are transferring.
Finally, you will need to confirm the transaction by clicking on the "Confirm Transaction" button. If everything goes according to plan, your coins or assets will be transferred to the address you specified in your MetaMask account.
How to use a Ledger for MetaMask
To use a Ledger for MetaMask, you will first need to set up a Ledger account.
Once you have set up your Ledger account, you can use it to store your MetaMask private key. To do this, open the MetaMask app on your computer and click on the three lines in the top left corner of the window. On the following page, click on the "Import Private Key" button.
Next, select the Ledger account that you want to use and copy the private key that is displayed on the screen. Then, click on the "Import" button in the bottom right corner of the window.
Finally, you will need to add the Ledger account as a trusted device in MetaMask. To do this, open the MetaMask app and click on the three lines in the top left corner of the window. On the following page, click on the "Settings" button.
Next, click on the "Trusted Devices" tab and add the Ledger account that you copied the private key from earlier. Then, click on the "Save Changes" button.