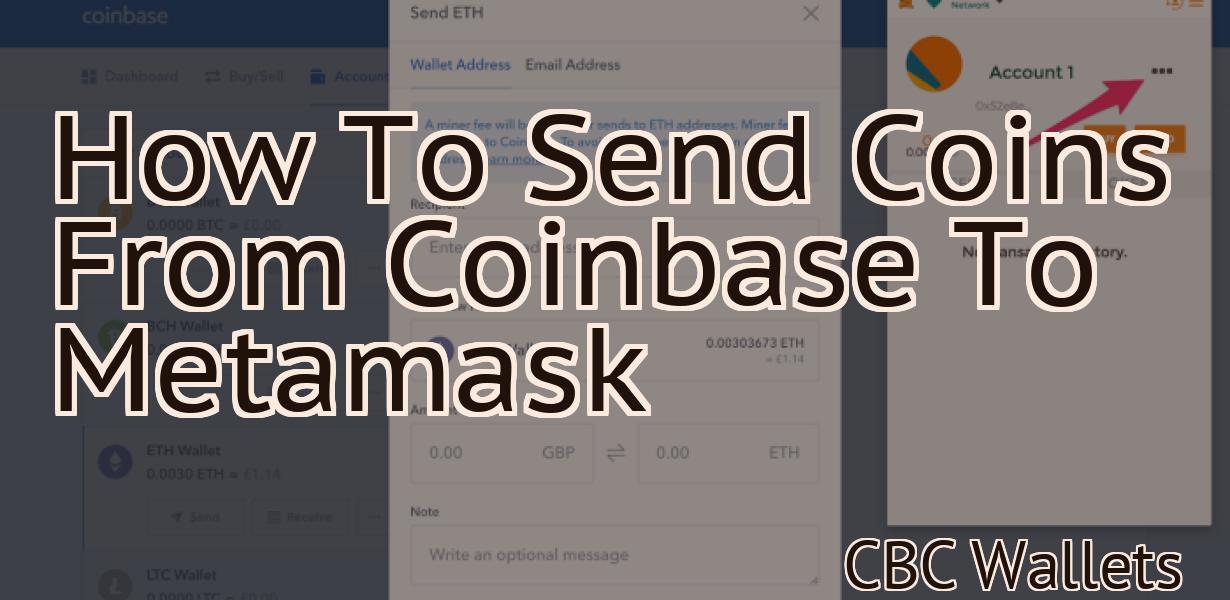
Send nft from coinbase wallet to metamask.
If you have an NFT in your Coinbase Wallet that you would like to send to your MetaMask account, follow the steps below. Please note that currently only ERC-721 tokens are supported on MetaMask. 1. Open your Coinbase Wallet and tap on the asset you wish to send. 2. Tap "Send" in the upper right corner. 3. Enter the amount you would like to send and tap "Next". 4. On the next screen, tap "MetaMask" under "To:" 5. A new window will open asking you to confirm the transaction in MetaMask. Once you have reviewed and confirmed the details, click "Submit" in MetaMask to complete the transaction.
How to Send an NFT from Coinbase Wallet to MetaMask
1. Open Coinbase and sign in.
2. Under the "Accounts" tab, select "wallet."
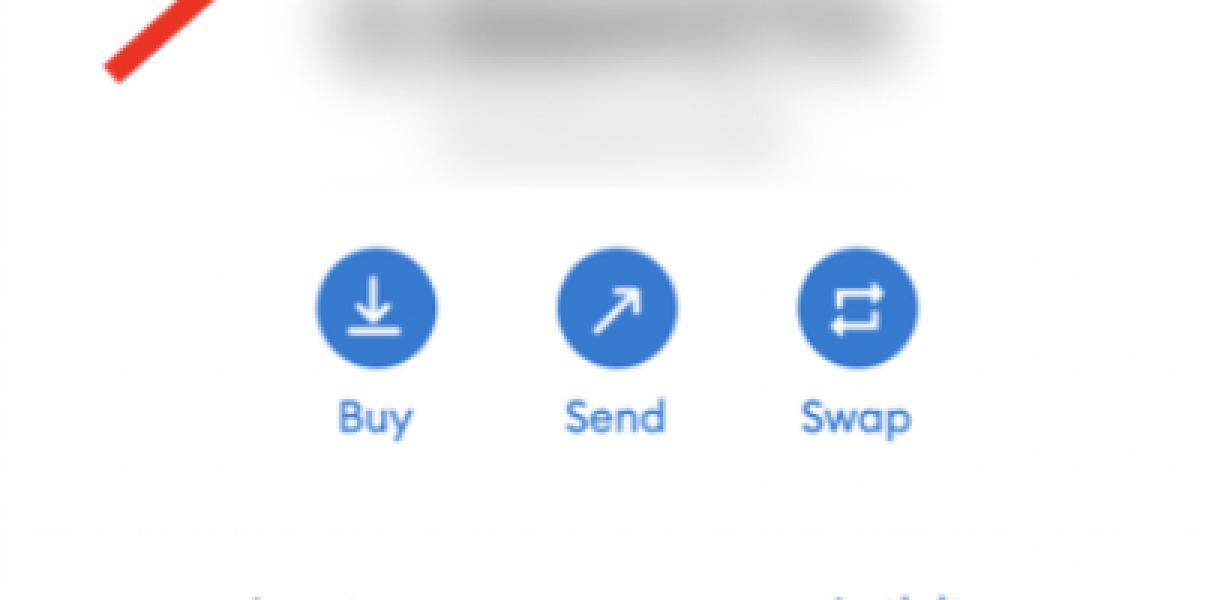
3. Under the "wallet" tab, select "Send."
4. Under the "Send" tab, select "NFT."
5. Under the "NFT" tab, select "Send to MetaMask."
6. Enter the recipient's MetaMask address and click "Send."
Sending Your NFT from Coinbase to MetaMask
1. Log in to Coinbase and open the account you want to send your NFT from.
2. Under "Accounts," click on "Send."
3. On the "Send" page, select "NFT."
4. Under "Asset Type," select "Token."
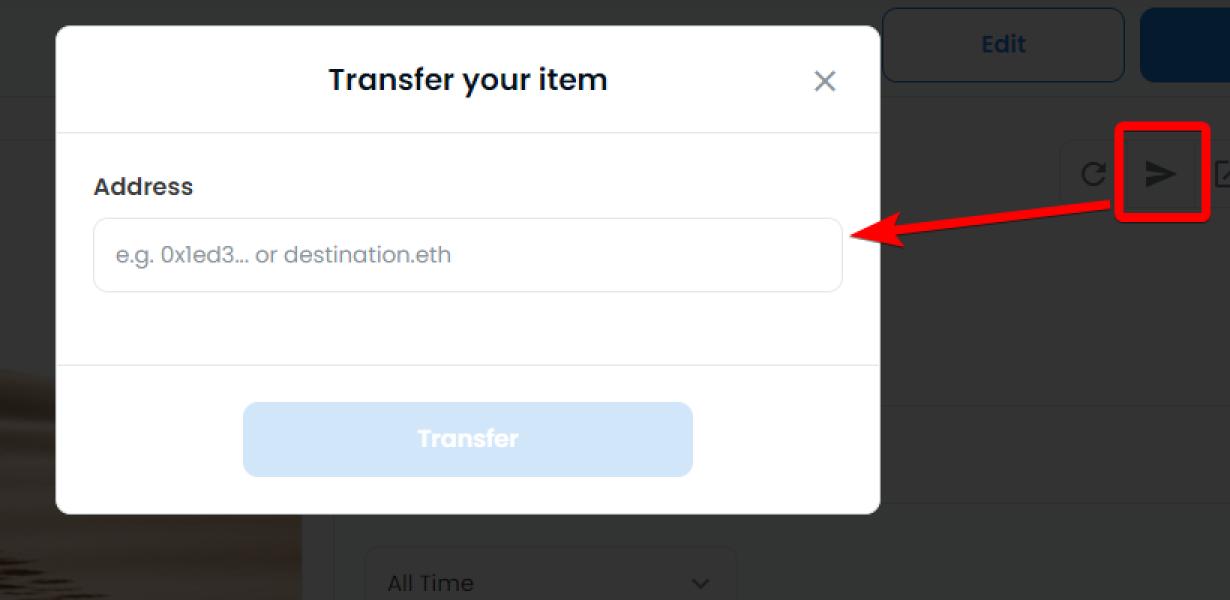
5. Under "To Address," type in the address of the MetaMask account you want to send the NFT to.
6. Under "Amount," enter the amount of NFT you want to send.
7. Click on "Send."
8. Your NFT will be sent to the address you entered in Step 5.

The Easiest Way to Send NFTs from Coinbase to MetaMask
Once you have Coinbase and MetaMask installed, the easiest way to send NFTs from Coinbase to MetaMask is to open Coinbase, click on the “Accounts” tab, and then click on the “Send” button next to your MetaMask account. On the “Send” page, select the NFTs you want to send, enter the amount you want to send them in USD or BTC, and click on the “Send” button.
How to Use Coinbase Wallet to Send NFTs to MetaMask
To send NFTs to MetaMask, follow these steps:
1. Open Coinbase Wallet and navigate to the Send tab.
2. Click on the + sign next to the NFT you want to send.
3. Select MetaMask from the list of wallets.
4. Enter the amount of NFTs you want to send and click on the green send button.
5. MetaMask will ask you to confirm the transaction. Click on the green send button again to finalize the transfer.
How to Move an NFT from Coinbase Wallet to MetaMask
1. Open Coinbase and sign in.
2. Click on the "Cryptocurrencies" tab.
3. Under "My Bitcoin & Ethereum," click on "NFT."
4. On the NFT page, click on the "Send" button.
5. In the "To" field, type MetaMask.
6. In the "Value" field, type the NFT's address.
7. Click on the "Send" button.
8. Enter your MetaMask password in the "Password" field.
9. Click on the "Send" button.
10. When the NFT has been sent, click on the "View" button to see it in your MetaMask wallet.
Transferring an NFT from Coinbase Wallet to MetaMask
To transfer an NFT from Coinbase Wallet to MetaMask, follow these steps:
1. Open the Coinbase Wallet app.
2. Click the "Send" button next to the NFT you wish to transfer.
3. In the "To" field, enter the address of the MetaMask wallet you wish to send the NFT to.
4. In the "Amount" field, enter the amount of NFT you wish to send.
5. Click the "Submit" button.
6. MetaMask will ask you to confirm the transfer. Click the "Confirm" button.
Exporting an NFT from Coinbase Wallet to MetaMask
To export an NFT from Coinbase Wallet to MetaMask, follow these steps:
1. Open Coinbase Wallet and click on the menu button in the top-right corner.
2. Select "Send".
3. On the "Send" screen, select "NFT".
4. On the "NFT" screen, select the NFT you want to export.
5. Click on the blue "Export" button.
6. On the "Export NFT?" screen, confirm that you want to export the NFT.
7. Click on the blue "Export NFT" button.
8. MetaMask will ask you to confirm the transfer. Click on the green "Confirm" button.
9. The NFT will be exported to your MetaMask wallet.
Migrating an NFT from Coinbase Wallet to MetaMask
1. In Coinbase, open your wallet and click on the three lines in the top left corner.
2. On the left side of the window, click on "NFTs."
3. On the right side of the window, click on "Export NFT."
4. In the "Export NFT" dialog box, type in the address of the NFT you want to export and click on "Export."
5. MetaMask will generate a new private key for the NFT and show it in the "Import NFT" dialog box. Click on "Import."
6. MetaMask will ask you to verify the private key. Type in the verification code that MetaMask shows you and click on "Import."
porting an NFT from Coinbase Wallet to MetaMask
To export an NFT from Coinbase Wallet to MetaMask, follow these steps:
1. Open Coinbase Wallet and click on the three lines in the top left corner of the screen.
2. Under "Accounts," click on "NFTs."
3. On the "NFTs" page, click on the "Exports" tab.
4. On the "Exports" page, click on the "Upload" button.
5. In the "Upload NFT" window, paste the address of the NFT you want to export into the "From Address" field and paste the address of the destination address into the "To Address" field.
6. Click on the "Upload" button.
7. After the upload has completed, click on the "Success!" button to close the window.
8. On the "Exports" page, click on the "Success!" button to close the window.