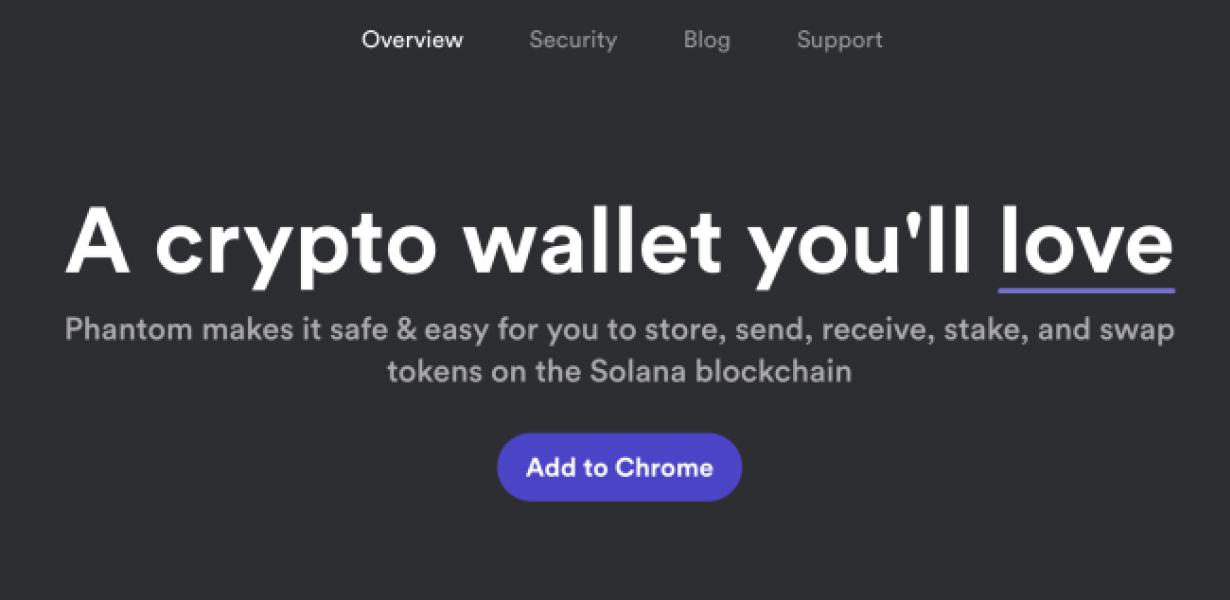
Phantom wallet installation.
This article describes how to install the Phantom wallet. The Phantom wallet is a software wallet that allows you to store, send, and receive Bitcoin.
How to install a phantom wallet
To install a phantom wallet, follow these steps:
1. Go to the phantom website and create an account.
2. Enter your personal information and create a password.
3. Click on the "Download" button and save the Phantom wallet file to your computer.
4. Open the downloaded Phantom wallet file and double-click on the phantom.exe file to start the installation process.
5. Follow the on-screen instructions to set up your new Phantom wallet.
Installing a phantom wallet
1. Go to https://github.com/ethereum/phantom
2. Click on the "Clone or Download" button and choose "Clone"
3. Go to your computer's Downloads folder and find the phantom-v1.0.0.zip file.
4. Extract the phantom-v1.0.0.zip file to a location on your computer.
5. Open a command prompt (Windows: Start > All Programs > Accessories > Command Prompt; Mac: Launchpad > Utilities > Terminal) and change to the location where you extracted the phantom-v1.0.0.zip file.
6. Type the following command and press Enter:
7. phantom --wallet-file=
For example, if your phantom wallet file is wallet.phantom, you would type:
7. phantom --wallet-file=wallet.phantom

Phantom wallet installation guide
To install the Phantom wallet on your computer, please follow these steps:
1. Download the Phantom wallet from our website.
2. Unzip the downloaded file.
3. Open the unzipped folder and locate the Phantom wallet executable.
4. Double-click on the wallet executable to launch it.
5. Click on the “Create a new account” button to create a new account.
6. Type in a valid email address and password.
7. Click on the “Create an account” button to finish setting up your account.

Phantom wallet installation process
1. Download the Phantom wallet here.
2. Extract the Phantom wallet file to a location on your computer.
3. Launch the Phantom wallet application.
4. Click on the “New Address” button.
5. Type in a unique address for your Phantom wallet.
6. Click on the “Create Address” button.
7. Copy the private key for your new Phantom wallet address.
8. Click on the “Send Funds” button.
9. Paste your private key into the “To Address” field.
10. Enter the amount of bitcoin you want to send to your new Phantom wallet address.
11. Click on the “Send Funds” button.
12. Wait for the bitcoin to transfer to your new Phantom wallet address.
How to set up a phantom wallet
The process of setting up a phantom wallet is relatively simple. First, you will need to create a new wallet on a supported platform. Next, you will need to create a unique address for the wallet. Finally, you will need to send some Bitcoin or Ethereum to the address you created.
Phantom wallet setup guide
1. Go to https://phantom.co/
2. Click on the "Create New Wallet" button
3. Enter a password and choose a secure password.
4. Click on the "Create Account" button.
5. Choose a wallet name and click on the "Create Account" button.
6. Select a location for your wallet files and click on the "Create Account" button.
7. Enter your email address and click on the "Create Account" button.
8. Click on the "Upload Photo" button and upload your photo.
9. Click on the "Verify Email" button to confirm your email address.
10. Click on the "Create Wallet" button to start creating your Phantom wallet.
Configuring your phantom wallet
Your phantom wallet is a unique piece of software that helps manage your cryptocurrencies. You will need to download and install it on your computer.
Once you have installed the phantom wallet, you will need to create a new wallet. To do this, click on the “New Wallet” button on the main screen of the phantom wallet.
You will then be prompted to provide some basic information about your wallet. This information will be used to generate a unique address for your wallet. You will also be required to enter a password to protect your wallet.
After you have created your wallet, you will need to add some cryptocurrencies to it. To do this, click on the “Add Coins” button on the main screen of the phantom wallet.
You will then be prompted to enter the name of the cryptocurrency you want to add to your wallet. After you have added the cryptocurrency, you will need to provide some additional information about it. This information will be used to generate a unique address for the cryptocurrency.
You will also be required to enter a password to protect your wallet. After you have added the cryptocurrency to your wallet, you will need to confirm the addition by clicking on the “Confirm” button.
After you have added the cryptocurrency to your wallet, you will need to generate a new address for it. To do this, click on the “Generate Address” button on the main screen of the phantom wallet.
You will then be prompted to enter the name of the cryptocurrency you want to generate a new address for. After you have entered the name of the cryptocurrency, you will be required to provide some additional information about it. This information will be used to generate a unique address for the cryptocurrency.
After you have generated a new address for the cryptocurrency, you will need to copy the address into a text editor. To do this, click on the “Copy Address” button on the main screen of the phantom wallet.
After you have copied the address into a text editor, you will need to send some cryptocurrencies to the address. To do this, click on the “Send Coins” button on the main screen of the phantom wallet.
You will then be prompted to enter the amount of cryptocurrencies you want to send to the address. After you have entered the amount of cryptocurrencies, you will be required to provide some additional information about them. This information will be used to generate a unique payment request for the cryptocurrencies.
After you have sent the cryptocurrencies to the address, you will need to confirm the transaction by clicking on the “Confirm” button.
After you have confirmed the transaction, you will need to wait for the coins to arrive in your wallet. To do this, click on the “Status” button on the main screen of the phantom wallet.
After you have waited for the coins to arrive in your wallet, you will need to delete the address that you copied into a text editor. To do this, click on the “Delete Address” button on the main screen of the phantom wallet.
Setting up your phantom wallet
1. Go to https://www.coinbase.com/ and create a new account.
2. Click on the "Accounts" tab and add a new account.
3. Enter your email address and password.
4. Click on the "Add Account" button and select "Phantom Wallet."
5. On the next page, enter the amount of Bitcoin you want to add to your phantom wallet.
6. Click on the "Next" button and confirm your Phantom Wallet account.
Using a phantom wallet
Phantom wallets are a way to store bitcoins offline. To create a phantom wallet, you first need to install the bitcoin wallet on a computer or mobile device. Next, you create a wallet name and password. Finally, you set up a secure password for the wallet.
To spend bitcoins from a phantom wallet, you first need to import the private key into a regular bitcoin wallet. Then, you can use the regular bitcoin wallet to send bitcoins to the phantom wallet.
Getting started with phantom wallets
Phantom wallets are a great way to store your cryptocurrencies offline. They allow you to keep your private keys offline, and use the wallet to send and receive cryptocurrencies.
To create a phantom wallet, first download the Phantom app from the App Store or Google Play.
Next, open the Phantom app and click on the Create New Wallet button.
Enter your wallet address and select the coins you want to store. You can also choose to create a new wallet with randomly generated addresses.
To send or receive cryptocurrencies, open the Phantom app and click on the Wallet tab. Click on the transactions button to view your latest transactions. To send or receive cryptocurrencies, simply enter the recipient's wallet address and select the coins you want to send or receive.
You can also use the Phantom app to manage your private keys. To do this, open the Settings tab and click on the Private Keys button. You can then view your private keys, export them to a file, and back them up.
How to use a phantom wallet
To use a phantom wallet, first open a new account on a cryptocurrency exchange. Once you have an account, set up a deposit and withdrawal method. Note that some exchanges require you to provide identification before you can make a deposit or withdrawal.
Next, create a phantom wallet address. A phantom wallet address is a unique identifier that represents your holdings in a phantom wallet. To create a phantom wallet address, open the account on the cryptocurrency exchange and click the "Send" button. Next, enter the address that you want to create a phantom wallet with and click the "Submit" button.
Finally, transfer your cryptocurrencies from your primary wallet to the phantom wallet address that you created.
Phantom wallet tutorial
In this tutorial, we will show you how to create a Phantom wallet. Phantom is a new, untested, and experimental cryptocurrency.
1. Download the Phantom wallet.
Phantom can be downloaded from the official website.
2. Create a new wallet.
To create a new wallet, click on the "Create New Wallet" button on the main page of the website.
3. Enter your details.
You will need to enter your name, email address, and password.
4. Confirm your details.
Click on the "Confirm Your Details" button to confirm your details.
5. Download the Phantom wallet.
The Phantom wallet can now be downloaded from the website.