Metamask Tutorial
This Metamask tutorial will show you how to use the Metamask browser extension to manage your Ethereum account and transactions. You will learn how to create a Metamask account, add ETH to your account, and send ETH to another account.
How to get started with Metamask
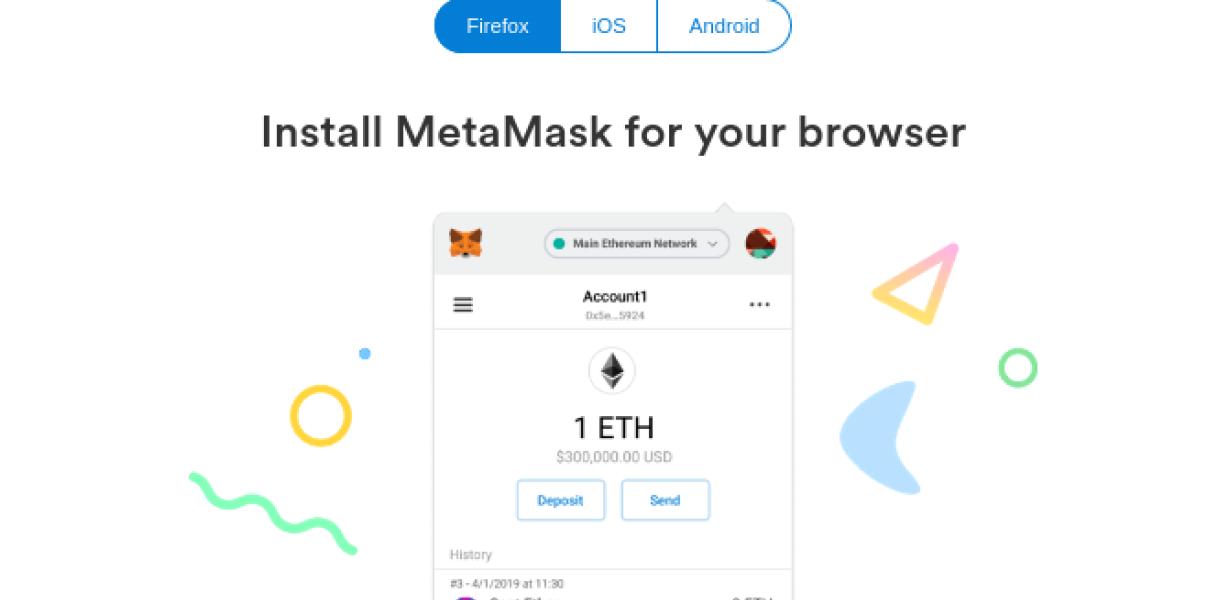
To get started with Metamask, you will first need to download the Metamask app from the App Store or Google Play.
Once you have downloaded the Metamask app, open it and click on the lock icon in the top left corner. This will open up your Metamask account.
Now you will need to add a new account. To do this, click on the Accounts tab and then click on the Add New Account button.
Next, enter your desired account name and password and click on the Create Account button.
After you have created your new account, you will be prompted to download the Metamask extension. To do this, click on the Extensions tab and then click on the Download button.
Once you have downloaded the Metamask extension, open it and click on the Install button.
After you have installed the Metamask extension, you will be presented with the Metamask main screen.
Now you will need to click on the Metamask icon in the top left corner and select Add Wallet.
Next, you will need to enter the address of your Ethereum wallet and click on the Next button.
Now you will need to enter your desired password for your Ethereum wallet and click on the Next button.
After you have entered your desired password, you will be presented with the Metamask Verification window.
To verify your identity, you will need to scan a photo of yourself and answer a few questions about yourself. After you have verified your identity, you will be able to proceed to the next step.
To add a new Ethereum address, click on the Add New Address button and enter the address of your Ethereum wallet.
After you have entered your desired address, you will be prompted to enter your password again.
Now you will need to confirm your new address by clicking on the Confirm Address button.
After you have confirmed your new address, you will be able to start sending and receiving Ethereum transactions.
The benefits of using Metamask
Metamask is a decentralized application that allows users to interact with the Ethereum network. It offers a number of benefits, including:
- Security: Metamask is secure because it uses a Verified Identity Protocol (VP) to verify the identities of users. This means that Metamask is protected from phishing attacks and other forms of fraud.
- Privacy: Metamask protects user privacy by ensuring that all user data is encrypted. This means that no one, not even Metamask itself, can access user data.
- Speed: Because Metamask relies on the Ethereum network, it is fast and easy to use. This makes it a great choice for users who want to quickly and easily interact with the Ethereum network.
How to use Metamask to securely store your cryptocurrencies
First, you need to create a Metamask account. Metamask is a browser extension that allows you to securely store your cryptocurrencies. After you create an account, you will need to input your cryptocurrency addresses. Metamask will then generate a secure password for you. You can then store your cryptocurrencies in the Metamask account.

How to use Metamask to send and receive payments
To send a payment using Metamask, first open the Metamask app and click on the "Add Wallet" button.
Then, input the wallet address of the recipient and click on "Send".
To receive a payment, open the Metamask app and click on the "Add Wallet" button.
Then, input the wallet address of the sender and click on "Receive".
How to use Metamask to trade cryptocurrencies
First, install Metamask on your computer. Metamask is a Chrome extension that helps you to trade cryptocurrencies.
Next, open Metamask and click on the “Create New Account” button.
Enter your name, email address, and password.
After you have entered your information, click on the “Create Account” button.
Metamask will now show you your account balance and transactions.

How to use Metamask to manage your accounts
To start using Metamask, open the Chrome browser and click the Metamask icon ( ).
Click on the Add Account button.
Type in your Ethereum address and click on the Next button.
Metamask will now ask you to login with your credentials. After you have logged in, Metamask will show you your account information.
To manage your accounts, click on the Accounts button on the toolbar. This will show you all of your accounts and their balances. You can also manage your accounts by clicking on the Actions button and then clicking on the Transfer button.
How to use Metamask to sign transactions
1. Open Metamask and click on the "Add a new account" button.
2. Enter your desired account name and click on the "Create" button.
3. Metamask will ask you to connect to your Ethereum wallet. If you don't have an Ethereum wallet, you can create one by clicking on the "Create a new Ethereum wallet" button and following the instructions.
4. Metamask will now ask you to approve a transaction. You can either approve or reject the transaction, but be sure to read the instructions carefully before making your decision.
5. Click on the "Sign a transaction" button to begin signing your transactions.
How to use Metamask to encrypt your data
1. Open Metamask and click on the button that says "Create a new account."
2. Fill in your desired information and click on the "Create Account" button.
3. Metamask will now prompt you to select a wallet. Click on the "Select Wallet" button and select your desired wallet from the list.
4. Metamask will now ask you to input your private key. Click on the "Generate New Private Key" button and input your desired private key.
5. Metamask will now ask you to input your public key. Click on the "Generate New Public Key" button and input your desired public key.
6. Metamask will now ask you to confirm your account. Click on the "Confirm Account" button and Metamask will now begin to encrypt your data.
How to use Metamask to create a wallet
and buy Ethereum
1. Open Metamask and click on the "Create a new wallet" button.
2. Enter your desired Ethereum wallet address and click on the "Create" button.
3. Metamask will display your newly created Ethereum wallet address. Copy this address and go to a different web browser to continue.
4. In the new browser, go to https://www.ethereum.org/ and click on the "Ethereum Wallet" button.
5. Enter your Metamask wallet address and click on the "Create New Account" button.
6. Metamask will display your newly created Ethereum account details. Copy these and go back to the original browser window.
7. In the original browser window, go to https://www.bitfinex.com/ and click on the "Register" button.
8. Bitfinex will display a registration form. Complete the form and click on the "Register" button.
9. Bitfinex will now ask you to provide some personal information. Fill in the required fields and click on the "Submit" button.
10. Bitfinex will now require you to verify your account by providing your name, email address, and phone number. Click on the "Verify" button and wait for the verification process to complete.
11. Once verification is complete, Bitfinex will display a message confirming that your account has been registered. Click on the "Log In" button to continue.
12. Bitfinex will now display the main account dashboard. Click on the "Deposit" button and enter the amount of Ethereum that you wish to deposit into your account.
13. Bitfinex will now require you to provide some additional information. Enter your name, shipping address, and payment method information and click on the "Submit" button.
14. Bitfinex will now ask you to confirm your deposit by providing your bank account information. Enter your bank account details and click on the "Submit" button.
15. Bitfinex will now generate a deposit confirmation code. Copy this code and go back to the main account dashboard.
16. Paste the confirmation code into the "Enter Code" field and click on the "Submit" button.
17. Bitfinex will now allow you to trade Ethereum for Bitcoin and vice versa. Click on the "Exchange" button and begin trading Ethereum for Bitcoin or Bitcoin for Ethereum.