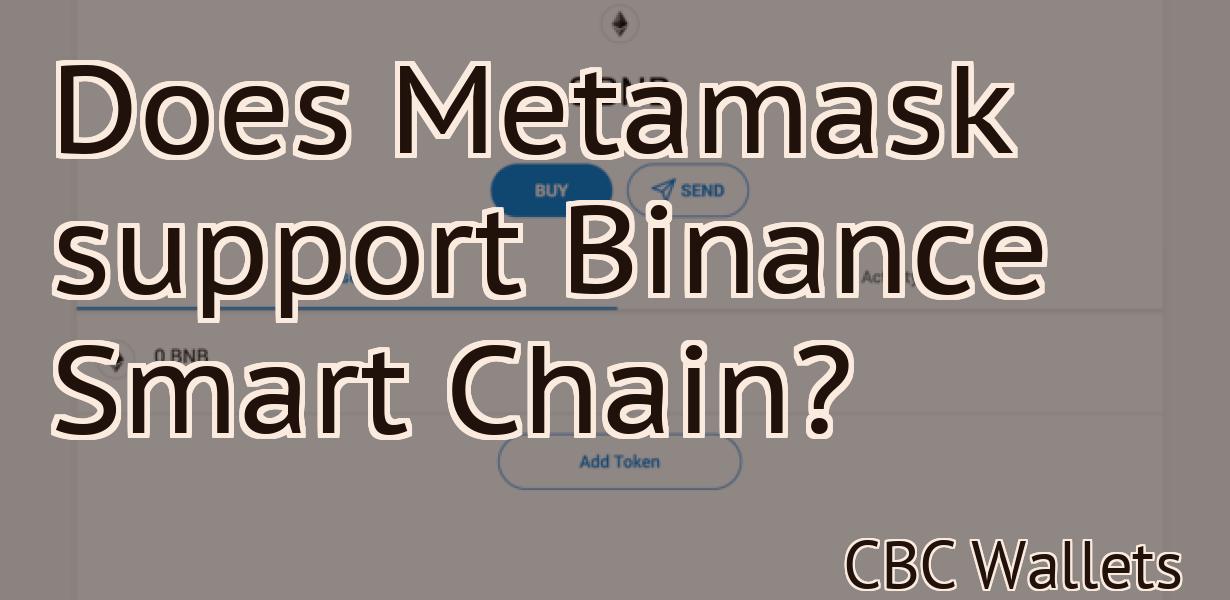
Bnb Smart Chain Address Metamask
The Bnb Smart Chain Address Metamask is a tool that allows you to easily and securely access your Binance Smart Chain addresses in your web browser. It is an extension for the popular Chrome and Firefox web browsers. With the Bnb Smart Chain Address Metamask, you can easily manage your Binance Smart Chain addresses and transactions. The tool is free to use and available for download from the Binance website.
bnb smart chain address metamask
Go to https://metamask.io/ and click on the 'Create New Account' button. In the 'New Account' window, enter the following information:
Name:
Email:
Password:
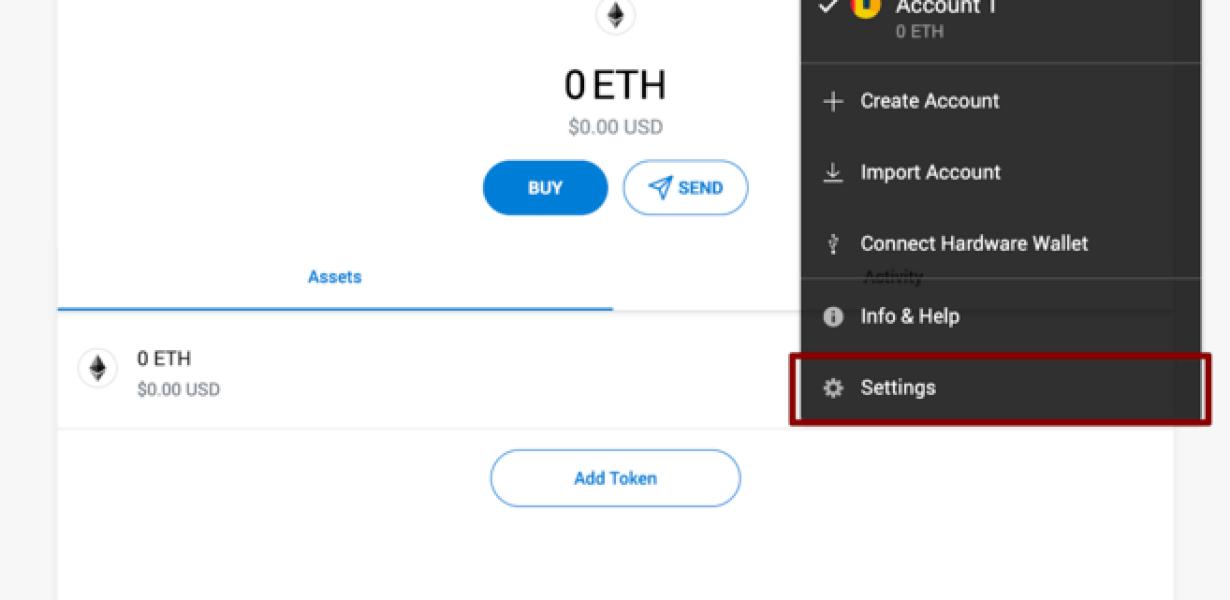
Select the 'I am a developer' radio button, and click on the 'Next' button. In the 'Metamask Account Settings' window, click on the 'Add Token' button. In the 'Add Token' window, input the following information:
Name:
Token Symbol:
Decimals:
Click on the 'Next' button. In the 'Add Your Own ERC20 Token' window, input the following information:
Token Name:
Token Decimals:
Click on the 'Next' button. In the 'Add Your Own ERC223 Token' window, input the following information:
Token Name:
Token Decimals:
Click on the 'Next' button. In the 'Add Your Own Custom Token' window, input the following information:
Token Name:
Token Decimals:
How to create a bnb smart chain address with metamask
To create a BNB smart chain address with Metamask, follow these steps:
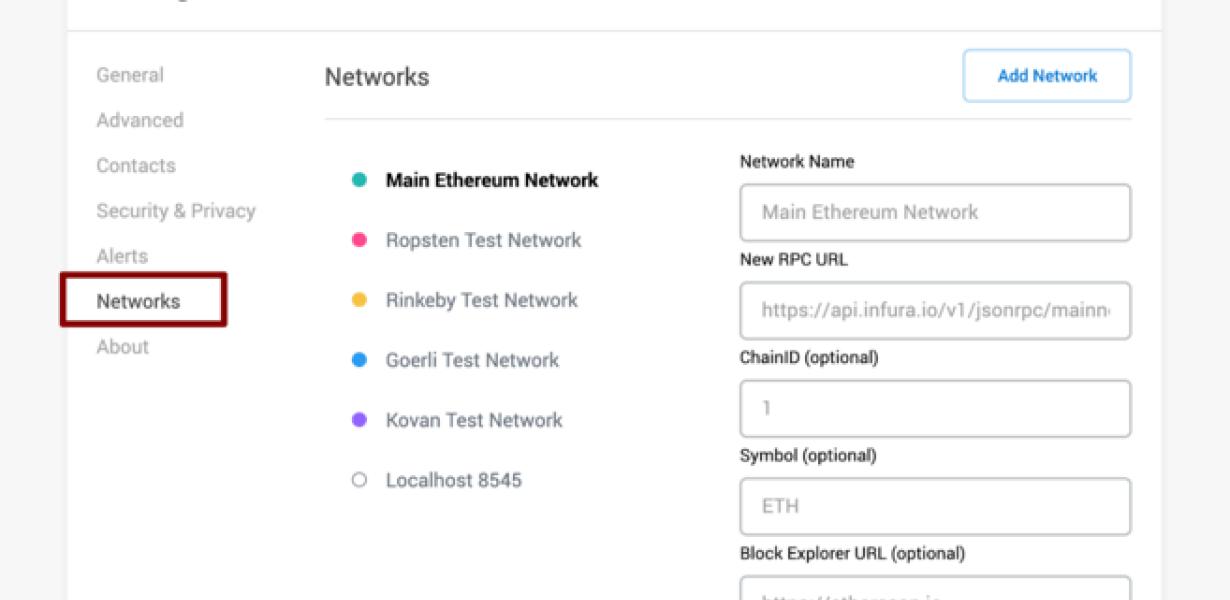
1. Open Metamask and click on the "Nodes" tab.
2. Locate "BNB" and click on it.
3. On the "BNB" page, click on the "Add Node" button.
4. On the "Add Node" screen, enter the following information:
- Name: BNB
- Address: 0x1a2e3f4c5e6b78889b10bcb6dffc6c736f7f
- Port: 8545
- Click on the "Create Node" button.
5. On the "BNB" page, you will now see your new smart chain address.
How to use bnb smart chain with metamask
To use the bnb smart chain with Metamask, first install the Metamask extension.
Once installed, open Metamask and click on the three lines in the top left corner to open the Settings menu. Under the Accounts section, click on the Add Account button and enter the following information:
Name: Binance Chain
Email: [email protected]
Password: x
After completing the registration process, click on the Select Wallet button to select your Metamask wallet. Once your wallet is selected, under the Actions section, click on the Enable ICOs button.
Next, click on the Browse ICOs button and search for the bnb smart chain project. Once the bnb smart chain project is found, click on the ICO link to open the project page.
On the project page, you will need to click on the Join ICO button to join the ICO. After joining the ICO, you will need to complete the verification process by providing your personal information and bank account details. Once you have completed the verification process, you will be able to transfer funds to the bnb smart chain project.
Adding bnb smart chain to your metamask wallet
Navigate to "Manage Accounts" in your metamask wallet and click on the "Add new account" button.
Enter the following information into the "New Account Details" field:
Name: bnb
Email: [email protected]
Password: yourpassword
Once you've completed the form, click on the "Create Account" button.
Now open your metamask wallet and click on the "BNB" logo in the upper left corner.
On the BNB page, click on the "Deploy Smart Contract" button.
On the "Deploy Smart Contract" page, enter the following information into the "Contract Address" field:
0xbb9bc244d798123fde7a1e1c1d7aefc1d3b7fcd6c2
In the "Token Symbol" field, enter "BNB"
In the "Decimals" field, enter 18
In the "Deploy Smart Contract" field, click on the "Deploy" button.
Your bnb smart chain has now been deployed!
Using bnb smart chain with metamask
You can use the bnb smart chain with Metamask.
bnb smart chain address tutorial with metamask
1. Go to https://www.google.com/amp/s/www.smartcontract.com/tutorials/metamask-installation/
2. Scroll down to the bottom of the page and click on “Download Metamask”
3. Click on the “Metamask” icon and install it on your computer
4. Open Metamask and click on the “Add account” button in the top left corner
5. Type in your email address and password and click on the “Sign In” button
6. In the top right corner, you will see a “Contracts” tab. Click on it
7. In the Contracts tab, click on the “Create a new contract” button
8. In the “Contract Name” field, type “Ethereum Smart Contract Tutorial” and in the “Description” field, type a brief description of the contract
9. In the “Contract Address” field, type 0x0d59b723a952b0d177febbfedc1c1cdea11e3c1ad and click on the “Create Contract” button
10. You will now be taken to the “Contract Details” tab. In here, you will need to add a function name and a function description
11. In the “Function Name” field, type “init” and in the “Function Description” field, type a brief description of the function
12. In the “ABI” field, type the following code:
uint256 public constant INIT_FUNC_ID = 0x0d59b723a952b0d177febbfedc1c1cdea11e3c1ad;
13. In the “ERC20 Token Symbol” field, type “ETH” and in the “Decimals” field, type 18
14. In the “Deployment” field, type “Basic” and in the “Use Web3 Provider” field, type “true”
15. Click on the “Save Changes” button and then click on the “Deploy” button in the bottom right corner of the Contracts tab
16. You will now be taken to the “Contract Details” tab again. In here, you will need to add a function trigger
17. In the “Function Trigger” field, type “When Expired” and in the “Expires At” field, type the following dates:
- January 1st, 2020
- July 1st, 2020
- January 1st, 2021
- July 1st, 2021
18. Click on the “Save Changes” button and then click on the “Deploy” button in the bottom right corner of the Contracts tab
19. You will now be taken to the “Accounts” tab. In here, you will need to add an account to use with your contract
20. Click on the “Add Account” button and type in your Ethereum smart contract address into the “Account Address” field
21. Click on the “Add Account” button and type in your Metamask account ID into the “Account ID” field
22. Click on the “Add Account” button and type in your Metamask password into the “Password” field
23. Click on the “Submit” button and then you will be taken back to the “Accounts” tab
24. You will now see your newly added account in the Accounts tab. In here, you will need to add an action to use with your contract
25. In the “Action Name” field, type “Send ETH” and in the “Action Description” field, type a brief description of the action
26. In the “Resource URL” field, type the following address: http://localhost:8545
27. In the “Resource Description” field, type a brief description of the action
28. In the “Type” field, type “HTTP Request” and in the “Method” field, type “POST”
29. In the “Content Type” field, type “application/json” and in the “Content Length” field, type 128
30. In the “Authorization” field, paste the following JSON string into it and click on the “Submit” button:
{
"data": {},
"type": "POST",
"url": "http://localhost:8545/send?to=0x0d59b723a952b0d177febbfedc1c1cdea11e3c1ad&value=0x0d59b723a952b0d177febbfedc1c1cdea11e3c1ad&gaslimit=200000",
"headers": {},
}