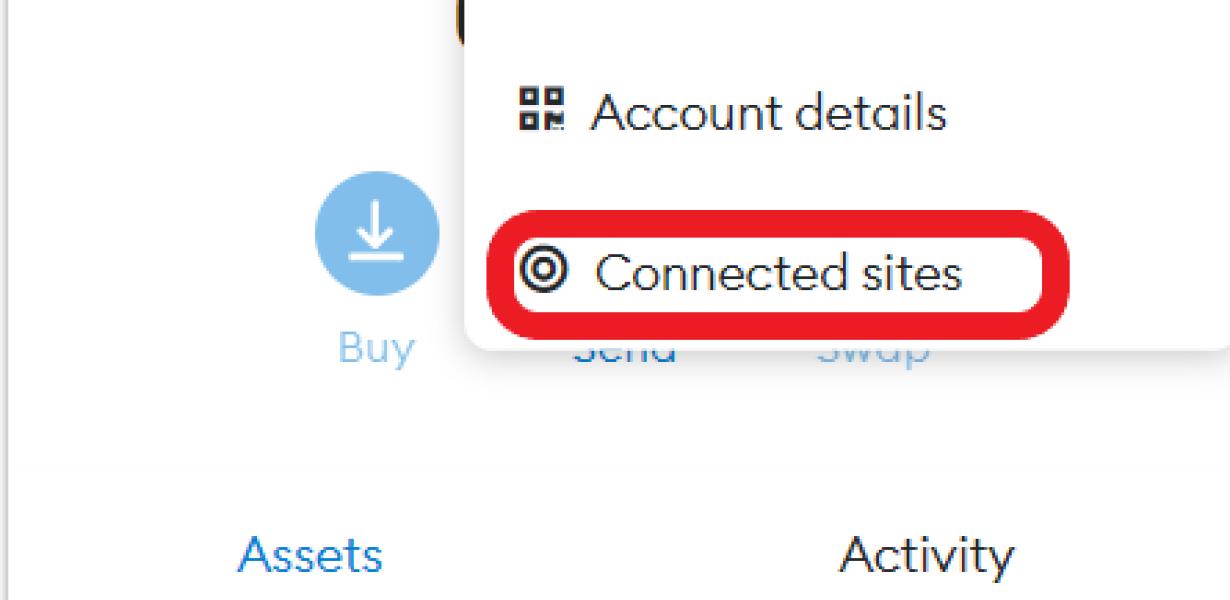
Metamask Connected Sites
MetaMask is a browser extension that allows you to run Ethereum dApps without having to install an Ethereum node. MetaMask includes a secure identity vault, providing a user interface to manage your identities on different sites and sign blockchain transactions.
Metamask: The ultimate list of sites you can use
with Metamask
Metamask is a browser extension that allows you to use various sites and services without having to share your personal data. Here are the best sites and services that you can use with Metamask:
1. Amazon
With Metamask installed, you can easily purchase items from Amazon without having to share your personal data. Simply enter your Amazon account information into the Metamask extension, and you're ready to go.
2. Google
You can use Metamask to access Google services without having to share your personal data. For example, you can use Metamask to sign in to your Google account, view your Google Drive files, and more.
3. Facebook
Metamask also allows you to access Facebook services without having to share your personal data. You can use Metamask to sign in to your Facebook account, view your Facebook timeline, and more.
4. Twitter
You can use Metamask to access Twitter services without having to share your personal data. For example, you can use Metamask to sign in to your Twitter account, view your Twitter timeline, and more.
5. Coinbase
With Metamask installed, you can easily purchase cryptocurrencies from Coinbase without having to share your personal data. Simply enter your Coinbase account information into the Metamask extension, and you're ready to go.
Metamask: A comprehensive guide to using the tool
MetaMask is a tool that allows you to interact with the Ethereum network. It is a browser extension that runs on both Chrome and Firefox. MetaMask allows you to send and receive Ethereum, as well as store Ethereum in a wallet.
To start using MetaMask, you first need to create an account. You can do this by clicking the “Create New Account” button on the MetaMask website. After you have created your account, you will need to add a password. Then, you will need to add a valid email address. Finally, you will need to click the “Go to Account” button to get to your account settings.
In your account settings, you will need to select the currency that you want to use with MetaMask. You can also set up two-factor authentication. After you have made your settings, you can click the “Start using MetaMask” button to start using the tool.
To interact with the Ethereum network, you will first need to add an Ethereum address. To do this, open the MetaMask website and click the “Add a New Address” button. You will need to enter your Ethereum address and then click the “Save Address” button.
To send Ethereum, you will first need to send your Ethereum address to the recipient. You can do this by clicking the “Send Ether” button on the MetaMask website. After you have sent your Ethereum address to the recipient, they will need to open the MetaMask website and click the “Receive” button. They will then need to enter your Ethereum address and click the “Send” button. After they have sent the Ethereum, they will need to click the “Close” button to finish sending the Ethereum.
To receive Ethereum, you will first need to send your Ethereum address to the MetaMask website. You can do this by clicking the “Receive” button on the MetaMask website. After you have sent your Ethereum address to the MetaMask website, you will then need to enter your Ethereum address. Then, you will need to click the “Get Ether” button. After you have entered your Ethereum address, you will then need to click the “Send” button. After you have sent the Ethereum, you will need to click the “Close” button to finish receiving the Ethereum.
Metamask: The top 10 sites to use it with
1. Metamask
2. MyEtherWallet
3. imToken
4. ERC20token
5. imToken Mobile
6. Kyber Network
7. 0x
8. Civic
9. Request Network
10. district0x
Metamask: How to get the most out of it
If you want to use Metamask, you need to install it first.
Once you have installed Metamask, you need to create a Metamask account.
To create a Metamask account, go to metamask.io and click on the “Create an Account” button.
In the “Create an Account” page, you will need to provide some basic information:
Your name
Your email address
Your password
Once you have completed the “Create an Account” page, you will be able to access your Metamask account.
In your Metamask account, you will find a “My Account” page. On the “My Account” page, you will find a list of all the cryptocurrencies that you have registered with Metamask.
To add a new cryptocurrency to your Metamask account, click on the “Add a Cryptocurrency” button.
In the “Add a Cryptocurrency” page, you will need to provide some information about the new cryptocurrency:
The name of the cryptocurrency
The symbol of the cryptocurrency
The decimal value of the cryptocurrency
Once you have completed the “Add a Cryptocurrency” page, you will be able to register the new cryptocurrency with your Metamask account.
To use the new cryptocurrency in your Metamask account, go to the “My Account” page and click on the “Use Cryptocurrency” button for the new cryptocurrency.
In the “Use Cryptocurrency” page, you will need to provide some information about the transaction:
The address of the recipient of the transaction
The amount of the transaction in Bitcoin (BTC)
The address of the recipient of the transaction
The amount of the transaction in Ethereum (ETH)
Once you have completed the “Use Cryptocurrency” page, the transaction will be processed and the new cryptocurrency will be available in your Metamask account.
Metamask: A user's guide
If you're just getting started with Metamask, we recommend reading our user guide. It'll give you a quick overview of how Metamask works, and how to get started using it.
If you already have Metamask installed and want to start using it, you can start by reading our beginner's guide.
Metamask: The ins and outs
of a decentralised security protocol
The potential benefits of using a decentralised security protocol such as Web3.0 are many and varied. Metamask is one such platform, which allows users to interact with the Ethereum blockchain and other decentralized applications (DApps). Here we take a look at what Metamask is and how it works.
What is Metamask?
Metamask is a decentralised security protocol that allows users to interact with the Ethereum blockchain and other DApps. It is a browser extension that uses the same technology as the Ethereum network itself to provide a secure and private experience for users.
How does Metamask work?
When you install Metamask, it creates a new Ethereum address for you. This address is unique to you and can only be used to make transactions on the Ethereum network. Metamask also generates a private key for you, which is used to access your account and make transactions.
How do I use Metamask?
To use Metamask, you first need to install the extension on your browser. After you have installed Metamask, you will need to open it and click on the “Create New Ethereum Address” button. You will then be asked to provide some basic information about yourself. This information will be used to create a new Ethereum address for you.
After you have created your new Ethereum address, you will need to add it to your Metamask account. To do this, click on the “Add Address” button in the main toolbar, and select your newly created address from the list of addresses.
Now that you have added your address to Metamask, you can start making transactions on the Ethereum network. To make a transaction, first select the “Send Ether” button in the main toolbar, and then enter the amount of Ether that you want to send. After you have entered the amount of Ether that you want to send, you will need to select the Ethereum network that you want the transaction to be sent on. Finally, you will need to enter the address that you want the Ether to be sent to, and click on the “Send Ether” button.
metamask
Metamask: What you need to know
MetaMask is a Chrome extension that allows you to access your Ethereum and ERC-20 wallets, as well as other decentralized applications (Dapps) without having to leave the browser. MetaMask also allows you to send and receive Ethereum and ERC-20 tokens without having to leave the browser.
To use MetaMask, you first need to install the Chrome extension. After installing the extension, open Chrome and click the “Add new” button in the toolbar at the top of the window. In the “Add new” window, click the “Extensions” tab and then click the “Install from Chrome Web Store” button. In the “Chrome Web Store” window, search for “MetaMask” and install the extension.
After installing the MetaMask extension, open it and click the “Create New Account” button. In the “Create New Account” window, enter your personal information (such as your email address and password) and click the “Create Account” button. After creating your account, you will be taken to the MetaMask account overview page.
To use MetaMask, you first need to generate a key pair. To generate a key pair, click the “Keys” tab in the MetaMask account overview page and click the “Generate Keypair” button. In the “Generate Keypair” window, enter your personal information and click the “Generate Keypair” button. After generating your key pair, you will be taken to the MetaMask keypair overview page.
To use MetaMask, you first need to import your key pair. To import your key pair, click the “Keys” tab in the MetaMask account overview page and click the “Import Keypair” button. In the “Import Keypair” window, enter your key pair information and click the “Import Keypair” button. After importing your key pair, you will be taken to the MetaMask keypair overview page.
To use MetaMask, you first need to generate a wallet address. To generate a wallet address, click the “Wallets” tab in the MetaMask account overview page and click the “Create Wallet Address” button. In the “Create Wallet Address” window, enter your personal information and click the “Create Wallet Address” button. After generating your wallet address, you will be taken to the MetaMask wallet address overview page.
To use MetaMask, you first need to send Ethereum or ERC-20 tokens to your wallet address. To send Ethereum or ERC-20 tokens to your wallet address, click the “Wallets” tab in the MetaMask account overview page and click the “Send Ether & Tokens” button. In the “Send Ether & Tokens” window, enter your wallet address and select the amount of Ethereum or ERC-20 tokens you want to send. After sending Ethereum or ERC-20 tokens to your wallet address, you will be taken to the MetaMask transaction overview page.
Metamask: How to make the most of it
There are a few things to keep in mind when using Metamask:
1. Always be aware of your private keys. Do not share them with anyone, and make sure that you always have a backup of them.
2. Make sure that you are using the latest version of Metamask. Version 0.16.0 is currently the latest version.
3. Always use caution when making transactions. Always double check the details of a transaction before proceeding.
4. Always keep an eye on your Metamask account and make sure that all of your balances and transactions are correct.
Metamask: Tips and tricks
1. Start with a basic account
If you don't already have an account, the first thing you'll want to do is sign up for a Metamask account. Metamask is a required tool for using many of the most popular decentralized applications (dApps). Once you have an account, you can start using it to purchase cryptocurrencies and tokens.
2. Use a secure password
One of the most important things you can do to protect your Metamask account is to create a strong password. Make sure your password is at least 8 characters long and includes at least one number and one letter.
3. Enable 2-factor authentication
Another way to protect your Metamask account is to enable two-factor authentication. This will require you to provide both your password and a code sent to your phone or email.
4. Store your cryptocurrency and token holdings in a secure wallet
Once you've purchased a cryptocurrency or token, it's important to keep it in a secure wallet. Metamask doesn't support third-party wallets, so you'll need to use an online wallet like Coinbase or Exodus if you want to store your holdings there.
Metamask: Get the most out of it
If you want to use Metamask to protect your identity and personal data, be sure to follow these tips:
1. Set up a strong password.
2. Enable two-factor authentication.
3. Store your Metamask password in a secure place.