How to set up a Trezor.
This article will show you how to set up a Trezor, a hardware wallet that supports multiple cryptocurrencies. You will need a computer with a USB port and an internet connection.
How to set up Trezor: a step-by-step guide
Trezor is an advanced hardware wallet that allows you to securely store your cryptocurrencies. Before setting it up, make sure you have the following items:
1. A computer with a USB port.
2. A Trezor device.
3. An internet connection.
4. A backup of your private key.
5. A copy of the Trezor firmware.
To set up your Trezor, follow these steps:
1. Plug your Trezor into your computer and power it on.
2. If you have not already done so, create a backup of your private key. This is important, as you will need it to restore your Trezor if something goes wrong.
3. Open the Trezor application (available for download from the Trezor website) and click on the “New Wallet” button.
4. On the “New Wallet” screen, enter a name for your wallet and choose a password. Do not forget this password!
5. Click on the “Create New Private Key” button.
6. On the “New Private Key” screen, enter your password and click on the “Create” button.
7. Your new private key will be displayed in the Trezor application. Make a note of this key as you will need it to restore your Trezor if something goes wrong.
8. Click on the “Save” button to save your new private key to your computer.
9. Unplug your Trezor from your computer and plug it into your Trezor device.
10. On the Trezor device, open the Trezor application and click on the “Trezor” button.
11. On the “Trezor” screen, click on the “Import Private Key” button.
12. On the “Import Private Key” screen, click on the “Browse” button and select the file containing your private key from your computer.
13. Click on the “OK” button to import your private key into your Trezor device.
14. Your new private key will be displayed in the Trezor application on the “Trezor” screen. Make a note of this key as you will need it to restore your Trezor if something goes wrong.
15. Click on the “Close” button to close the Trezor application on the Trezor device.
How to use Trezor: the ultimate guide
If you want to use your Trezor wallet to securely store your cryptocurrencies, there are a few things you need to know. First, you need to install the Trezor software. This can be done by downloading the appropriate client from the Trezor website. Once the Trezor software is installed, you will need to create a new wallet. To do this, open the Trezor software and click on the “New Wallet” button. Next, enter a name for your wallet and choose a secure password. You will also need to verify your identity by providing a photo of your ID card or a copy of your passport. Finally, select the cryptocurrencies you want to store in your wallet and hit the “Create” button.
The ultimate guide to setting up your Trezor
If you are new to cryptocurrencies, or just upgrading from an old wallet, this guide is for you.
1. Choose a secure location to store your Trezor
Your Trezor should be stored in a secure location, such as a safe or a locked drawer.
2. Connect your Trezor to your computer
To connect your Trezor to your computer, plug it into the USB port on your computer.
3. Set up your Trezor
To set up your Trezor, first open the Trezor Wallet.
Then, click on the “Create New Wallet” button.
Enter a unique name for your wallet, and select “Trezor” as the type of wallet.
Click on the “Next” button.
Select a strong password for your wallet, and make sure it is at least eight characters long.
Click on the “Next” button.
On the “Confirm Password” screen, enter your password again and click on the “Next” button.
You will now be asked to create a recovery seed.
Click on the “Create New Recovery Seed” button.
Enter a 12-word recovery seed, and make sure to keep this seed safe. You will need this if you ever lose your Trezor device.
Click on the “Next” button.
You will now be asked to write down your PIN.
Click on the “Write Down Your PIN” button, and make sure to store this information safely. You will need this to reset your Trezor device.
Click on the “Next” button.
You will now be asked to select a language.
Click on the “Select Language” button, and select the language you want to use for your Trezor.
Click on the “Next” button.
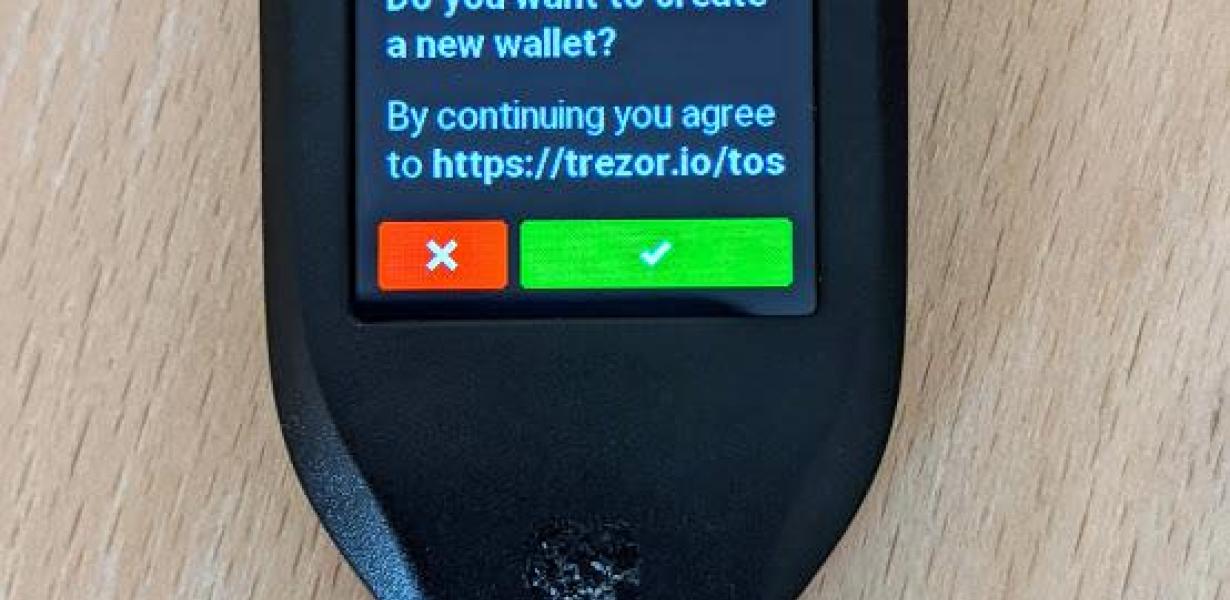
You will now be asked to confirm your creation of the Trezor wallet.
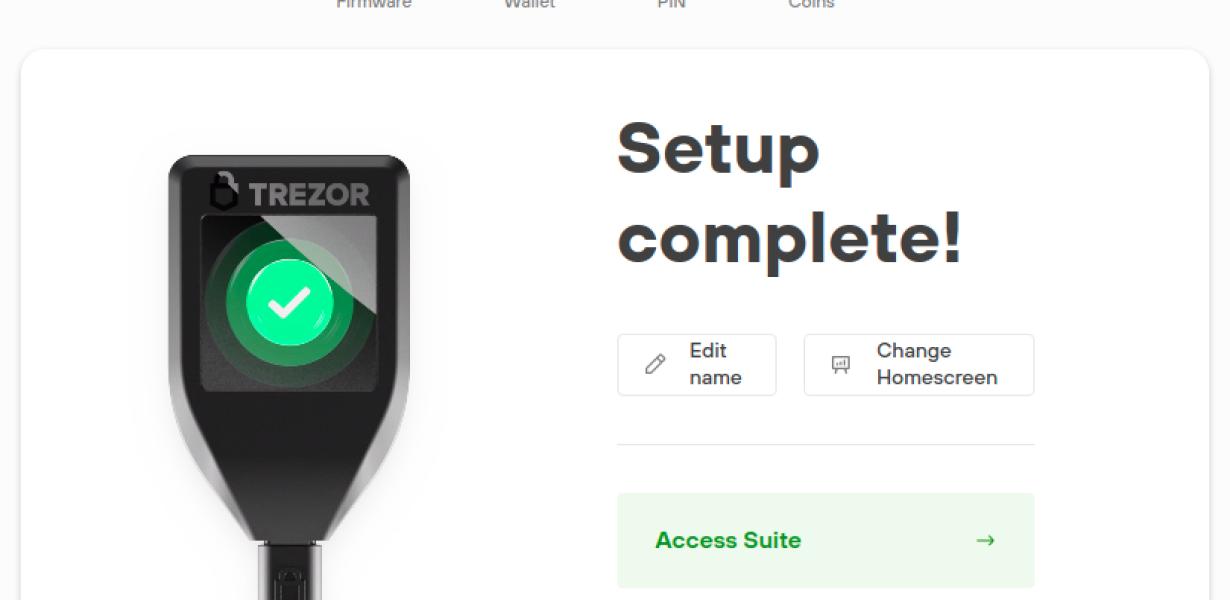
Click on the “Finish” button, and your Trezor has been set up!
A step-by-step guide to setting up Trezor
This guide will show you how to set up your Trezor hardware wallet.
1. First, make sure that you have the Trezor device itself and a compatible computer or phone. The Trezor can be bought from various online retailers, including Amazon and eBay.
2. Connect the Trezor to your computer using the included USB cable.
3. Open the Trezor software, which can be downloaded from the Trezor website.
4. Click on the “New Wallet” button and generate a new wallet address.
5. Copy the generated wallet address and store it somewhere safe. You will need this address to send and receive cryptocurrencies from your Trezor.
6. Select your cryptocurrency of choice and click on the “Create New Wallet” button.
7. Enter your wallet address and hit the “Create Wallet” button.
8. You will now be prompted to confirm your wallet address. Click on the “Confirm” button to finish setting up your Trezor.
How to get started with Trezor
If you are not familiar with Trezor, you can learn more about it on its website.
First, you will need to create an account on the Trezor website. Once you have created your account, you will need to set up a password.
Next, you will need to download the Trezor app. The Trezor app is available for both Android and iOS devices.
After you have downloaded the Trezor app, you will need to set up your Trezor device. To do this, open the Trezor app and click on the “Trezor” button. This will take you to the Trezor device setup screen.
On the Trezor device setup screen, you will need to input your password and select a PIN. You will also need to choose a backup PIN.
After you have set up your Trezor device, you will need to copy your recovery seed. To do this, open the Trezor app and click on the “Trezor” button. This will take you to the Trezor device recovery screen.
On the Trezor device recovery screen, you will need to copy your recovery seed. You can also write down your recovery seed if you want to keep it safe.
How to set up your Trezor in 5 minutes
1. Plug in your Trezor to a power outlet.
2. Unlock your Trezor by entering your PIN.
3. Click on the button with three dots in the top right corner of the Trezor screen.
4. Select “Settings.”
5. Scroll down to “Trezor Password” and enter your PIN again.
6. Click on the button with three dots in the top right corner of the Trezor screen.
7. Select “Create New Wallet.”
8. Enter a name for your wallet and click on “Next.”
9. Enter a password for your wallet and click on “Next.”
10. Click on the button with three dots in the top right corner of the Trezor screen.
11. Select “Show Off My Wallets.”
A beginner's guide to setting up Trezor
In this guide, we will outline the process of setting up and using your Trezor hardware wallet. This guide is for users who are new to cryptocurrency and want to secure their own funds.
1) Download the Trezor wallet from trezor.io.
2) Connect your Trezor to your computer using a USB cable.
3) Open the Trezor wallet and click on the "Create New Wallet" button.
4) Enter a strong password for your wallet and click on the "Create Wallet" button.
5) Click on the "Import Private Key" button and select the file containing your Trezor's private key.
6) Click on the "Show Address" button to view the address of your Trezor.
7) Click on the "Close Wallet" button to finish setting up your Trezor.
How to set up Trezor for the first time
To set up your Trezor, you will first need to download the Trezor application from the Google Play Store or App Store.
Once you have downloaded and installed the Trezor application, open it and follow the on-screen instructions.
To set up your Trezor, you will first need to download the Trezor application from the Google Play Store or App Store.
Once you have downloaded and installed the Trezor application, open it and follow the on-screen instructions.
First, you will need to create a new Trezor wallet. To do this, click on the “New Wallet” button in the main Trezor application window.
Next, you will need to enter your 12-word backup phrase. This is a unique phrase that you will use to restore your wallet if needed. You will need to keep this phrase safe and do not share it with anyone.
Finally, you will need to verify your identity by entering your national ID or passport number. After completing these steps, your Trezor wallet is ready to use.
How to configure Trezor
The Trezor is a hardware wallet that allows users to securely store their cryptocurrencies. To configure Trezor, first ensure that it is properly connected to the computer. Then, follow these steps:
1. Open the Trezor dashboard.
2. Select the “Settings” tab.
3. Select the “Devices” button.
4. Select the “Trezor” button.
5. Click the “Configure” button.
6. Select the “General” tab.
7. Select the “Auth” tab.
8. Enter the desired authentication credentials.
9. Click the “Save” button.
How to install Trezor
The Trezor wallet can be installed on a computer or phone.
To install the Trezor wallet on a computer:
1. Open the TREZOR website and click on the “Download” button.
2. Click on the “Download for Windows” button and save the file to your computer.
3. Double-click on the Trezor_Win.exe file to open it.
4. Follow the instructions on the screen to set up your Trezor wallet.
To install the Trezor wallet on a phone:
1. Open the TREZOR website and click on the “Get Started” button.
2. Click on the “Download” button and save the file to your phone.
3. Tap on the Trezor_iPhone.ipa file to open it.
4. Follow the instructions on the screen to set up your Trezor wallet.
How to set up a Trezor
The Trezor hardware wallet is a secure way to store your cryptocurrencies. Here's how to set it up:
1. Plug in the Trezor device to your computer.
2. Open the Trezor Wallet app.
3. Click on the button to create a new address.
4. Enter the address you want to use for your Trezor wallet.
5. Click on the button to generate a new key.
6. Copy the key and keep it safe. You'll need it to access your Trezor wallet.