How to set up a Metamask wallet.
If you're looking to get started with cryptocurrency, one of the first things you'll need is a digital wallet. In this article, we'll show you how to set up a Metamask wallet so you can start storing, sending, and receiving digital assets. Metamask is a popular digital wallet that supports Ethereum and ERC-20 tokens. It's easy to use and can be accessed via your web browser. In order to set up a Metamask wallet, you'll first need to create an account on the Metamask website. Once you've created your account, you'll be able to generate a seed phrase that will be used to restore your wallet if it's ever lost or stolen. Make sure to store this seed phrase in a safe place! Next, you'll need to select a password for your wallet. This password will be used to encrypt your seed phrase, so make sure it's strong and unique. Once you've set up your account and generated a seed phrase, you'll be able to add Ethereum addresses and ERC-20 tokens to your Metamask wallet. You can do this by clicking on the "Add Token" button and following the instructions on the screen. Now that you've added an Ethereum address and some ERC-20 tokens to your Metamask wallet, you're ready to start using it! To send or receive funds, simply click on the "Send" or "Receive" buttons and follow the instructions on the screen.
How to set up your MetaMask wallet for secure Ethereum storage
To set up your MetaMask wallet for secure Ethereum storage, follow these steps:
1. Open the MetaMask app on your desktop or phone.
2. Click on the three lines in the top right corner of the app window.
3. Click on "Create a new account."
4. Enter your desired Ethereum wallet address.
5. Click on "Create account."
6. You will now be prompted to set a password. Make sure you keep thispassword safe!
7. Click on the "Settings" button in the upper right corner of the MetaMask window.
8. Under "General," click on "Show Advanced Settings."
9. Under "Security," click on "View Wallet Info."
10. Under "Public Key," copy the public key and store it safely. You will need this publickey to access your Ethereum wallet later.
11. Click on "Save."
How to install the MetaMask extension for easy Ethereum access
1. Open the Chrome web browser and click on the "Chrome Web Store" icon on the toolbar.
2. In the "Chrome Web Store" window, search for "Ethereum" and click on the "MetaMask" extension icon.
3. Click on the "Install" button and wait for MetaMask to install on your computer.
4. Once MetaMask has been installed, open it and click on the "Add Account" button.
5. Input your email address and password and click on the "Create New Account" button.
6. Click on the "Connect" button and MetaMask will start to connect to the Ethereum network.
Setting up your MetaMask wallet – a step-by-step guide
1. Open up your web browser and go to https://metamask.io/
2. Click the “Create New Wallet” button
3. On the next page, you will be asked to choose a name for your wallet. We recommend using your personal name or a nickname.
4. Next, you will be asked to choose a password. Make sure to keep this password confidential!
5. Click the “Create Account” button to finish setting up your MetaMask wallet.
6. After you have created your account, you will be taken to the main MetaMask screen. Here, you will need to click the “Import Wallet File” button to upload your wallet file.
7. If you have not already done so, you will need to install the MetaMask extension. Once the extension is installed, click the “Open” button on the MetaMask screen to finish setting up your MetaMask wallet.
The ultimate guide to setting up your MetaMask wallet
MetaMask is a browser extension that allows you to securely store your cryptocurrencies and make transactions with them. This guide will show you how to set up your MetaMask wallet, including:
1. Download and install the MetaMask extension
2. Create a new wallet
3. Add your cryptocurrency holdings
4. Make transactions
1. Download and install the MetaMask extension
To download and install the MetaMask extension, visit the Google Chrome web store and search for "MetaMask." Once you have installed the extension, open it and click on the "New Wallet" button.
2. Create a new wallet
You will be prompted to create a new wallet. You will need to provide your name, email address, and a password. After you have created your wallet, you will be able to access it by clicking on the "Wallet" button in the MetaMask extension menu.
3. Add your cryptocurrency holdings
You will need to add your cryptocurrency holdings to your newly created wallet. To do this, click on the "Addresses" button in the MetaMask extension menu and select the addresses of the cryptocurrencies you would like to hold in your wallet.
4. Make transactions
To make a transaction, you will first need to fill out the information required for the transaction. This includes the recipient's address, the amount of cryptocurrency you are sending, and the payment method you will be using. After you have filled out all of the required information, click on the "Send" button.

How to configure your MetaMask wallet for maximum security
1. Go to MetaMask and click on the three lines in the top left corner.
2. Under "Settings," select "Security."
3. Under "Security Settings," select the "Two-factor authentication" tab.
4. Under "Two-factor authentication," select the "Enable" button.
5. Under "Authentication Method," select "Custom setup."
6. On the "Two-factor Authentication Custom Setup" page, enter your Google Authenticator code.
7. Under "Second Factor," select "Custom setup."
8. On the "Second Factor Custom Setup" page, enter your Authy code.
9. Under "Confirm Second Factor," select the "Enable" button.
10. Click on the "Save" button.
How to set up your MetaMask wallet in under 5 minutes
1. Open MetaMask and click on the three lines in the top left corner.
2. Click on the "Create a new wallet" button.
3. Enter a name for your wallet and select a password.
4. Click on the "Create wallet" button.
5. Click on the "Import private key" button.
6. Copy the private key that is displayed and paste it into the "Destination" field in your MetaMask wallet.
7. Click on the "Import wallet keys" button.
8. Copy the public key that is displayed and paste it into the "Address" field in your MetaMask wallet.
9. Click on the "Addresses" button.
10. Add the address of the ERC20 token that you would like to use in your MetaMask wallet.
11. Click on the "Add" button.
A beginner’s guide to setting up a MetaMask wallet
MetaMask is a desktop and mobile wallet that allows users to securely manage their cryptocurrency holdings. Here’s a beginner’s guide to setting up a MetaMask wallet.
1. Download and install the MetaMask app.
2. Open the MetaMask app and click on the “Create a new wallet” button.
3. Enter your personal information, such as your email address and password.
4. Make sure you have saved your private key. You will need this to access your wallet later.
5. Click on the “Create wallet” button.
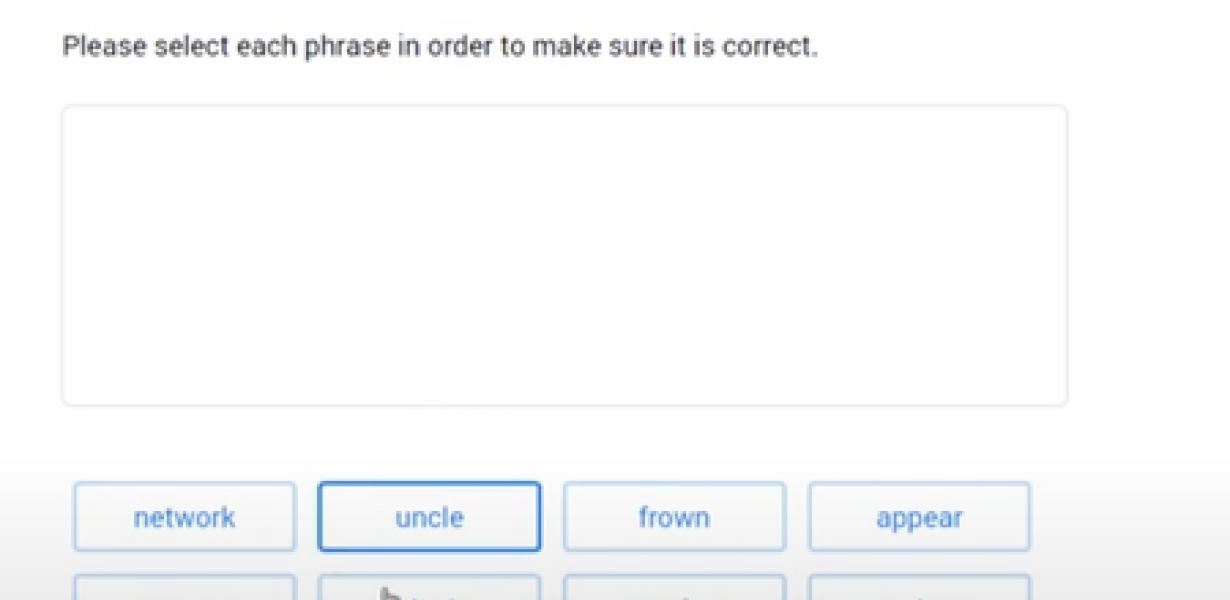
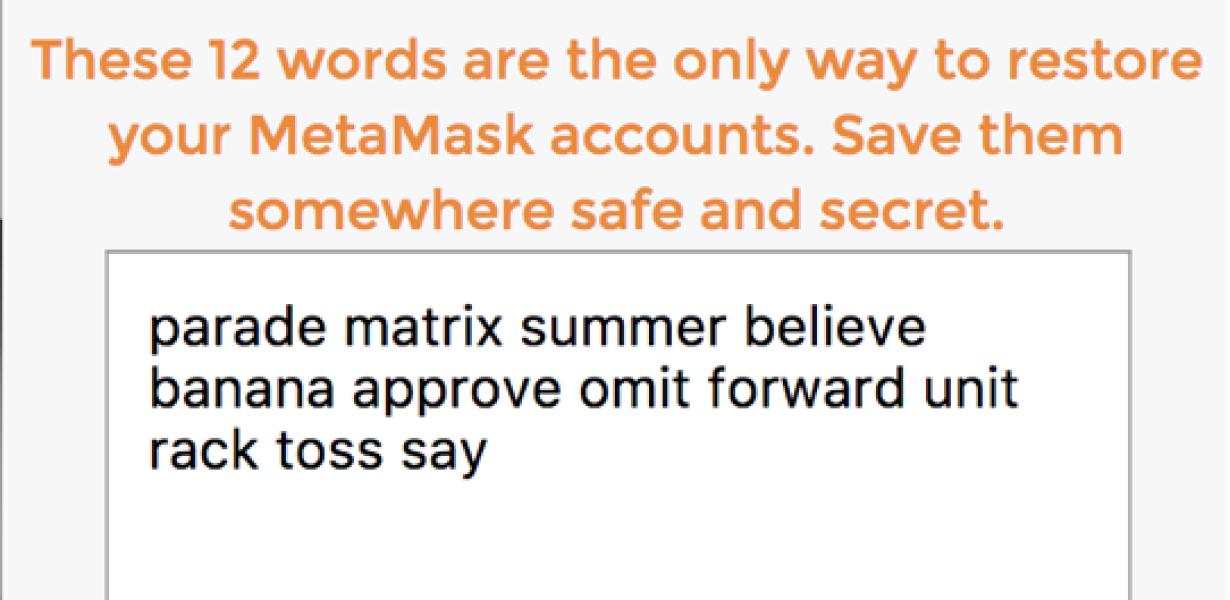
6. MetaMask will now generate a random 12-word seed phrase. Keep this phrase safe! You will need it to restore your wallet in the future.
7. Copy the public address of your new wallet. You will need this to send and receive cryptocurrency.
8. Click on the “View Wallet Info” button.
9. Under the “Public Address” section, copy the long public address. You will need this to send and receive cryptocurrency.
10. Click on the “Send Cryptocurrency” button.
11. In the “To Address” field, paste your copied public address.
12. In the “Amount” field, enter the amount of cryptocurrency you want to send.
13. Click on the “Send Cryptocurrency” button.
14. MetaMask will now verify the transaction and return a message indicating whether the transfer was successful or not. If the transfer was successful, MetaMask will return your cryptocurrency to your wallet address. If the transfer was not successful, MetaMask will return an error message and provide instructions on how to correct the error.
The essential guide to setting up your MetaMask wallet
MetaMask is a web browser extension that allows you to interact with decentralized applications (Dapps) and smart contracts. You can also use MetaMask to store digital assets, like Ethereum, ERC-20 tokens, and Bitcoin.
To get started, first install the MetaMask extension. Then, open your web browser and click the MetaMask icon. You will be prompted to create a new account or log in to an existing account.
Once you have logged in, you will see the main MetaMask window. In this window, you will need to provide your personal information, like your email address and password. Next, you will need to add a new wallet. To do this, click the button below the address bar and select “Add new wallet.”
In the next window, you will need to provide some information about your wallet. For example, you will need to provide your wallet address and a password. Next, you will need to select the type of wallet that you want to create. You can choose from a variety of options, like Ethereum, ERC-20, or Bitcoin wallets.
When you are finished setting up your wallet, click the “Create wallet” button below the address bar. You will then be prompted to confirm your password. Finally, you will be able to access your new wallet by clicking the “My wallets” tab and clicking the wallet that you created.
From installation to configuration – how to set up your MetaMask wallet
First, download and install MetaMask.
Once you have installed MetaMask, open it and click on the “Add new account” button.
In the “Account Name” field, enter a name for your new MetaMask account. This is what others will see when you visit your account settings.
In the “Email Address” field, enter an email address for your new MetaMask account. This is where you will receive notices about your account and transactions.
In the “Password” field, enter a password for your new MetaMask account. This is the password you will use to log in to your account.
In the “Confirm Password” field, re-enter your password to confirm it.
Click on the “Create Account” button.
Your new MetaMask account has now been created! You can now start using it to store your cryptocurrencies and other digital assets.
How to set up a MetaMask wallet on Chrome, Firefox and Brave
First, open a new tab in your browser and click the three lines in the top right corner of the screen.
Then, click the "settings" icon in the toolbar at the top of the new window.
On the "settings" page, click the "add account" button.
In the "add account" dialog, enter your email address and password in the appropriate fields and click the "create account" button.
You will now be taken to your MetaMask account settings. In the "account name" field, enter "MetaMask".
In the "account password" field, enter your password.
Click the "save" button to save your changes.
Next, open a new tab in your browser and click the three lines in the top right corner of the screen.
Then, click the "tools" icon in the toolbar at the top of the new window.
On the "tools" page, click the "extensions" icon.
On the "extensions" page, click the "add extension" button.
In the "add extension" dialog, select "MetaMask" from the list of extensions and click the "install" button.
You will now be taken to the "MetaMask" extension settings page. In the "account name" field, enter "MetaMask".
In the "account password" field, enter your password.
Click the "save" button to save your changes.
Finally, open a new tab in your browser and click the three lines in the top right corner of the screen.
Then, click the "Brave" icon in the toolbar at the top of the new window.
On the "Brave" page, click the "settings" icon.
On the "settings" page, click the "identities" icon.
On the "identities" page, click the "add identity" button.
In the "add identity" dialog, enter your email address and password in the appropriate fields and click the "create identity" button.
You will now be taken to your Brave account settings. In the "account name" field, enter "MetaMask".
In the "account password" field, enter your password.
Click the "save" button to save your changes.
How to make the most of your MetaMask wallet
MetaMask is a Chrome extension that allows users to store their Bitcoin and Ethereum addresses, as well as other cryptocurrency tokens, in one place.
To make the most of your MetaMask wallet, first make sure you have it installed. Once you have it installed, open up Chrome and click on the "3 bars" icon in the top right corner. This will take you to the Chrome extensions page.
Click on the "Add New Extension" button and select "MetaMask."
You will now be prompted to enter your MetaMask wallet address. Make sure you have saved your wallet address somewhere safe so you can use it later.
Next, you will need to enter your Ethereum and Bitcoin addresses. These are the addresses where you will be storing your cryptocurrencies.
Finally, you will need to add a security question and answer. This is so that MetaMask can verify your identity.
Once you have completed all of the steps, you will be ready to start using your MetaMask wallet.
troubleshooting tips for setting up your MetaMask wallet
1. Make sure you have the latest version of MetaMask installed.
2. Make sure your browser is up to date.
3. Make sure your computer is connected to the internet.
4. Make sure your MetaMask wallet is properly synced.
5. Make sure you have enough ETH or ERC20 tokens in your MetaMask wallet to cover the gas costs of transactions.
6. Make sure you are using the correct address for your MetaMask wallet.
7. Make sure your browser settings allow cookies and Javascript.
8. Make sure your browser settings allow pop-ups.
9. Make sure you are using the correct port for your MetaMask wallet.
10. Make sure you are using a secure password for your MetaMask wallet.