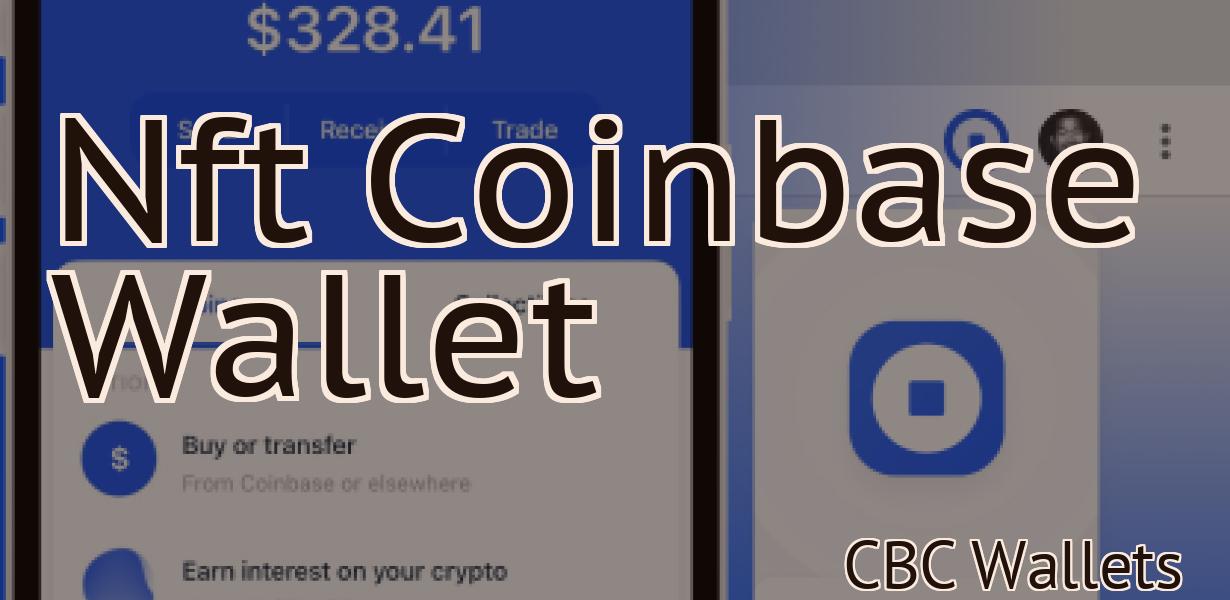
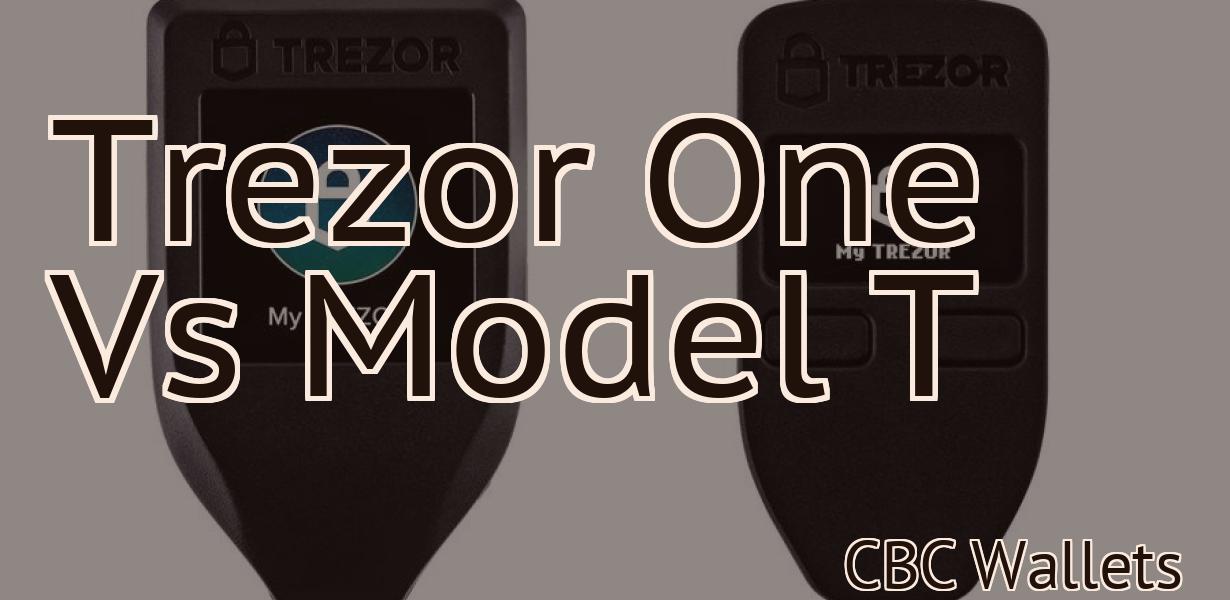
"How to set up Trezor?"
If you're looking for instructions on how to set up your Trezor device, you've come to the right place. In this article, we'll walk you through the process of setting up your Trezor, step by step. We'll also provide some troubleshooting tips in case you run into any problems along the way.
How to set up your Trezor in minutes
If you don’t already have a Trezor, you can buy one here.
Once you have your Trezor, you need to set it up.
To do this, open the Trezor app and click on the “New Wallet” button.
In the “New Wallet” window, enter your 12-word recovery phrase. You will need to write this down and keep it safe. You will also need to create a new wallet address. This is where you will send your Bitcoin and other cryptocurrencies.
Click on the “Create New Wallet Address” button.
In the “New Wallet Address” window, enter a unique address for your Trezor. You will need to remember this address as you will need to send your Bitcoin and other cryptocurrencies to it.
Click on the “Create New Wallet Address” button.
Repeat steps 2-4 to create additional wallets for different cryptocurrencies.
When you are finished setting up your Trezor, click on the “Close” button in the “New Wallet” window.
How to easily set up your Trezor wallet
on your computer
1. Download the Trezor wallet from trezor.io.
2. Install the Trezor wallet on your computer.
3. Open the Trezor wallet and click on the “Add New Address” button.
4. Enter the address of the Ethereum wallet you want to send Ether to.
5. Click on the “Create Transaction” button.
6. Enter the details of your transaction, including the address of the Ethereum wallet you want to send Ether to and the amount of Ether you want to send.
7. Click on the “Send Transaction” button.
8. Your Ether will be sent to the Ethereum wallet address you entered in step 5.
A step-by-step guide to setting up your Trezor
If you own a Trezor, the following guide will show you how to set it up and start using it.
First, connect your Trezor to your computer. You can do this by plugging it into your computer’s USB port or by using the included USB cable.
Once your Trezor is connected, open the Trezor software. You can do this by clicking on the Trezor icon on your computer’s desktop, or by using the shortcuts that came with your Trezor.
Once the Trezor software is open, you will see a screen that looks like this:
On the left side of the screen, you will see a list of accounts. This list includes all of the accounts that you have set up on your Trezor. The first account is the default account.
On the right side of the screen, you will see a list of devices. This list includes all of the devices that you have registered with your Trezor.
To set up your Trezor, click on the Register a new device button.
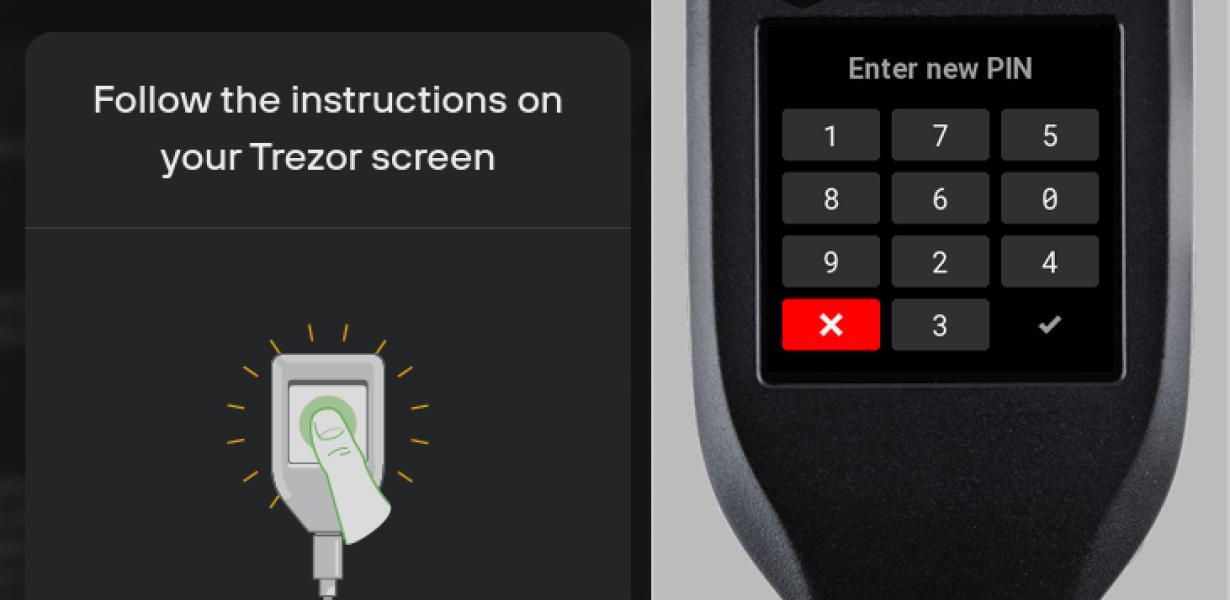
On the next screen, you will be asked to enter your TREZOR’s PIN. After you have entered the PIN, click on the Next button.
On the next screen, you will be asked to choose a name for your new device. After you have chosen a name, click on the Next button.
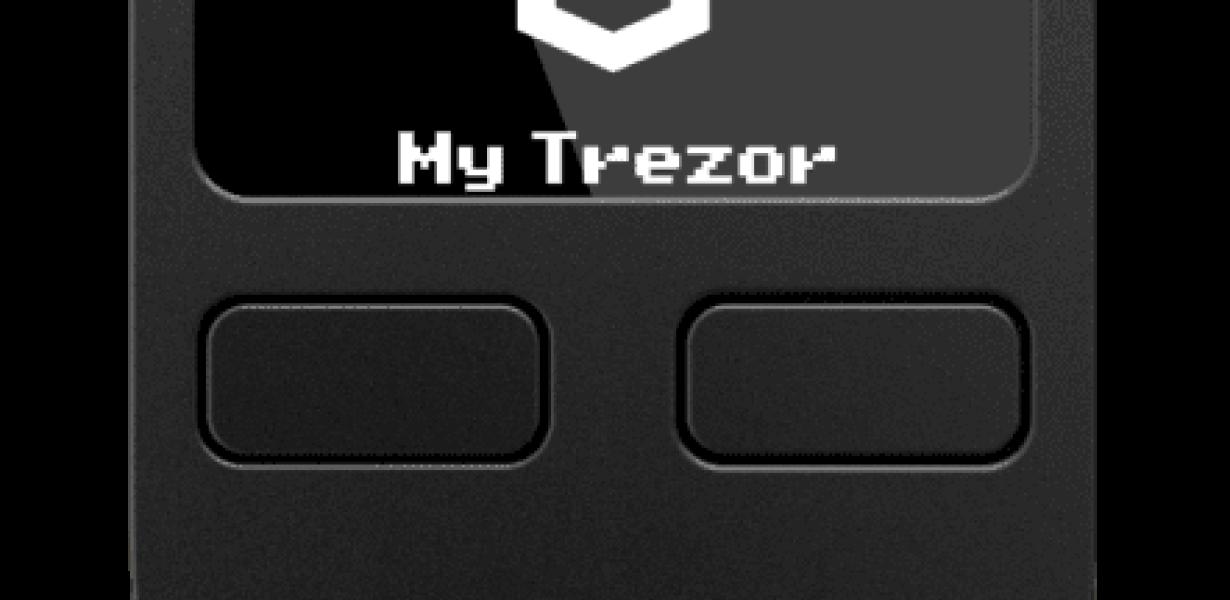
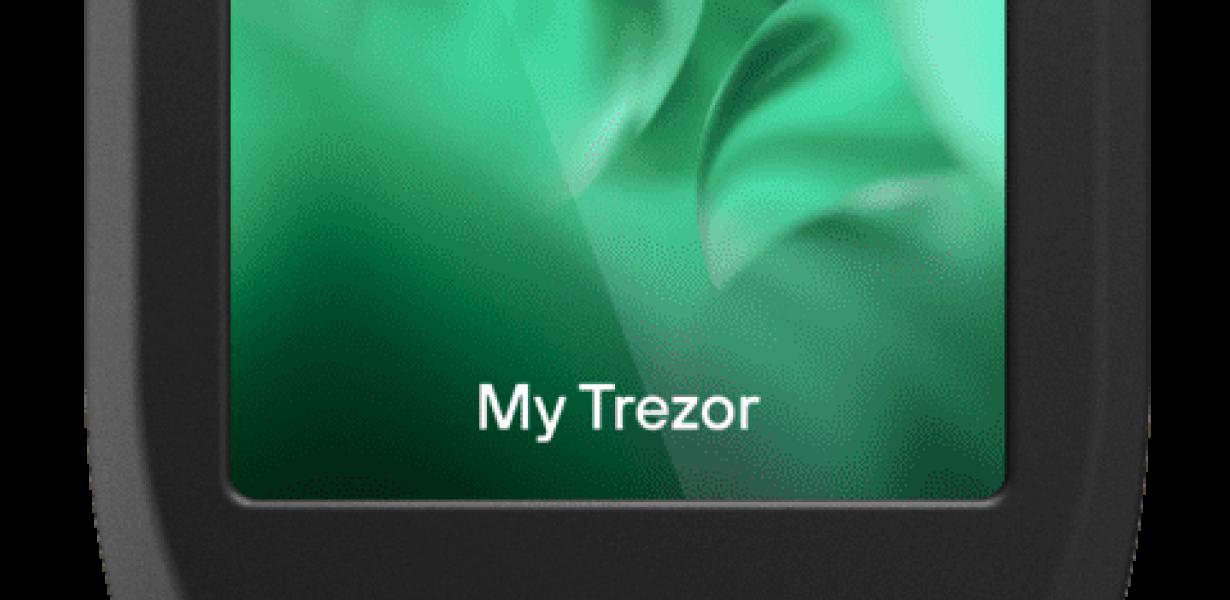
On the next screen, you will be asked to choose a security type for your new device. There are three options available: Mydevice, My Trezor, and My Wallet. If you want to use your Trezor as a Mydevice, then click on the Mydevice button. If you want to use your Trezor as a My Trezor, then click on the MyTrezor button. If you want to use your Trezor as a My Wallet, then click on the MyWallet button.
After you have selected a security type, click on the Next button.
On the next screen, you will be asked to choose a backup destination. You can choose to back up your data to a USB drive, to a Google Drive account, or to an online backup service. After you have chosen a backup destination, click on the Next button.
On the next screen, you will be asked to choose a passphrase for your new device. After you have chosen a passphrase, click on the Next button.
On the final screen, you will be asked to confirm your new device's settings. Click on the Finish button to finish setting up your Trezor.
Now that your Trezor is set up, you can start using it to store your cryptocurrencies.
The ultimate guide to setting up your Trezor
When it comes to setting up your Trezor, there are a few things that you need to do in order to get it working properly. In this guide, we will walk you through the steps that you need to take in order to get started.
First of all, you will need to make sure that you have a computer that is compatible with Trezor. This includes having an operating system that is on the latest version of Windows or MacOS and a USB port that is able to support Trezor.
Once you have your computer set up, you will need to install the Trezor software. This can be done by visiting the Trezor website and downloading the installer file. After installation is complete, you will need to create a new Trezor account.
Once you have your account set up, you will need to plug in your Trezor device. After doing so, you will need to enter your PIN code in order to start using the device.
After you have set up your Trezor, you will need to create a security PIN. This PIN will be used to protect your device from unauthorized access. You will also need to generate a recovery seed in order to recover your device if it becomes lost or stolen.
Finally, you will need to make sure that you keep your Trezor safe. This means that you should never leave it unsecured and should always keep your device locked when not in use.
Setting up your Trezor – a quick and easy guide
To set up your Trezor, follow these simple steps:
1. Download the Trezor app from the App Store or Google Play.
2. Open the Trezor app and click on the new button that has appeared near the top left corner.
3. In the new window, enter your TREZOR's unique 12-word seed.
4. Click on the blue button that says "Create new wallet."
5. In the new window, enter your name, email address, and password.
6. Click on the blue button that says "Create account."
7. You will now be asked to confirm your email address.
8. Click on the blue button that says "Confirm account."
9. You will now be taken to the main Trezor screen.
10. Click on the three lines in the top right corner of the screen and select "Trezor."
11. The Trezor main screen will appear. On this screen, you will need to enter your PIN code.
12. Click on the "Withdraw" button in the top left corner of the screen and enter your desired amount of bitcoin into the input box.
13. Click on the "Send" button in the top right corner of the screen and confirm your transfer by entering your PIN code again.
How to configure your Trezor for optimal security
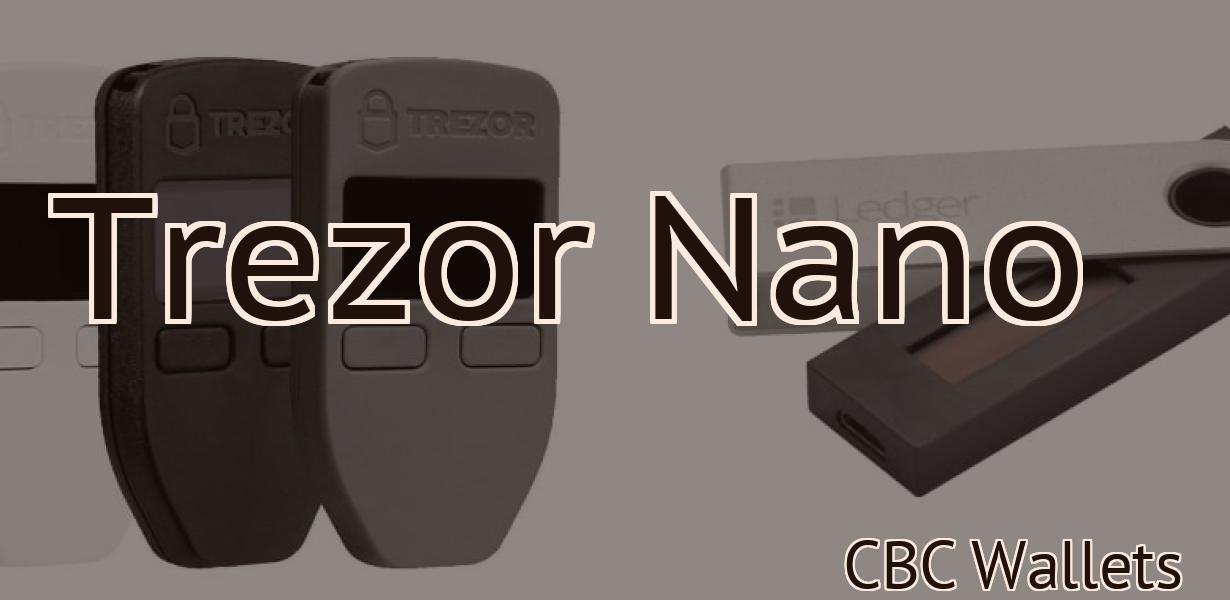
1. Verify that you have a working Trezor device. If you do not have a Trezor, you can purchase one from the Trezor website.
2. Create a new wallet. To create a new wallet, open the Trezor Wallet application and follow the on-screen instructions.
3. Backup your wallet. To ensure the safety of your wallet, back it up regularly using the Backup and Restore feature in the Trezor Wallet application.
4. Enable two-factor authentication. Two-factor authentication makes it more difficult for someone to access your wallet without also possessing the correct credentials. To enable two-factor authentication, open the Trezor Wallet application and follow the on-screen instructions.
5. Enable security features. To further protect your wallet, you can enable security features such as Trezor write protection and a PIN code. To enable these features, open the Trezor Wallet application and follow the on-screen instructions.
How to get the most out of your Trezor
There are a few things that you can do to get the most out of your Trezor:
1. Backup your Trezor wallet regularly. This will help you in case something goes wrong with your Trezor and you need to restore your wallet.
2. Use a strong password for your Trezor wallet. This will help to protect your wallet from being accessed by unauthorized people.
3. Store your Trezor wallet in a safe place. This will help to protect it from being damaged or stolen.
How to set up your Trezor like a pro
If you want to set up your Trezor like a pro, you will need to install the TREZOR app on your device. After you have installed the app, you will need to create a new account. You will need to provide your email address and password. After you have created an account, you will need to select your country from the list of countries. After you have selected your country, you will need to select your language from the list of languages. After you have selected your language, you will need to select your region from the list of regions. After you have selected your region, you will need to select your bank from the list of participating banks. After you have selected your bank, you will need to select your bank account. After you have selected your bank account, you will need to enter your PIN. After you have entered your PIN, you will be able to access your Trezor.
Tips and tricks for setting up your Trezor
This article provides tips and tricks for setting up your Trezor hardware wallet.
1. Before you start
If you haven't already, you will need to generate a new Trezor seed. To do this, open the Trezor website and click on the "Create new seed" button. You will then be prompted to enter a 12-word seed. Keep this seed confidential, as it will be required to recover your Trezor if it is lost or stolen.
2. Connect your Trezor to your computer
Trezor devices can be connected to a computer via a USB cable or a wireless network connection.
3. Create a new wallet
To create a new wallet, first click on the "New Wallet" button on the main Trezor screen. You will then be prompted to enter a 12-word seed. Finally, you will be asked to choose a password. Make sure that this password is difficult to guess and remember, as it will be required to access your Trezor account.
4. Backup your wallet
Before making any changes to your wallet, it is advisable to backup your wallet. To do this, click on the "Backup Wallet" button on the main Trezor screen and select a location on your computer where you want to store the backup. Note that you will need to enter your password to access the backup.
The beginner’s guide to setting up a Trezor
This guide will help you set up a Trezor wallet, which is a hardware wallet used to store your cryptocurrencies. First, you will need to get a Trezor wallet. The Trezor wallet can be purchased online or in store. Once you have your Trezor wallet, you will need to set it up. The first step is to create a new account. After you have created your account, you will need to set up your Trezor wallet. To do this, you will need to enter your seed phrase. Your seed phrase is a 12-word phrase that you will need to keep safe. After you have set up your Trezor wallet, you will need to generate a new cryptocurrency address. To do this, you will need to enter your public key and your private key. After you have set up your Trezor wallet and generated your cryptocurrency address, you can start storing your cryptocurrencies.