How to set up Metamask.
Metamask is a browser extension that allows you to interact with decentralized applications (DApps) without having to run a full Ethereum node. This guide will show you how to set up Metamask and use it with DApps.
How to set up Metamask for easy and secure ETH management
1. Launch Metamask and click on the New Wallet button.
2. In the New Wallet window, click on the Add Custom Token button.
3. In the Add Custom Token window, input the following information:
Token Name: Ethereum
Token Symbol: ETH
Decimals: 18
4. Click on the Generate Public Key button.
5. Copy the public key that is displayed in the text box and save it to a secure location. You will need this key to access your Ethereum wallet.
6. Click on the Connections button.
7. In the Connections window, click on the 3 vertical lines in the top left corner of the window. This will open the Settings panel.
8. In the Settings panel, click on the Metamask Extension button.
9. In the Metamask Extension window, click on the Add Metamask Extension button.
10. In the Add Metamask Extension window, input the following information:
Webpage: https://metamask.io/
Domain: mymetamask.com
11. Click on the Add Extension button.
12. In the Extensions window, click on the Ethereum extension button.
13. In the Ethereum Extension window, input the following information:
Private Key:
Public Key:
Setting up Metamask – the first step to Ether security
In order to start using Ether, you will first need to set up Metamask. Metamask is a browser extension that allows you to interact with the Ethereum blockchain.
To install Metamask, go to https://metamask.io and click the “Install Metamask” button. Once installed, open your browser and enter the following address:
https://metamask.io
You will be asked to input your email address and password. After logging in, you will be presented with the Metamask interface. On the left-hand side, you will see a list of all of your addresses associated with Metamask. On the right-hand side, you will see a list of all of your transactions.
To use Ether, you will first need to create an Ethereum wallet. To create an Ethereum wallet, go to https://www.etherscan.io and click on the “Create New Wallet” button. You will be asked to input your email address and password. After logging in, you will be presented with the Ethereum wallet interface. On the left-hand side, you will see a list of all of your addresses associated with your Ethereum wallet. On the right-hand side, you will see a list of all of your transactions.
To send Ether, you will first need to find the address of the person you want to send Ether to. To find the address of the person you want to send Ether to, go to https://etherscan.io and type in the address of the person you want to send Ether to. You will then be presented with the transaction details for that particular transaction.
To receive Ether, you will first need to find the address of the person you want to receive Ether from. To find the address of the person you want to receive Ether from, go to https://etherscan.io and type in the address of the person you want to receive Ether from. You will then be presented with the transaction details for that particular transaction.

How to configure Metamask for simple and safe ETH transactions
To use Metamask to make safe and simple ETH transactions, you'll first need to create an account and set up a password.
Once you have registered for an account, open Metamask and click on the "Create New Account" button. You'll be asked to enter your name, email address, and password.
Once you've set up your account, you can start making transactions by clicking on the "Send ETH" button on the Metamask main screen.
To send ETH, first find the address of the recipient you want to send Ethereum to. You can do this by clicking on the "Transactions" tab in Metamask and searching for the address of the person or project you want to send Ethereum to.
Next, click on the "Send ETH" button next to the address of the recipient. Metamask will ask you to confirm the transaction by entering your password. Once the transaction has been confirmed, Metamask will display a message indicating that the Ethereum has been sent.
How to get started with Metamask – your gateway to Ethereum
1. Download and install Metamask on your computer.
2. Open Metamask and click on the "Create a Metamask Account" button.
3. Enter your desired Ethereum address and click on the "Create Account" button.
4. Follow the on-screen instructions to finish setting up your Metamask account.
5. After your Metamask account is set up, open it and click on the "View Wallet Info" button.
6. Under the "Account Balance" heading, you will see the amount of Ethereum that is currently in your Metamask account.
7. To send Ethereum to your Metamask account, first find the address of the Ethereum wallet that you want to send the Ethereum to. Then, copy the address and click on the "Send Ether" button at the bottom of the Metamask window.
8. To receive Ethereum into your Metamask account, first find the address of the Ethereum wallet that you want to receive the Ethereum from. Then, paste the address into the "Receive Ether" box and click on the "Receive" button.
How to install and use Metamask – the ultimate guide
1. Download and install Metamask on your computer.
2. Open Metamask and click on the “Create a new account” button.
3. Fill in your basic information, such as your name, email address, and password.
4. Click on the “Skip this step” button if you already have an Ethereum wallet.
5. Click on the “Create my first account” button to create your Metamask account.
6. After you create your Metamask account, click on the “Funds” tab.
7. Add an Ethereum wallet address to Metamask.
8. Copy the private key for your Ethereum wallet address.
9. Click on the “Advanced settings” button.
10. In the “Metamask advanced settings” window, click on the “Gas limit” button.
11. Set the gas limit for your Ethereum wallet address to 2000 Gas.
12. Click on the “OK” button to save your changes.
13. Click on the “Connect” button to connect your Metamask account to your Ethereum wallet.
14. After you connect your Metamask account to your Ethereum wallet, you will be able to start trading Ethereum tokens.
How to set up Metamask in 5 minutes or less
1. Open Metamask and click on the "Create a new account" button.
2. Fill in your desired Metamask address and click on the "Create Account" button.
3. Metamask will generate a new key pair for you. You will need this key pair to interact with the Metamask network.
4. Copy the public key and store it safely. You will need this key to access your Metamask wallet and trade cryptocurrencies.
The beginners guide to setting up Metamask
Metamask is a decentralized platform that allows users to securely manage their personal data and assets. To set it up, follow these steps:
1. Download the Metamask application from the App Store or Google Play.
2. Open the Metamask application and click on the "Create a New Account" button.
3. On the next page, enter your desired username and password.
4. Click on the "Create Account" button to finish setting up your Metamask account.
5. Next, we'll need to generate a new key. To do this, click on the "Token" button in the top right corner of the Metamask application and select "Generate New Key."
6. On the next page, you'll be asked to choose a password and select a location to save your key.
7. Once you've generated your key, you can store it in the "Keystore" section of your Metamask account.
How to set up Metamask – your key to Ethereum security
1. Download Metamask from the Chrome Web Store: https://chrome.google.com/webstore/detail/metamask/dhdgffkkebhmkfjojejmpbldkacpmaf?hl=en
2. Open Metamask and click on "Create New Account."
3. Enter a name for your account and click on "Create Account."
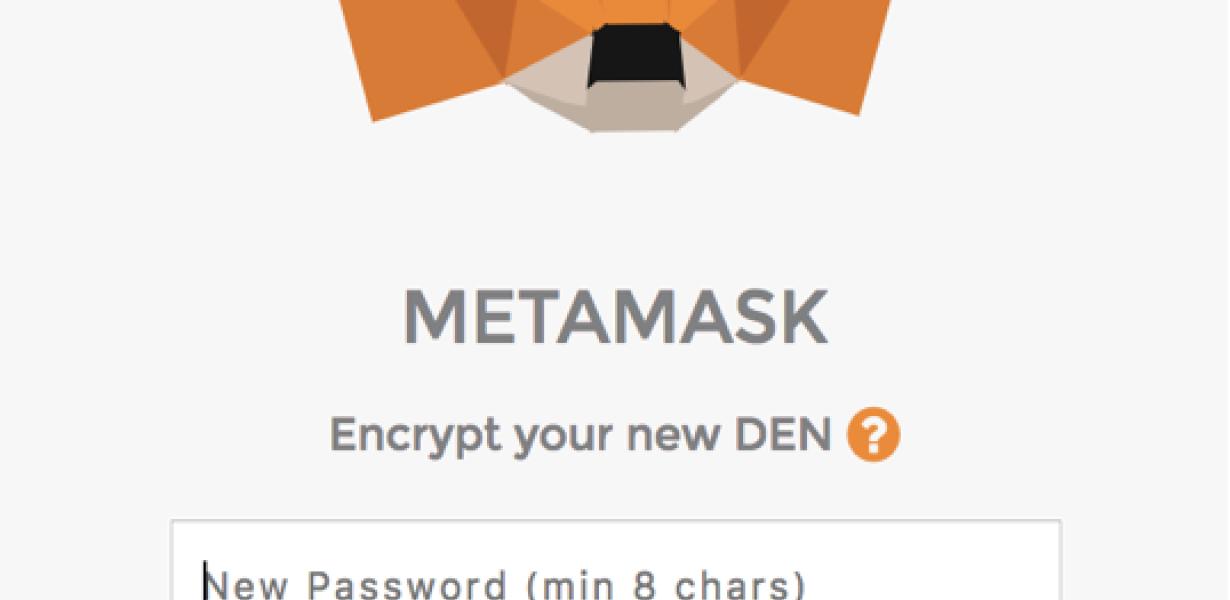
4. You will be asked to input a password. Make sure you remember this password as you will need it to access your Ethereum account later on.
5. Next, you will be asked to verify your email address. Metamask will send you a verification link to complete this process.
6. After you have verified your email address, you will be able to create a secure wallet. To do this, click on the "Create Wallet" button and provide your password. Metamask will then generate a new Ethereum address and private key for you. Keep this information safe as you will need it to access your funds later on.