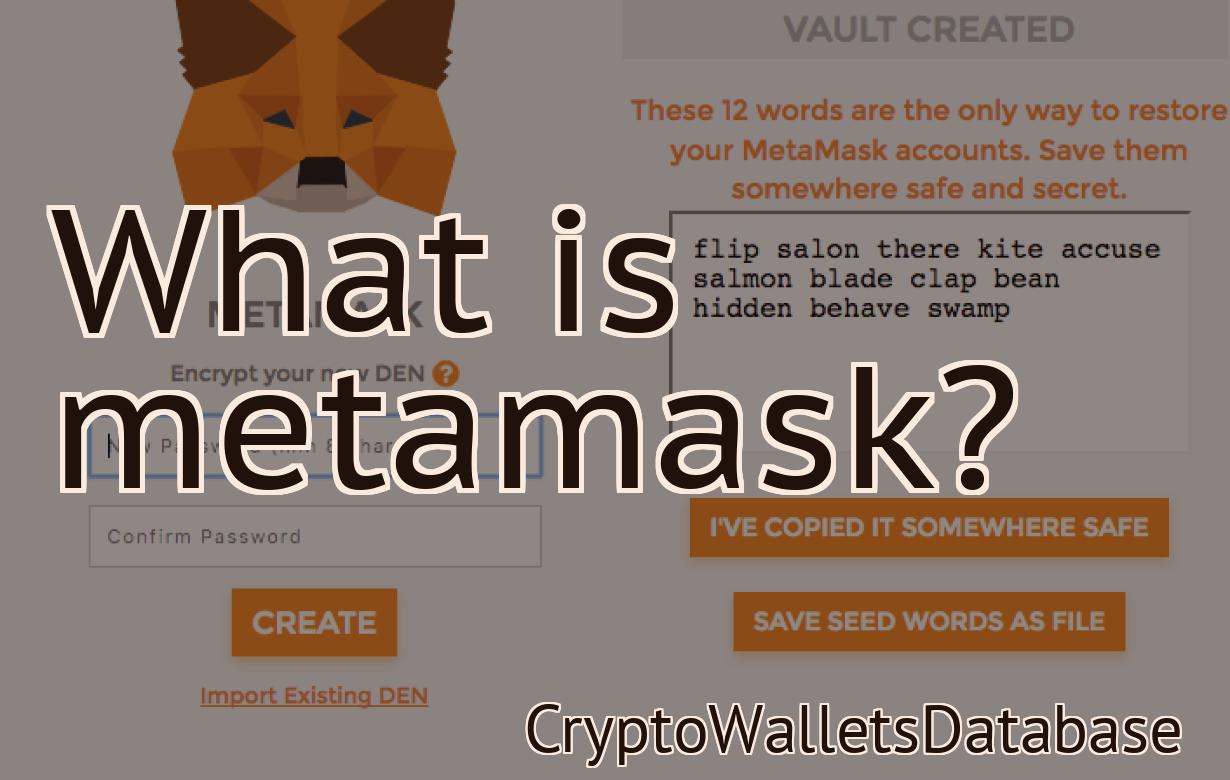
How to add a polygon to Metamask?
This article provides instructions on how to add a polygon to Metamask.
How to add a polygon to your MetaMask wallet
To add a polygon to your MetaMask wallet, open the MetaMask wallet and click on the "Add Custom Token" button. On the next screen, enter the following information:
Name: Polygon
Token Symbol: PGL
Decimals: 18
Then click on the "Create Custom Token" button. Your new polygon token will be displayed in your MetaMask wallet.
How to use MetaMask with a Polygon-based dApp
1. Open MetaMask and click on the "Add Account" button.
2. Enter the details for your Polygon-based dApp account, including a unique name and password.
3. Click on the "Create New Wallet" button.
4. Select the Polygon-based dApp you want to use from the list of available wallets.
5. Click on the "Create New Transaction" button.
6. Type in the details of your transaction, including the address you want to send the funds to and the number of tokens you want to send.
7. Click on the "Create Transaction" button.
8. MetaMask will now verify the details of your transaction and will return a confirmation message.
9. Once your transaction has been confirmed, you will be able to see the funds have been transferred into your Polygon-based dApp account.
How to connect your MetaMask wallet to a Polygon chain
To connect your MetaMask wallet to a Polygon chain, follow these steps:
1. Open your MetaMask wallet and click on the three lines in the top left corner.
2. In the opened window, click on the 'Add a new account' button.
3. Enter the email address and password for the new Polygon chain account and click on the 'Create account' button.
4. Your new Polygon chain account is now active and you can start sending and receiving tokens.
How to add a custom token to your MetaMask wallet
1. Navigate to your MetaMask wallet and click the "Tokens" tab.
2. Click the "Create Custom Token" button.
3. Enter the following information into the "Name" field:
Name: My Custom Token
4. Enter the following information into the "Description" field:
Description: My Custom Token
5. Click the "Create Token" button.
6. Your custom token will be added to your MetaMask wallet.
How to use MetaMask with decentralized exchanges on Polygon
There are a few ways to use MetaMask with decentralized exchanges.
Method 1: Use MetaMask to access a decentralized exchange on Polygon.
1. Open MetaMask and click on the "Add Account" button.
2. Enter your details for your decentralized exchange account.
3. Click on the "Connect" button.
4. You will now be able to trade on your decentralized exchange using MetaMask.
How to stake your tokens on Polygon using MetaMask
To stake your tokens on Polygon, first open MetaMask and click the "Add Wallet" button.
Next, scan the QR code on the Polygon website to add your wallet address.
Once you've added your wallet address, click the "Stake" button to begin staking your tokens.
To view your current stake balance, click the "Stake" button again and this time enter your wallet address followed by "Balance."
How to send and receive transactions on the Polygon network with MetaMask
To send a transaction on the Polygon network with MetaMask, first open MetaMask and click on the three lines in the top right corner.
Next, select the Send tab and input the address of the recipient and the amount of bitcoin you want to send them.
Finally, select the Gas Limit and Gas Price options and fill in the values that reflect your preferences.
To receive a transaction on the Polygon network with MetaMask, first open MetaMask and click on the three lines in the top right corner.
Next, select the Receive tab and input the address of the sender and the amount of bitcoin you want to receive.
Finally, select the Gas Limit and Gas Price options and fill in the values that reflect your preferences.
How to enable MetaMask notifications for your Polygon transactions
1. Open the MetaMask app on your computer and click the three lines in the top left corner.
2. In the "Send" tab, click the "Notifications" button.
3. Under "When a payment is sent," select "Metamask."
4. Under "When a payment is received," select "Metamask."
5. Under "Other notifications," select "Enable notifications for Polygon transactions."
6. Click the "Confirm" button.
How to Gasless Send on the Polygon network with MetaMask
1. Open MetaMask and create a new account.
2. On the Account Overview page, click on the Gas Settings tab.
3. In the Gas Settings section, under Use Eth Gas, set the Amount to 0.
4. Under Use Web3 Gas, set the Amount to 0.
5. Click on Save Changes.
6. Open your Polygon account and visit the Send page.
7. Under the Send section, select Gasless Send.
8. Under the Destination Address field, enter the address of the recipient.
9. Under the Amount field, enter the amount of ETH you want to send to the recipient.
10. Under the Payment Method field, select MetaMask.
11. Under the Add Payment Details section, enter the following information:
· Under the Hexadecimal Representation of Your Address field, paste the address you copied from MetaMask in step 8.
· Under the Decimal Representation of Your Address field, paste the address you copied from MetaMask in step 8.
· Under the Email Address field, enter the email address of the recipient.
12. Click on Send Transaction.
How to upgrade your ERC20 tokens to ERC721 tokens on the Polygon network
The Polygon network makes it easy to upgrade your ERC20 tokens to ERC721 tokens.
1. Log in to your Polygon account.
2.Click on the “My Account” tab.
3.Click on the “Tokens” tab.
4.Click on the “ERC20 Tokens” tab.
5.Click on the “Upgrade” button next to the token you want to upgrade.
6.On the “Upgrade Options” page, click on the “Download File” button.
7.Select the ERC721 token file you want to use and click on the “Download” button.
8.Open the ERC721 token file and copy the token information.
9.Paste the token information into the “Token Information” field on the “My Account” tab of your Polygon account.
10.Click on the “Update” button to complete the upgrade process.
How to participate in Initial Coin Offerings (ICOs) on the Polygon network
1. Go to the Polygon network website and sign up for an account.
2. From your account, click on the “ICO” tab.
3. On the ICO tab, you will be able to view all the upcoming ICOs on the Polygon network.
4. To participate in an ICO, you will need to create a new account on the ICO page. This will require you to provide your email address and password.
5. Once you have registered for an account, you will be able to view all of the details for the upcoming ICO.
6. You will be able to purchase tokens for the upcoming ICO by clicking on the “buy” button.
7. After you have purchased your tokens, you will be able to transfer them to a personal wallet on the Polygon network.
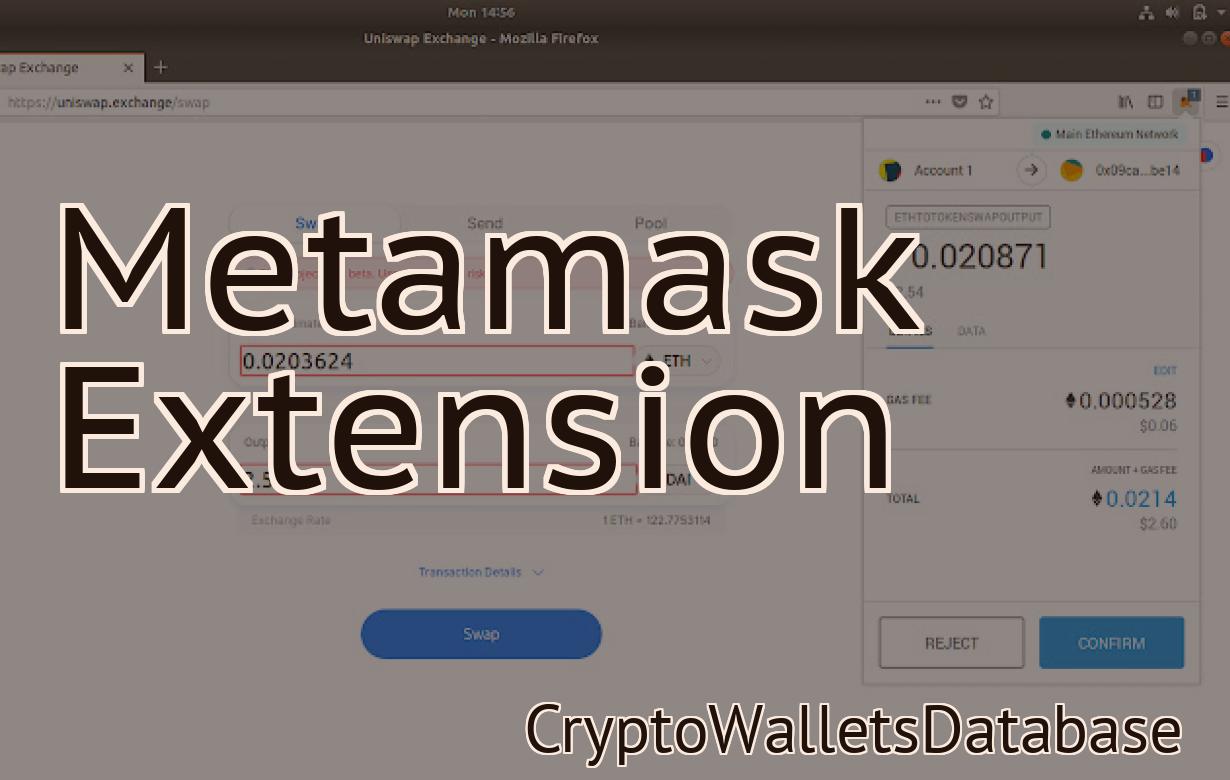
How to use theMetaMask dApp browser extension with the Polygon network
To use the MetaMask dApp browser extension with the Polygon network, first open the MetaMask extension and click on the blue "Add a new account" button.
Next, enter the following information:
Name: Polygon
Email: [email protected]
Password: yourpassword
Once you've completed the registration process, you'll be brought to the Polygon network home page.
To use the MetaMask extension with the Polygon network, first click on the blue "Connect to Polygon" button.
Next, you'll be prompted to enter your Polygon account credentials.
Once you've logged in, you'll be able to access all of the features and services offered by the Polygon network.