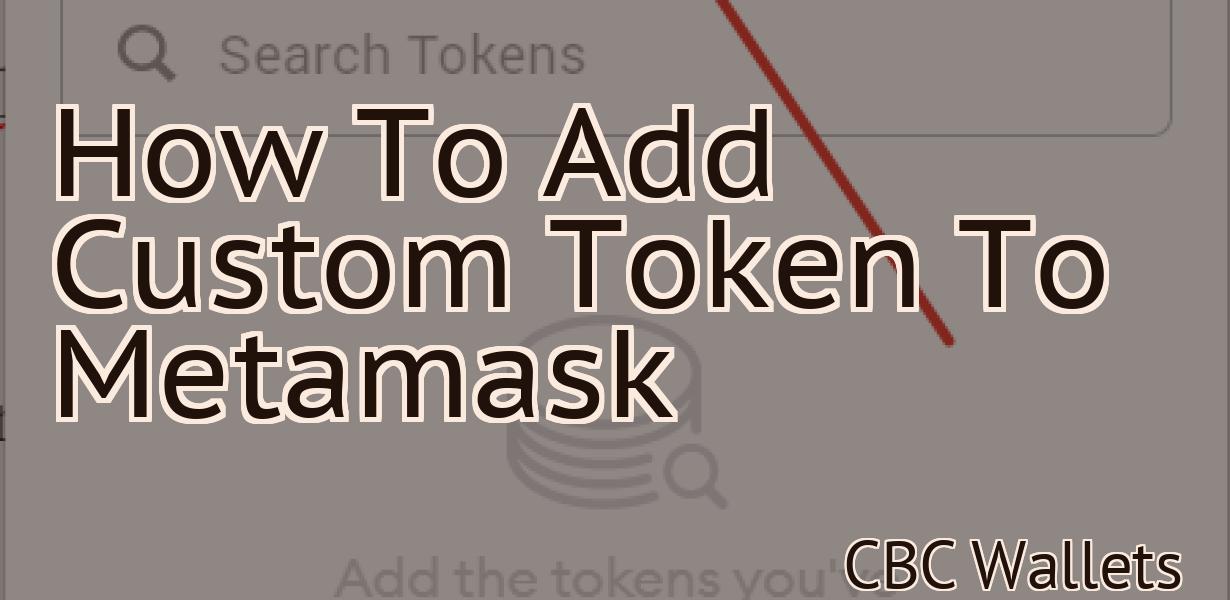
How To Add A Coin To Metamask
In this article, we will show you how to add a coin to Metamask. Metamask is a popular cryptocurrency wallet that allows you to store and manage your cryptos. It is available as a browser extension for Google Chrome, Mozilla Firefox, and Brave. You can also use Metamask on your mobile device with the iOS or Android app. Adding a coin to Metamask is simple and only takes a few minutes.
How to add a coin to Metamask
To add a coin to Metamask, follow these steps:
1. Open Metamask and click on the "Coins" tab.
2. On the left side of the Coins tab, you will see a list of all the coins that are supported by Metamask. Select the coin that you want to add to your wallet.
3. On the right side of the Coins tab, you will see a list of all the addresses that are supported by the selected coin. Select the address that you want to add the coin to.
4. Click on the "Add to Wallet" button.
5. You will now see the coin in your Metamask wallet.
Adding a coin to Metamask
To add a coin to Metamask, open Metamask and click the "Add a new token" button. Next, select Ethereum from the list of tokens and enter the address of the token you want to add. Click the "Generate" button to create the token. Once the token has been created, you'll see it listed in Metamask's tokens section. To spend it, open Metamask and click the "Withdraw" button next to the token's address.
How to use Metamask
To use Metamask, first download and install the Metamask extension. Once installed, open the Metamask extension and click on the "Create a New Wallet" button.
Enter your desired Ethereum wallet address and click on the "Create Wallet" button.
You will now be prompted to install the Metamask Chrome extension. Click on the "Install" button and once installed, open the Metamask Chrome extension and click on the "Metamask" button.
You will now be presented with the "Metamask Settings" page. On this page, you will need to input your Ethereum address and password. You can also add a secondary password in case you lose your main password.
To start using Metamask, you will need to add a supported cryptocurrency. To do this, click on the "Add a Coin" button and select the cryptocurrency you would like to use.
Next, you will need to add an ERC20 token to your Metamask wallet. To do this, click on the "Add a Token" button and enter the details of the ERC20 token you would like to use.
Once you have added your ERC20 token, you will need to generate a unique private key. To do this, click on the "Generate Key" button and follow the instructions on the screen.
Finally, you will need to add an address to your Metamask wallet. To do this, click on the "Add Address" button and enter the address of the ERC20 token you would like to use.
You can now start trading your ERC20 token using Metamask. To do this, first open the Metamask extension and click on the "Trade" button.
Next, enter the price of the ERC20 token you would like to trade and the amount of tokens you would like to trade. Finally, select the cryptocurrency you would like to use as your trading pair and click on the "Submit Order" button.
Using Metamask
Metamask is a cryptocurrency and blockchain browser extension that allows users to interact with the Ethereum network. The extension has a number of features that make it a popular choice for those looking to get involved in the cryptocurrency world.
One of the main benefits of using Metamask is that it allows users to easily buy and sell cryptocurrencies. Simply clicking on the “Buy” or “Sell” buttons in the extension’s menu allows users to quickly and easily make transactions.
Another key feature of Metamask is its security features. The extension uses a number of security measures to protect user data and keep their information safe. For example, Metamask encrypts all user data before sending it to the Ethereum network.
Overall, Metamask is a great choice for those looking to get involved in the cryptocurrency world. It has a number of features that make it easy to use, and its security measures make it a safe option for storing user data.
What is Metamask?
Metamask is a decentralized application (dApp) that allows users to control their cryptocurrency holdings and transactions. It was developed by the team at Jaxx, a leading blockchain platform provider. Metamask is available on desktop and mobile platforms.
How to install Metamask
To install Metamask, open the Chrome browser on your computer and click on the three lines in the top right corner of the browser window. Select More tools and then Extensions. Click on the Install button next to Metamask.
After Metamask is installed, open it by clicking on the three lines in the top right corner of the browser window and then selecting Metamask from the list of extensions.
To use Metamask, click on the green button in the top left corner of the Metamask interface and then select Add a site.
Next, enter the address of the site you want to use Metamask with and then click on the Add button.
You will now be prompted to select a password for the site. After you have entered the password, Metamask will automatically start using the site.
Installing Metamask
To install Metamask, visit the following link: https://metamask.io/
Once you have installed Metamask, you will need to create a new account. To do this, click on the “Create a New Account” button on the Metamask home page.
Enter your desired username and password and click on the “Create Account” button.
After you have created your account, you will be redirected to the Metamask login page. On this page, you will need to enter your username and password again. After you have logged in, you will be taken to the main Metamask page.
On the Metamask main page, you will see the “Add Wallet” button. Click on this button to add a new wallet.
On the “Add Wallet” page, you will need to enter the following information:
1. Name: This is the name of the wallet that you want to create.
2. Address: This is the address of the wallet that you want to create.
3. Keystore File: This is the path to the keystore file that you want to use for this wallet.
4. Password: This is the password for the keystore file.
5. Intermediary: This is the address of an intermediary that you trust. This intermediary will act as a go-between for your transactions and the Metamask wallet.
6. Click on the “Create Wallet” button to finish creating your new wallet.
After you have created your new wallet, you will need to add some tokens to it. To do this, click on the “Keys” button on the Metamask main page and select the “Add Token” button.
On the “Add Token” page, you will need to enter the following information:
1. Name: This is the name of the token that you want to add to your wallet.
2. Symbol: This is the symbol of the token that you want to add to your wallet.
3. Address: This is the address of the token that you want to add to your wallet.
4. Decimals: This is the number of decimals of the currency that you want to add to your wallet.
5. Click on the “Add Token” button to finish adding the token to your wallet.
After you have added the token to your wallet, you will need to configure it so that it can be used with Metamask. To do this, click on the “Configure” button on the Metamask main page and select the “Token Settings” button.
On the “Token Settings” page, you will need to enter the following information:
1. Access Token: This is the access token that you will need to use to interact with your tokens from Metamask.
2. Secret Key: This is the secret key that you will need to use to interact with your tokens from Metamask.
3. Click on the “Configure” button to finish configuring your tokens.
After you have finished configuring your tokens, you will need to add them to your wallet. To do this, click on the “Add Wallet” button on the Metamask main page and select the “Add Address” button.
On the “Add Address” page, you will need to enter the following information:
1. Name: This is the name of the address that you want to add to your wallet.
2. Address: This is the address of the address that you want to add to your wallet.
3. Keystore File: This is the path to the keystore file that you want to use for this address.
4. Password: This is the password for the keystore file.
5. Click on the “Add Address” button to finish adding the address to your wallet.
After you have added the address to your wallet, you will need to send some tokens from your wallet to another address. To do this, click on the “Send” button on the Metamask main page and select the “Token Send” button.
On the “Token Send” page, you will need to enter the following information:
1. To Address: This is the address that you want to send the tokens to.
2. Amount: This is the amount of tokens that you want to send to the address.
3. Gas Limit: This is the gas limit that you want to use when sending the tokens to the address.
4. Gas Price: This is the gas price that you want to use when sending the tokens to the address.
5. Confirmations: This is the number of confirmations that you want Metamask to wait before confirming the transaction.
6. Click on the “Send” button to finish sending the tokens to the address.
How to set up Metamask
1. Open Metamask and click on the three lines in the top right corner.
2. Select "Create a New Wallet."
3. Type a name for your wallet and click on "Create."
4. Select the Ethereum network you want to use and click on "Create Wallet."
5. Click on the "Metamask" button in the top left corner to open the Metamask wallet.
6. Add a new Ethereum address, select a gas limit, and click on "Generate Address."
7. Copy the address and store it in a safe place. You will need this address to send and receive Ethereum transactions.
Setting up Metamask
Step 1: Create a Metamask account
To create a Metamask account, visit metamask.io and enter your email address and password. You will then be prompted to create a new wallet.
Step 2: Install Metamask
To install Metamask, open the Chrome browser on your computer and visit the Metamask website. Click the blue “Install” button to download and install the Metamask extension.
Step 3: Add an Ethereum wallet to Metamask
After installation, Metamask will prompt you to add an Ethereum wallet. Click the blue “Add a wallet” button to open the Ethereum wallet list.
Step 4: Add an Ethereum wallet to Metamask
To add an Ethereum wallet, click the “Add a wallet” button and enter the address of your Ethereum wallet. Metamask will then display the private key for your wallet.
Step 5: Add an Ethereum wallet to Metamask
To add an Ethereum wallet, click the “Add a wallet” button and enter the address of your Ethereum wallet. Metamask will then display the private key for your wallet.