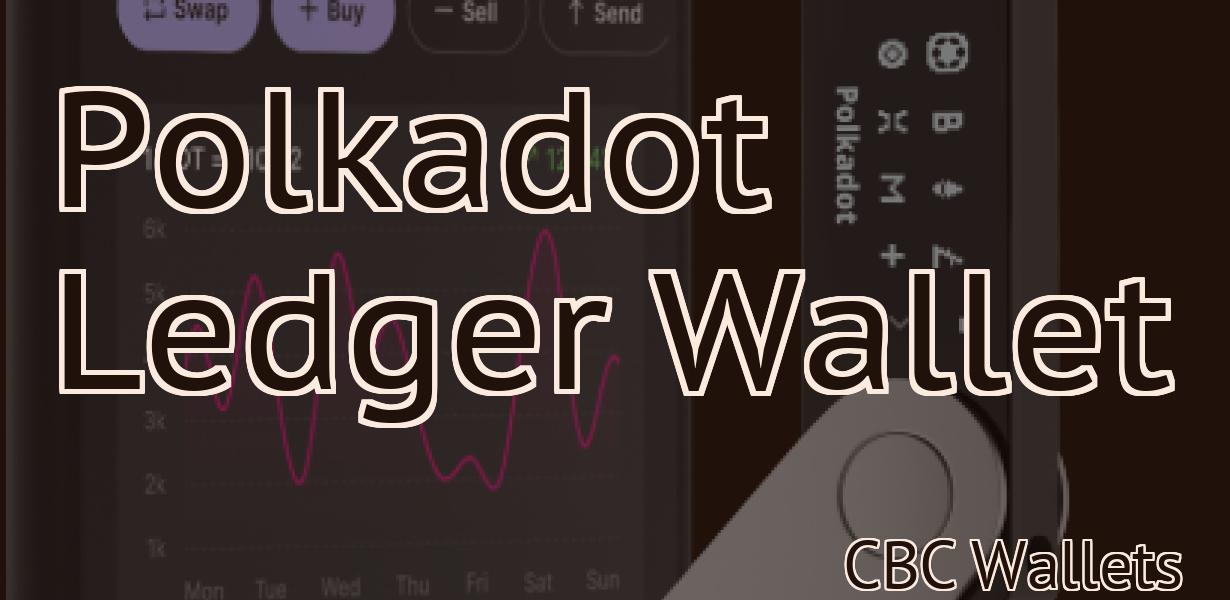
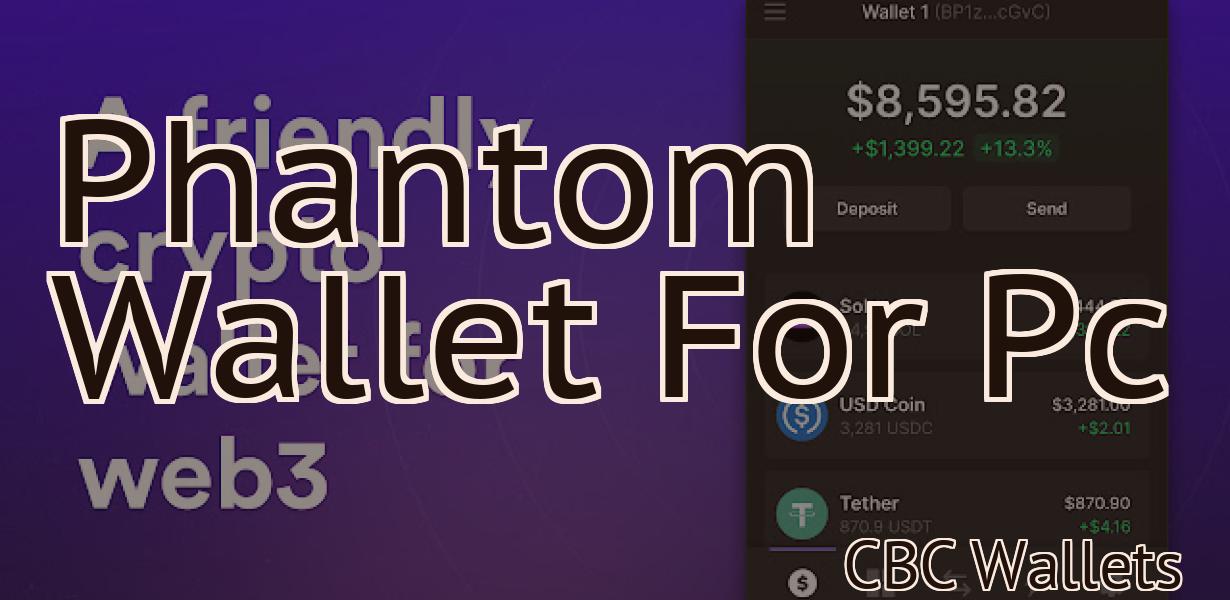
Hoge Metamask
Metamask is a popular browser extension that allows users to easily manage their Ethereum accounts and private keys. It also provides a convenient interface for interacting with dapps.
Metamask – The ultimate guide to using this Ethereum wallet
If you want to use Ethereum, you need a wallet. There are a few different options out there, but we recommend using Metamask. Metamask is a browser extension that allows you to easily store, use and manage your Ethereum holdings.
Here’s a quick guide on how to use Metamask:
1. First, you need to install the Metamask extension. You can find the installer here.
2. Once the extension is installed, open it up. You will see a screen that looks like this:
3. On the right hand side of the screen, you will see a button called “Add Account”. Click on this button and you will be presented with a list of wallets that are compatible with Metamask.
4. Select the Ethereum wallet that you want to use and click on the “Add” button.
5. After you add the Ethereum wallet, you will be presented with a new screen that looks like this:
6. On this screen, you will need to enter your Ethereum address. This is the address that you will use to send and receive Ethereum.
7. Next, you will need to enter your password. This is the password that you will use to access your Ethereum wallet.
8. Finally, you will need to confirm your password by clicking on the “Confirm” button.
9. Now, you are ready to start using your Ethereum wallet! To send Ethereum, simply enter the address that you specified in step 7 and the amount of Ethereum that you want to send. To receive Ethereum, simply enter your Ethereum address and the amount of Ethereum that you want to receive.
How to use Metamask – A beginner’s guide
Metamask is a decentralized application that allows users to interact with the Ethereum network. It is a browser extension that runs on Chrome and Firefox. Metamask also has a mobile app that can be used on iOS and Android.
To start using Metamask, you first need to download and install it. Once it is installed, open it and click on the gear icon in the top-right corner. From there, select Settings.
In the Settings page, you will need to input your account address and password. After you have done this, click on the Enable button.
Now, you will need to create a new account. To do this, click on the Accounts tab and then click on the Create New Account button.
Enter your desired account name and password and then click on the Create Account button.
After you have created your account, you will need to add it to Metamask. To do this, open Metamask and click on the Add Account button.
From there, you will need to input your account address and password. After you have done this, click on the Add Account button again.
Now, you will need to add your Ethereum wallet address. To do this, open your Ethereum wallet and find the address that you want to use. After you have found the address, enter it into Metamask.
Next, you will need to add yourEth Gas Limit. To do this, open your Ethereum wallet and find the Gas Limit field. After you have found the Gas Limit field, enter the gas limit that you want to use.
Now, you will need to add your Metamask wallet address. To do this, open Metamask and find the address that you want to use. After you have found the address, enter it into Metamask.
Now, you will need to add your ERC20 token. To do this, open your Ethereum wallet and find the token that you want to use. After you have found the token, enter it into Metamask.
After you have added all of your information, click on the OK button.
Now, you will need to select a network. To do this, click on the Select Network button.
From there, you will need to select the network that you want to use. After you have selected the network, click on the Connect button.
Now, you will need to fill in your Ethereum address. To do this, enter your Ethereum address into Metamask.
After you have entered your Ethereum address, click on the Next button.
Now, you will need to fill in your ERC20 token address. To do this, enter your ERC20 token address into Metamask.
After you have entered your ERC20 token address, click on the Next button.
Now, you will need to fill in your Metamask wallet address. To do this, enter your Metamask wallet address into Metamask.
After you have entered your Metamask wallet address, click on the Next button.
Now, you will need to fill in your desired account name and password. To do this, enter your desired account name into Metamask and then click on the Finish button.
Now, you will be ready to use Metamask!
Metamask – The most popular Ethereum wallet
MetaMask is a very popular Ethereum wallet. It allows you to store your Ethereum and other cryptocurrencies safely and easily. MetaMask also has a number of features that make it a great choice for users.
One of the best features of MetaMask is that it supports numerous cryptocurrencies. This means that you can easily store your Ethereum and other cryptocurrencies using MetaMask.
Another great feature of MetaMask is that it allows you to easily access your Ethereum and other cryptocurrencies. This means that you can quickly and easily buy or sell cryptocurrencies using MetaMask.
Overall, MetaMask is a great choice for users who wants to store their Ethereum and other cryptocurrencies safely and easily. It also has a number of features that make it a great choice for users.
Metamask – How to set up and use this Ethereum wallet
Metamask – an ether wallet that provides a user interface to interact with the Ethereum blockchain. Metamask allows users to interact with decentralized applications and smart contracts.
To set up Metamask:
1. Launch the Metamask app from the Google Play Store or the App Store.
2. Click on the “Create a new account” button.
3. Enter your desired Metamask address and password.
4. Click on the “Create my account” button.
5. Review the terms of service and click on the “I accept” button.
6. Click on the “Create my account” button again.
7. Click on the “Add assets” button.
8. Select Ethereum from the list of available assets.
9. Click on the “Add asset” button again.
10. Add a Ethereum wallet address and a password.
11. Click on the “Save” button.
12. Your Metamask account is now ready to use.
Metamask review – Is this Ethereum wallet worth using?
There is no one-size-fits-all answer to this question, as the effectiveness of a metamask wallet depends on the specific needs of each individual. However, we can provide some general tips that may help you decide if Metamask is the right wallet for you.
First, make sure that you have a strong understanding of Ethereum and how it works. If you don't know what Ethereum is, you should definitely read our guide first.
Second, make sure that you have a proper Ethereum wallet. A metamask wallet is not a substitute for a proper Ethereum wallet. Make sure to store your Ethereum in a wallet that is fully secure and has been tested by the community.
Third, make sure that you have installed and activated Metamask. You can find instructions on how to do this here.
Fourth, make sure that you have your Metamask account password handy. You will need it to access your Metamask account and add new accounts.
Finally, be sure to keep an eye on your Ethereum wallet and Metamask account. Make sure to backup your Metamask account and store your Ethereum in a safe place.
Metamask tutorial – How to use this Ethereum wallet
In this tutorial, we will show you how to use the Metamask Ethereum wallet. Metamask is a desktop and mobile Ethereum wallet that allows you to securely store your Ether and other crypto assets.
To start using Metamask, you will first need to download the app from the App Store or Google Play store. After you have downloaded the Metamask app, open it and click on the ‘New Account’ button.
Next, you will need to create a new account name and password. Make sure to keep these passwords safe as you will need them to access your Metamask wallet later on.
Once you have created your account, you will be taken to the main Metamask screen. On this screen, you will need to click on the ‘settings’ tab and then on the ‘ransactions’ tab.
The transactions tab will allow you to view all of the transactions that have been made on the Ethereum network using your Metamask wallet. You can also view the total value of all of your Ethereum holdings by clicking on the ‘ETH’ column header.
To manage your Metamask wallet, you will first need to create a password recovery phrase. This phrase will be used if you lose your Metamask wallet and need to recover your account login information. To create your password recovery phrase, click on the ‘settings’ tab and then on the ‘security’ tab.
Next, you will need to enter your account login information into the ‘account’ field. You will then need to click on the ‘create password recovery phrase’ button.
After you have created your password recovery phrase, you will need to save it to a secure location. You can do this by clicking on the ‘save’ button next to the ‘security’ tab.
Finally, you will need to enable two-factor authentication on your Metamask account. To do this, click on the ‘security’ tab and then on the ‘two-factor authentication’ button.
After you have enabled two-factor authentication, you will need to enter your login credentials again into the ‘account’ field. You will then need to click on the ‘enable two-factor authentication’ button.
Now that you have set up your Metamask account, it is time to start trading Ethereum tokens. To do this, click on the ‘trade’ button located on the main Metamask screen.
On the trade screen, you will first need to select the Ethereum token that you would like to trade. You can do this by clicking on the ‘Ethereum’ column header.
Next, you will need to select the cryptocurrency pairs that you would like to trade. You can do this by clicking on the ‘cryptocurrencies’ column header.
You will then need to enter the amount of Ethereum tokens that you would like to trade. You can do this by clicking on the ‘ETH’ column header and then clicking on the ‘quantity’ button.
After you have entered the amount of Ethereum tokens that you would like to trade, you will need to select the trading pair that you would like to use. You can do this by clicking on the ‘cryptocurrencies’ column header and then clicking on the ‘pair’ button.
Next, you will need to select the cryptocurrency exchange that you would like to use. You can do this by clicking on the ‘exchanges’ column header and then clicking on the ‘exchange’ button.
After you have selected your cryptocurrency exchange, you will need to enter your bank account details. You can do this by clicking on the ‘accounts’ column header and then clicking on the ‘withdrawal’ button.
After you have entered your bank account details, you will need to confirm the trade by clicking on the ‘confirm’ button.
If everything goes according to plan, your Ethereum tokens should now be trading on your chosen cryptocurrency exchange. If not, please feel free to contact customer support at Metamask for assistance.
Metamask vs MyEtherWallet – Which is the better Ethereum wallet?
There is no simple answer to this question as it depends on your individual needs and preferences. However, if you are looking for a wallet that is easy to use and has a wide range of features, then MyEtherWallet is likely to be the better option.
Meanwhile, if you are only interested in storing Ethereum and don’t need many extra features, then Metamask may be a better choice.
Metamask fees – How much does it cost to use this Ethereum wallet?
There is no definitive answer to this question as the cost of using a Metamask wallet will vary depending on the platform and the features that are being used. However, some basic costs that may be incurred include:
Transaction fees – These will typically be a fraction of a cent, but can occasionally be higher.
Storage fees – Metamask will charge a fee for each transaction that is stored in the wallet, which may add up over time.
However, note that these fees are not universal and may vary depending on the platform and the specific features that are being used.
Metamask security – Is this Ethereum wallet safe to use?
There is no one definitive answer to this question. Each of the different Metamask security options available will have different levels of safety.
Some of the most important factors to consider when assessing Metamask security include:
The Metamask security features that are available to you.
The security standards that the Ethereum wallet platform you are using meets.
Your own personal security precautions.
Ethereum wallets that offer Metamask security features
Metamask security features are available on a number of different Ethereum wallets. These include:
Jaxx – One of the most popular Ethereum wallets, Jaxx offers a variety of security features including two-factor authentication and the ability to create a password manager.
MyEtherWallet – Another popular Ethereum wallet, MyEtherWallet offers users the ability to create a password manager and two-factor authentication.
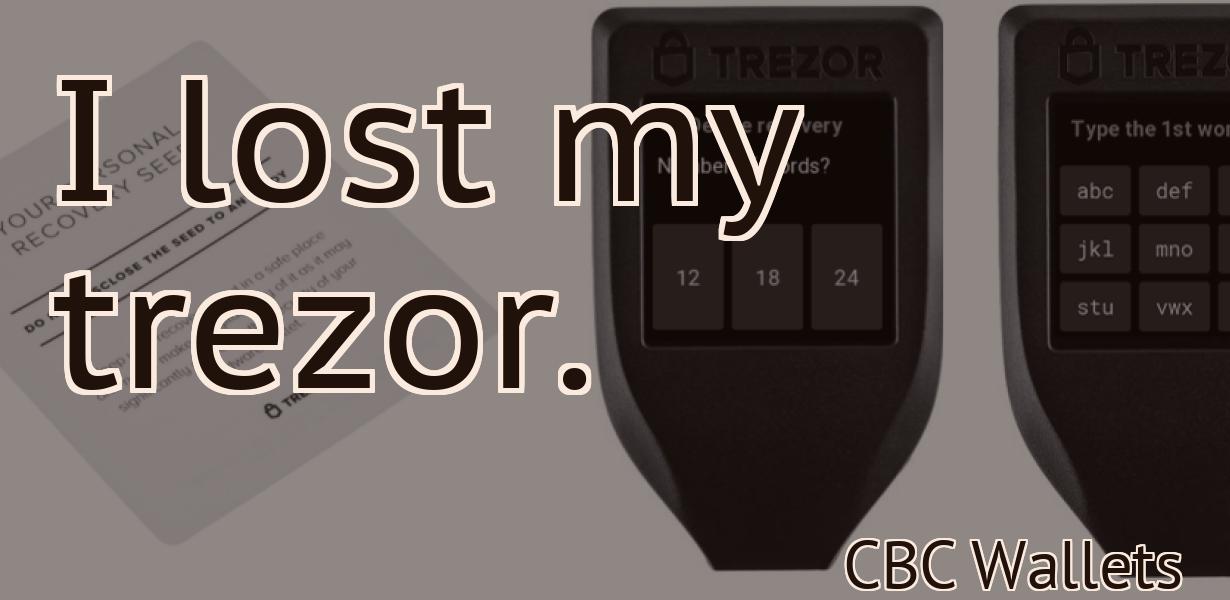
TREZOR – One of the most popular Ethereum wallets, TREZOR offers users the ability to create a secure password manager and back up their wallet.
Metamask security – What to do if your Metamask wallet is hacked?
If your Metamask wallet is hacked, you will need to take steps to secure your account and recover any lost funds.
Some of the steps you should take include:
Password protect your Metamask wallet.
Secure your computer and account with a strong password.
Change your passwords for all other accounts on which you store sensitive information.
Contact Metamask if you notice any unusual activity on your account.
Metamask security – Is it safe to use Metamask with other online services?
Yes, it is safe to use Metamask with other online services. However, you should always take additional steps to protect your personal information, including passwords, financial information, and personal information.
Metamask support – Where to get help with this Ethereum wallet
If you are having problems with your Metamask wallet, you can try the following resources to get help.
1. Visit the Metamask website and look for information on how to troubleshoot common issues.
2. Use the online forums to ask questions and find help from other Metamask users.
3. Contact Metamask support directly by emailing [email protected].