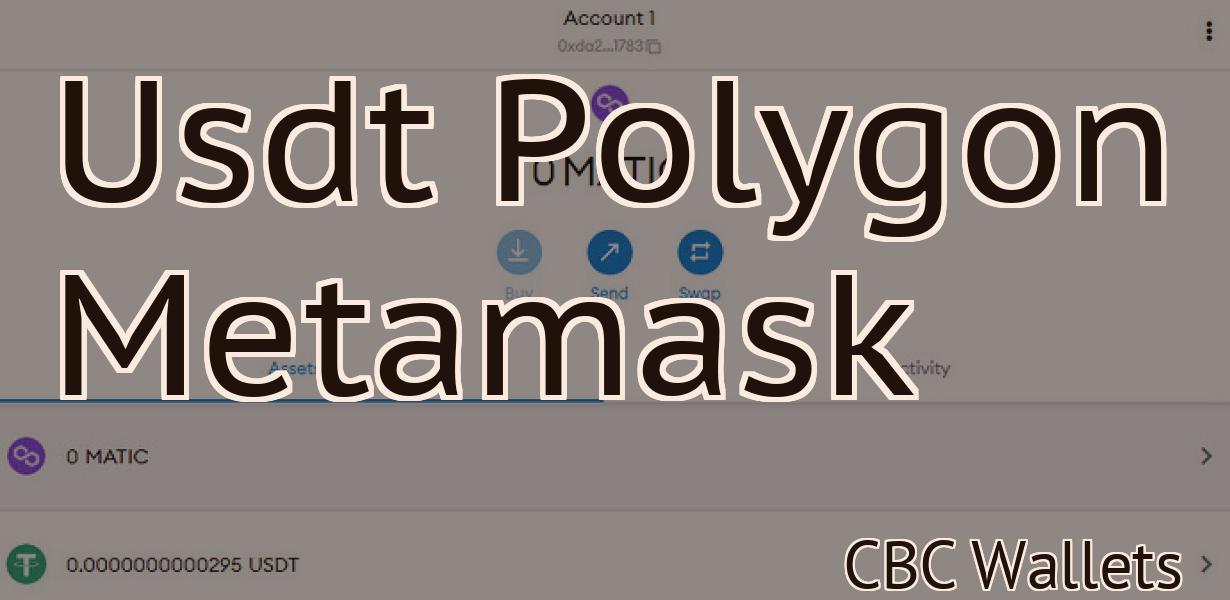
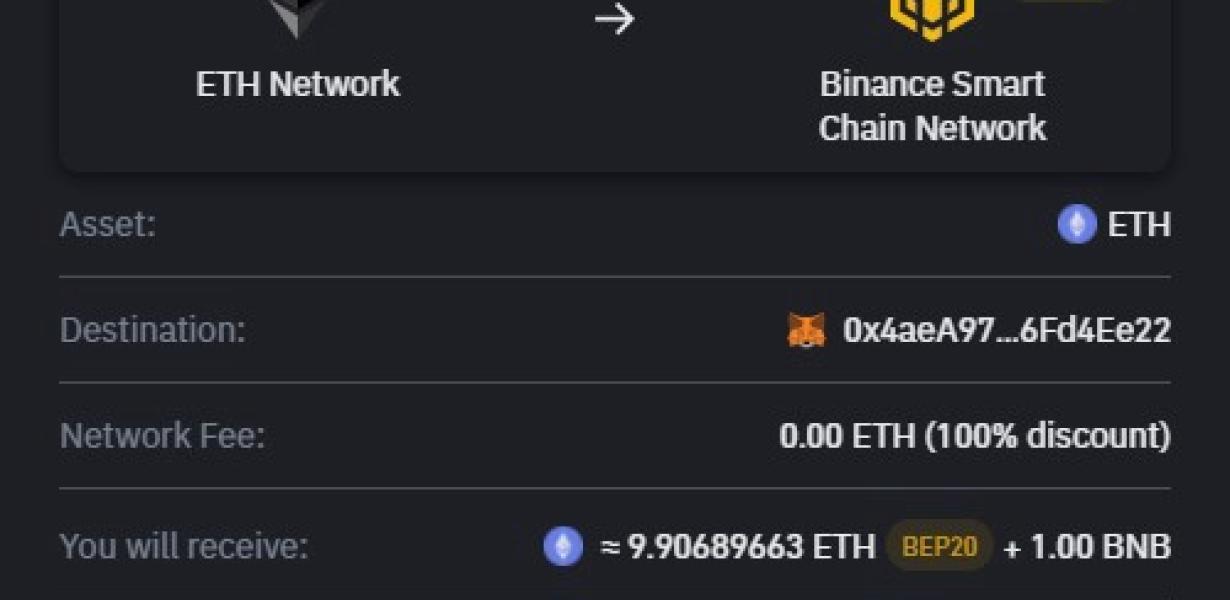
Bridge Bsc To Eth Metamask
The article "Bridge Bsc To Eth Metamask" describes how to use the Metamask extension to connect to the Binance Smart Chain. It provides a step-by-step guide on how to set up the extension and configure it to work with the Binance Smart Chain.
How to bridge your BSC coins to ETH with Metamask
1. Install Metamask
2. Open Metamask and click on the "Create a new account" button
3. Fill in your details and click on the "Create Account" button
4. Select the Ethereum network and click on the "Create Account" button
5. Metamask will ask you to input your BSC address. You can find this by clicking on the "Account Info" button in the upper right corner of the Metamask screen, and then clicking on the "Wallets" tab. The BSC address will be listed under "Eth wallet address". Copy this address and paste it into the "Metamask address" field in step 6.
6. Metamask will now ask you to input your ETH address. You can find this by clicking on the "Account Info" button in the upper right corner of the Metamask screen, and then clicking on the "Web Wallet" tab. The ETH address will be listed under "ETH wallet address". Copy this address and paste it into the "Metamask address" field in step 7.
7. Metamask will now ask you to confirm the transaction. Click on the "Confirm" button to complete the process.
3 simple steps to bridge your BSC to ETH
1. Access your BSC account on the blockchain
2. Click on the “My Account” link in the top right corner of the BSC website
3. Enter your Ethereum address in the “Ethereum Address” field and click “Submit”
4. You will now be able to see your ETH balance and transactions on the BSC website
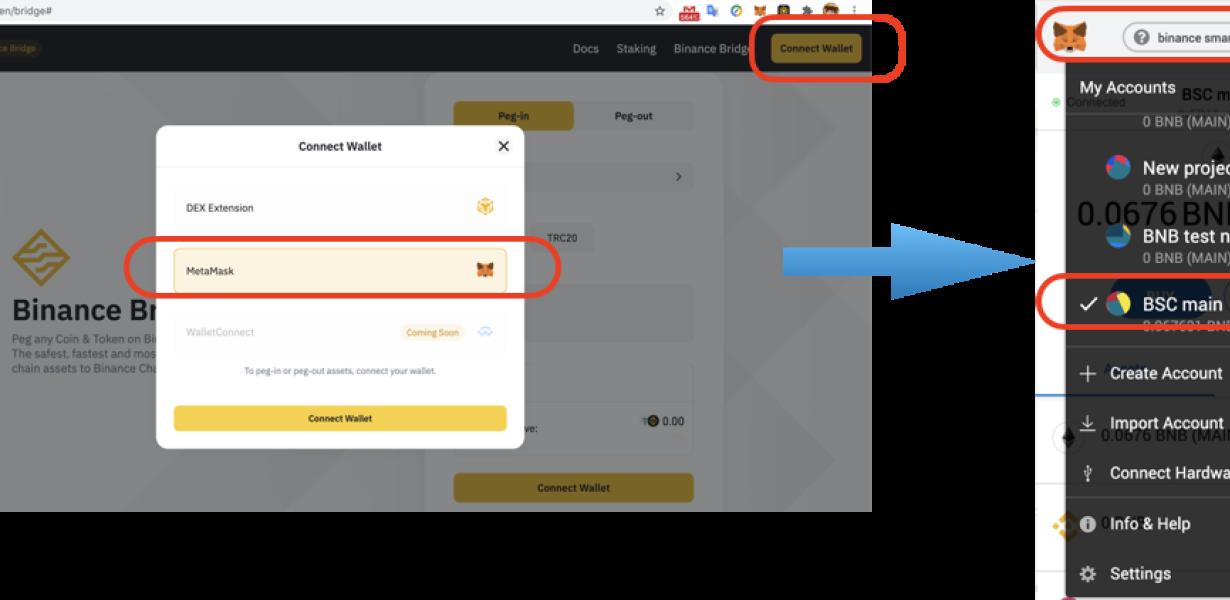
How to connect BSC and ETH with Metamask
1. Install Metamask on your browser.
2. Open Metamask and click on the "Create new account" button.
3. Fill in your personal details and click on the "Create account" button.
4. Enter the amount of ETH you want to purchase (in ETH) and click on the "Next" button.
5. Click on the "Metamask" tab and select the "Connect to ETH" option.
6. Enter the address of your BSC wallet and click on the "Connect" button.
7. Once connected, you will be asked to confirm the purchase. Click on the "Yes, I am sure" button and you are ready to start trading!
Transitioning from BSC to ETH with Metamask
To make the transition from BSC to ETH with Metamask, you will need:
1. A Metamask account (available for free).
2. Your BSC (Bitcoin Cash) address.
3. Your ETH address.
4. Your Metamask token.
5. Your private key for your BSC address.
6. Your Ethereum wallet address.
To make the transition:
1. Open your Metamask account and click on the “Add Wallet” button.
2. Copy your BSC address.
3. Copy your ETH address.
4. Click on the “View Wallet Info” button next to your ETH address.
5. Copy the token address for your Metamask account.
6. Click on the “Metamask” button in the top right corner of your screen.
7. Click on the “Transition To Ethereum” button.
8. In the “Ethereum Wallet Address” field, paste in your Ethereum wallet address.
9. In the “Token Address” field, paste in the token address for your Metamask account.
10. Click on the “Submit” button.
11. You will now be prompted to confirm your transition. Click on the “Confirm” button.
How to move your BSC coins over to ETH
Open a web browser and go to www.myetherwallet.com. Click on the “Create New Wallet” button. Enter a name for your wallet (for example, “My Ethereum Wallet”), and click on the “Create Wallet” button. Keep in mind your wallet address. You will need it to move your coins over to ETH. To view your wallet address, go to https://myetherwallet.com/accounts/addresses/. Copy the wallet address and open a new web browser window. Go to www.ethgasstation.com. Click on the “Register” button and paste your wallet address into the “Register” field. Click on the “Log In” button and enter your login credentials. Click on the “Funds” tab and click on the “Withdraw” button. Paste your ETH wallet address into the “To” field and paste your BSC coins into the “Amount” field. Click on the “Withdraw” button. Your coins will be transferred to your ETH wallet within minutes.
From BSC to ETH: How to use Metamask
To start using Metamask, you first need to download it from the Metamask website. Once you have downloaded the app, open it and click on the blue “Create New Account” button.
Next, enter your basic details such as your name and email address. You will also be asked to create a password. Make sure you remember this password as you will need it to access your Metamask account later.
Once you have completed the registration process, click on the “Metamask” button in the top right-hand corner of the screen.
Now, you will be presented with the “Metamask Wallet” screen. On this screen, you will need to input the 12 words that were generated when you registered for Metamask. You will also need to input the address of the Ethereum wallet that you want to use with Metamask.
Once you have entered the information required, click on the “Connect” button.
You will now be presented with the “Metamask Interface” screen. On this screen, you will need to input the Ethereum address that you want to use with Metamask. You will also need to input the amount of Ethereum that you want to spend.
Once you have entered the information required, click on the “Connect” button.
You will now be presented with the “Metamask Transaction” screen. On this screen, you will need to input the information required to make a purchase with Ethereum. You will need to provide the address of the product that you want to purchase, the quantity of product that you want to purchase and the value of the product that you want to purchase.
Once you have entered the information required, click on the “Buy Ethereum” button.
You will now be prompted to confirm the purchase. Click on the “Confirm” button and then you will be directed to the “Metamask Transaction” screen where you will be able to view the details of your purchase.
How to bridge your BSC and ETH wallets
There is no one-size-fits-all answer to this question, as the best way to bridge your BSC and ETH wallets will vary depending on the specific circumstances involved. However, some tips on how to bridge your BSC and ETH wallets generally include:
1. Backup your BSC and ETH wallets before attempting to bridge them. This is especially important if you have any important funds stored in either wallet that you don't want to lose.
2. Use a cryptocurrency exchange to bridge your BSC and ETH wallets. These exchanges typically offer user-friendly platforms that make it easy to transfer funds between your BSC and ETH wallets.
3. Use a third-party service to bridge your BSC and ETH wallets. These services typically offer a higher degree of security than traditional cryptocurrency exchanges, and they may also offer additional features, such as cold storage support.
Using Metamask to convert BSC to ETH
To convert BSC to ETH on the Metamask platform, you will need to first install Metamask. Metamask is a browser extension that allows you to securely interact with the Ethereum network. After installing Metamask, you can visit the Metamask website and click on the "Create a new account" button. Once you have created your Metamask account, you will need to click on the "Connect to a network" button and select the "Ethereum" network. Next, you will need to click on the "Convert" button on the Metamask page and enter the amount of BSC that you would like to convert into ETH. Finally, you will need to click on the "Convert" button on the Metamask page to complete the conversion process.
How to trade BSC for ETH with Metamask
1. Open Metamask and click on the "ETH" tab.
2. Click on the "BSC" button and select the "Withdraw" button.
3. Enter the amount of BSC you want to trade for ETH and click on the "Withdraw" button.
Swapping BSC for ETH with Metamask
To swap BSC for ETH on Metamask, follow these steps:
1. Navigate to the Accounts tab in Metamask and select ETH from the list of accounts.
2. Copy the BSC address that is displayed in the top right corner of the screen and paste it into the ETH address field on Metamask.
3. Click on the Swap button to complete the exchange.