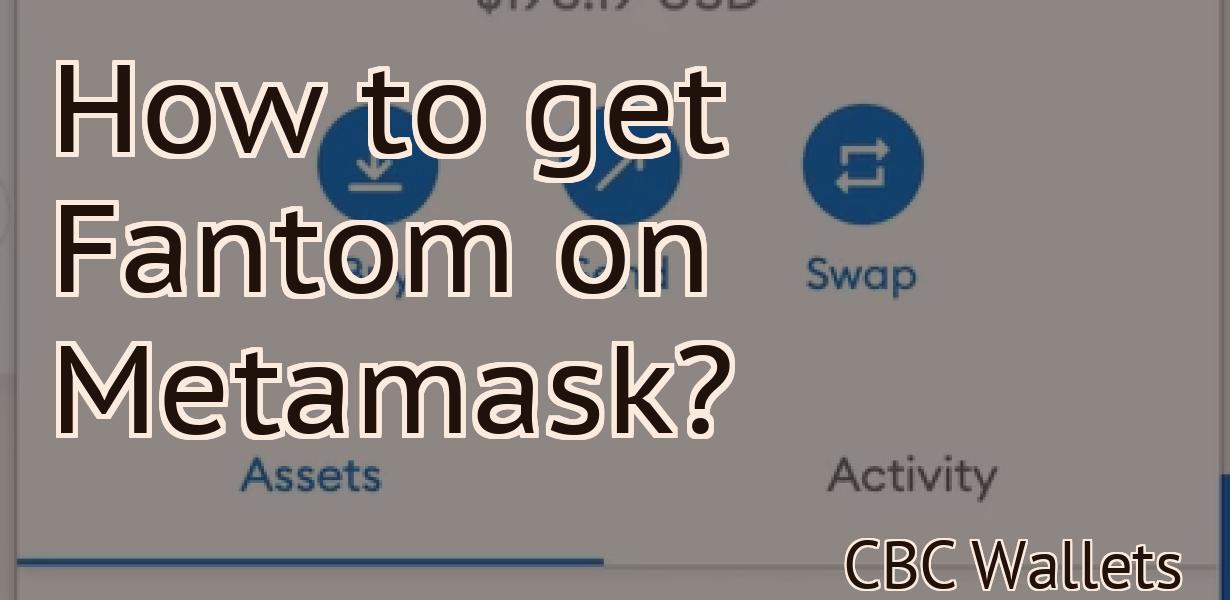
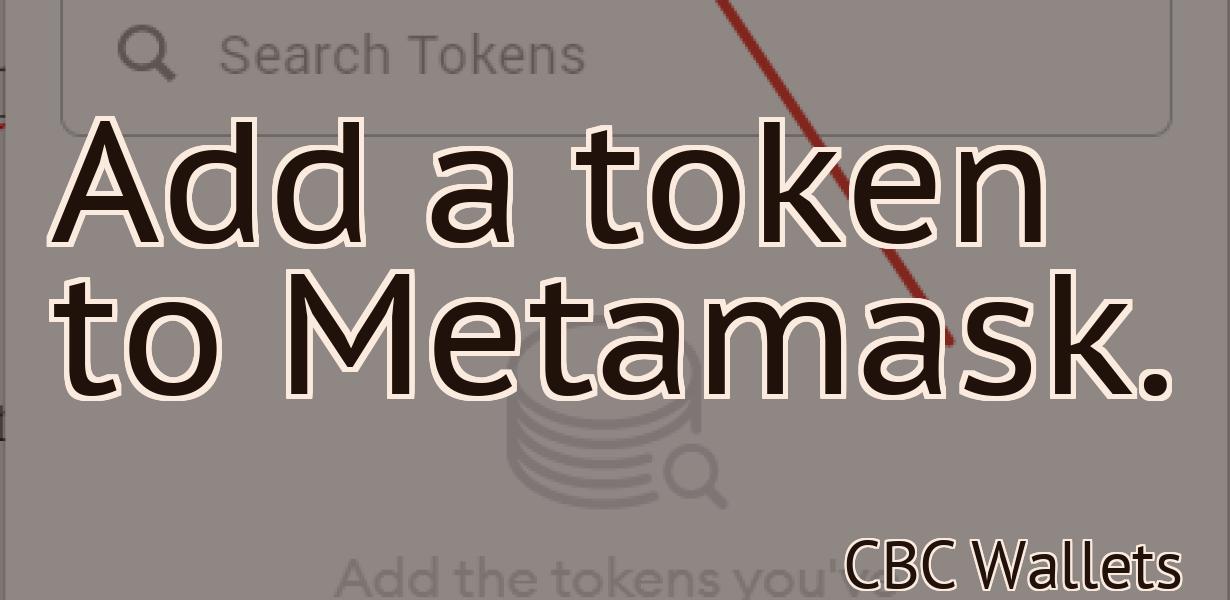
Adding Smart Chain To Metamask
If you're a fan of the MetaMask browser extension, you'll be happy to know that they've recently added support for Smart Chain. In this article, we'll show you how to add Smart Chain to your MetaMask wallet.
How to Add Smart Chain to Metamask
To add Smart Chain to Metamask, open the Metamask app on your computer. Click on the three lines in the top left corner of the screen. In the "Add Wallet" section, select "Add a New Wallet." In the "Add a New Wallet" window that pops up, click on the "Smart Contract Wallet" button. On the next screen, enter the following information:
1. The address of the Smart Contract Wallet you want to add Smart Chain to.
2. The port number of the Smart Contract Wallet you want to add Smart Chain to.
3. The seed phrase for the Smart Contract Wallet you want to add Smart Chain to.
4. The name of the Smart Contract Wallet you want to add Smart Chain to.
5. The email address of the owner of the Smart Contract Wallet you want to add Smart Chain to.
6. The password for the owner of the Smart Contract Wallet you want to add Smart Chain to.
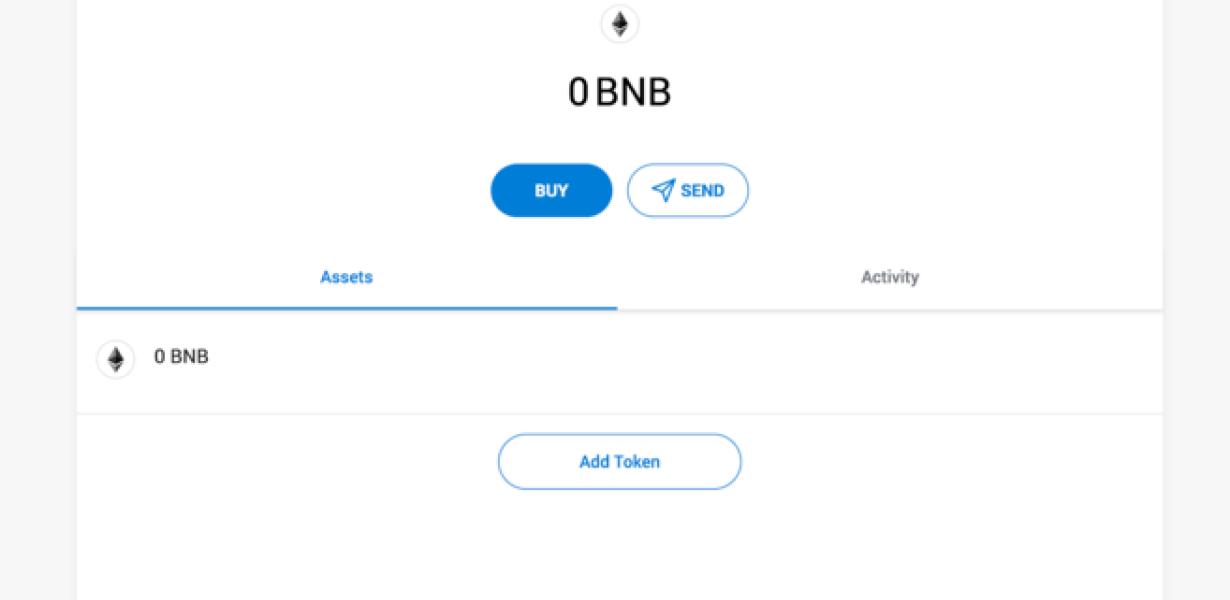
7. Click on the "Create" button. MetaMask will start to load the Smart Contract Wallet and will ask you to verify the ownership of the wallet. Enter the password for the owner of the Smart Contract Wallet and click on the "Verify" button. MetaMask will now show you the balance of your Smart Contract Wallet.
Adding Smart Chain Support to Metamask
Metamask is a popular Ethereum browser extension that allows users to interact with smart contracts and DApps. The Metamask team has announced that they are working on adding support for the upcoming smart chain platform.
According to the Metamask team, the smart chain platform "will allow for transparent and secure transactions between peers on the network, without the need for a third-party intermediary." The team is currently working on implementing support for the smart chain platform within Metamask, and they plan to release a beta version of the extension in the coming weeks.
This announcement is exciting news for the Ethereum community, as it indicates that the smart chain platform is moving closer to reality. The Metamask team is currently the only implementation of the smart chain platform within the Ethereum ecosystem, but this will likely change in the coming months.
Enabling Smart Chain Support in Metamask
First, open Metamask and click on the “Settings” button in the top right corner.
Under the “Settings” tab, click on the “More” button and then on the “Add Wallet” button.
Select the “Metamask (Metamask)” wallet from the list and click on the “Enable” button.
Now, under the “More” tab, click on the “Blockchains” button and then on the “Add Wallet” button.
Select the “Metamask (Metamask)” wallet from the list and click on the “Enable” button.
You will now need to generate a new keystore file. Click on the “Generate Keystore File” button and follow the instructions.
You will now need to add the keystore file to your Metamask wallet. Click on the “Import Keystore File” button and follow the instructions.
You are now ready to enable smart chain support in Metamask!
How to Connect Metamask to Smart Chain
To connect Metamask to the Smart Chain, follow these steps:
1. Open the Metamask app and click on the three lines in the top left corner.
2. Select "Connect to a Network."
3. Click on the "Connect to the Smart Chain" button.
4. Enter your Metamask address and click on the "Connect" button.
5. You are now connected to the Smart Chain!
Configuring Metamask for Smart Chain Use
Metamask is a browser extension that allows for the use of decentralized applications (dApps) on the Ethereum blockchain. Metamask allows users to interact with dApps by providing a secure interface and allowing them to send and receive Ethereum and ERC-20 tokens. Metamask also provides a user interface for managing personal identities and permissions for various dApps.
To configure Metamask for smart chain use, first install the Metamask plugin. After installing the Metamask plugin, open the Chrome web browser and click on the three lines in the top right corner of the browser window. This will open the Chrome menu. Click on the More Tools button and then click on the Extensions tab. In the Extensions tab, click on the Add New Extension button and select the Ethereum extension. Click on the Install button and wait for the extension to install.
After the extension has been installed, open the Metamask menu and click on the Settings button. In the Settings tab, click on the Accounts and then click on the Add Account button. In the Add Account dialog box, enter your Ethereum address and password and then click on the OK button. After your account has been created, click on the Enroll in Smart Contracts button and then click on the Start Enrolling button. After your account has been enrolled in smart contracts, you will be able to interact with dApps using Metamask.
Using Metamask with Smart Chain
Metamask is a browser extension that provides enhanced security for online transactions. It allows users to interact with the Ethereum network without revealing their identity.
To use metamask with a smart chain, you will need to first install the metamask extension. After you have installed the extension, you will need to open it and click on the "Add Wallet" button.
Next, you will need to find the address of your smart chain's token contract. To do this, you can use the "Contract Address" field in the "Add Wallet" dialog or you can use the "View Contract" button on the smart chain's website.
After you have found the contract address, you will need to enter it into the "Add Wallet" dialog. You will also need to select the "Metamask" account type and click on the "Create Account" button.
After you have created your metamask account, you will need to click on the "Metamask" button in the "Add Wallet" dialog and select the "Ethereum" network from the list of networks.
Next, you will need to click on the "Advanced Settings" button and enter the following values into the fields that appear:
1. Gas Limit: The gas limit is the maximum amount of gas that your smart chain's token contract will be allowed to use.
2. Token Contract Address: The token contract address is the address of the smart chain's token contract.
3. Token Symbol: The token symbol is the name of the smart chain's token.
4. Decimals: The number of decimals that will be used in the token's price.
5. Gas Price: The gas price is the fee that your smart chain's token contract will be charged for using the Ethereum network.
6. Compiler: The compiler is the version of the Ethereum compiler that you want to use.
7. Port: The port is the IP address that your smart chain's token contract will be deployed to.
8. Web3 Provider: The web3 provider is the provider of your smart chain's token contract.
9. Solidity Version: The solidity version is the version of the Solidity programming language that you want to use.
10. MetaMask Account: The meta mask account is the address of your metamask account.
Accessing Smart Chain Through Metamask
To access the Smart Chain through Metamask, you will first need to install Metamask. After installing Metamask, open it and click on the blue "Access your Smart Contract" button.
In the "Access your Smart Contract" window, input the following address: 0xbb9d3a3e038f76a7c163e9b1c2d6a2e8e7f6
You will now be prompted to input your Metamask account password. After entering your password, you will be taken to your Metamask account overview. In the "Ethereum Accounts" section, click on the "Add Account" button and enter the following details:
Name: SmartChain
Email: [YOUR EMAIL ADDRESS]
After entering the above details, click on the "Add Account" button and you will be taken to the "Add Custom Token" window. In the "Add Custom Token" window, input the following details:
Token Symbol: SMART
Decimals: 18
After inputting the above details, click on the "Add Custom Token" button and you will be taken to the "Token Details" window. In the "Token Details" window, input the following details:
Token Address: 0xbb9d3a3e038f76a7c163e9b1c2d6a2e8e7f6
After inputting the above details, click on the "Save" button and you will be taken to the "Metamask Token Manager" window. In the "Metamask Token Manager" window, input the following details:
Token Symbol: SMART
Decimals: 18
After inputting the above details, click on the "Create New Wallet" button and you will be taken to the "Create Wallet" window. In the "Create Wallet" window, input the following details:
Wallet Name: SmartChain Wallet
Password: [YOUR WALLET PASSWORD]
After inputting the above details, click on the "Create Wallet" button and you will be taken to the "Congratulations!" window. In the "Congratulations!" window, you will be prompted to confirm your wallet creation by clicking on the "Confirm" button. After confirming your wallet creation, you will be taken to your Smart Chain wallet overview.
Connecting to Smart Chain Via Metamask
To connect to the Smart Chain via Metamask, follow these steps:
1. Open Metamask and click on the button in the top left corner that says "Create a new account."
2. Type "smartchain" in the search bar and click on the first result.
3. On the page that pops up, click on the blue button that says "Connect."
4. Enter your Metamask user name and password and click on the "Connect" button.
5. You will now be connected to the Smart Chain!