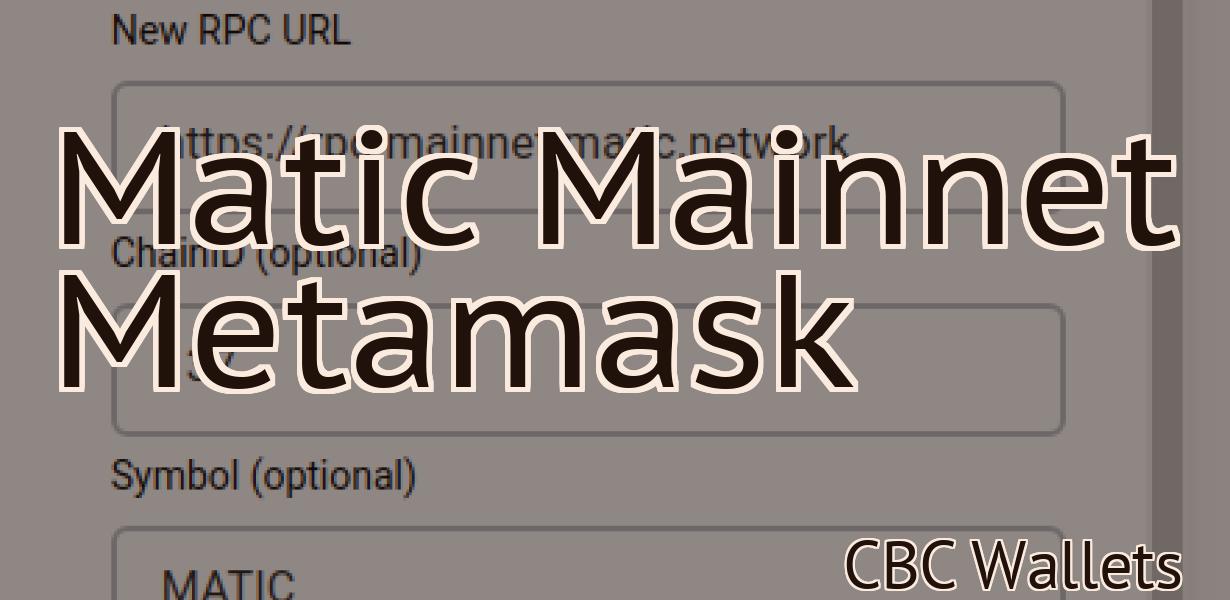
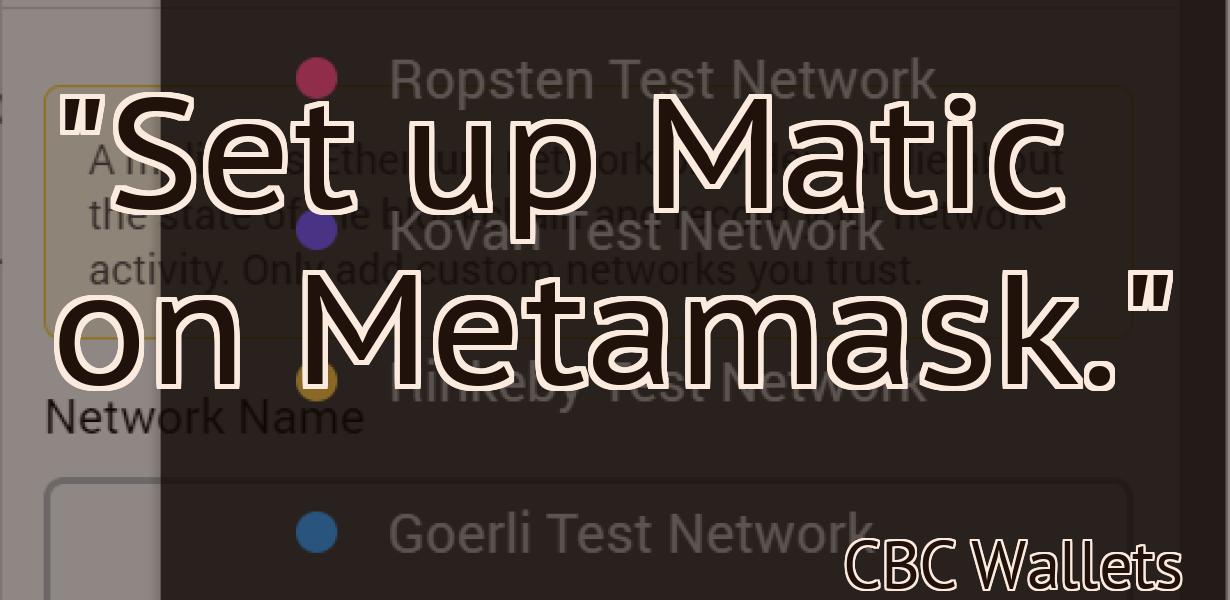
Adding Polygon Network To Metamask
If you're a fan of the Ethereum blockchain, then you're probably using Metamask. Metamask is a great way to keep track of your ETH balance and transactions, but did you know that you can also add a Polygon network to Metamask? Adding a Polygon network to your Metamask is a great way to keep track of your POLY balance and transactions. Plus, it's super easy to do! Just follow the steps below and you'll be up and running in no time. 1. Go to the Metamask website and click on the "Add Network" button. 2. Enter the following URL into the "New RPC URL" field: https://polygon.network/ 3. Enter "Polygon Network" into the "Network Name" field. 4. Click on the "Add Network" button. And that's it! You've now added the Polygon network to your Metamask account.
How to add a Polygon network to your MetaMask account
1. Log into your MetaMask account.
2. Click on the three lines in the top left corner of the screen.
3. Select "Settings."
4. Under the "Advanced" heading, click on "Polygon Networks."
5. On the "Polygon Networks" page, you will need to input the details of your Polygon network. You will need to provide the following information:
- Your network's name (e.g. "My Polygon Network")
- Your network's symbol (e.g. "https://polygon.network/symbol")
- Your network's public address (e.g. "0x0000000000000000000000000000000000000000")
- Your network's private key (e.g. "0x0000000000000000000000000000000000000000")
6. Click on "Create Network."
7. Your Polygon network will now be available for use in MetaMask.
Adding the Polygon network to MetaMask
To add the Polygon network to MetaMask, follow these steps:
1. Open MetaMask and click the three lines in the top right corner.
2. On the left, under "Add a new account," click "Web wallets."
3. On the right, under "Add a web wallet," click "Polygon."
4. Click "Connect."
5. In the "MetaMask Account Name" text field, type "polygon."
6. In the "MetaMask Password" text field, type "password."
7. In the "Confirm Password" text field, type "password."
8. Click "Connect."
9. In the "Account Settings" section, under "Web wallets," click "Polygon."
10. In the "Settings" section, under "Wallets," click "Add a new wallet."
11. In the "Create New Wallet" dialog box, type "polygon" in the "Name" text field, and type "password" in the "Password" text field.
12. Click "Create."
13. In the "Wallet Details" section, under "Addresses," click the down arrow next to the "PUBLIC KEY" field, and select "Copy."
14. Click "Paste."
15. In the "Address Details" section, under "Public Key," copy the public key displayed in the text field, and paste it into the "PUBLIC KEY" field in MetaMask.
16. Under "Send Funds," click the down arrow next to the "To Address" field, and select "Copy."
17. Click "Paste."
18. In the "To Address Details" section, copy the address displayed in the text field, and paste it into the "TO ADDRESS" field in MetaMask.
19. Click "Create."
20. In the "Wallet Details" section, under "Transactions," click the down arrow next to the "To Address" field, and select "Copy."
21. Click "Paste."
22. In the "Transaction Details" section, under "To Address," copy the address displayed in the text field, and paste it into the "TO ADDRESS" field in MetaMask.
23. Under "Amount," type 0.010000 in the text field, and click "Create Transaction."
24. In the confirmation dialog box, click "Yes."
25. In the "Transaction Details" section, under "To Address," copy the address displayed in the text field, and paste it into the "TO ADDRESS" field in MetaMask.
26. Click "Close Wallet."
Connecting MetaMask to the Polygon network
To connect MetaMask to the Polygon network, open MetaMask and click on the three lines in the top right corner. This will open the Polygon network settings.
On the left side of the window, click on the Connect button. This will open a pop-up asking for your Polygon network credentials.
Copy the API key and paste it into the Connect Polygon button on the MetaMask window.
Click on the Connect button to finish setting up your connection.
Accessing the Polygon network through MetaMask
To visit the Polygon network through MetaMask, open the MetaMask app on your computer and click the “Add a site” button. Type in “polygon.com” into the search box and click the polygon.com link.
When you visit the Polygon network through MetaMask, you will be prompted to install the Polygon extension. Click the “Install” button and follow the instructions to install the Polygon extension.
Once the Polygon extension is installed, open the MetaMask app and click the “Add an account” button. Enter your email address and password into the corresponding fields and click the “Create account” button.
You will now be taken to the Polygon network homepage. Click the “Account” button in the top-right corner of the homepage and select your account from the list. You can now access all of the features and content on the Polygon network through your account!
How to use MetaMask with the Polygon network
To use MetaMask with the Polygon network, first install the MetaMask extension.
Once the MetaMask extension is installed, open it and click on the Add New Account button.
Enter the following information into the fields and click on the Create button.
name : This is the name you will use to identify yourself on the Polygon network.
: This is the name you will use to identify yourself on the Polygon network. password: This is yourpassword. Make sure you remember this password!
Once you have logged in, you will be presented with the main MetaMask window.
Click on the Polygon icon in the top right corner of the main window.
You will be asked to choose a network name and a port.
Enter the network name (Polygon) and port (3000) into the fields and click on the Connect button.
You will now be connected to the Polygon network!
Using MetaMask to connect to the Polygon network
To connect to the Polygon network using MetaMask, follow these steps:
1. Open MetaMask and click on the three lines in the top left corner.
2. In the drop-down menu on the right, select "Connect to a network."
3. In the window that pops up, type "polygon" in the text box and click on the "Connect" button.
4. You'll now be connected to the Polygon network!
Connecting to the Polygon network with MetaMask
To connect to the Polygon network with MetaMask, follow these steps:
1. Open MetaMask and click on the three lines in the top right corner.
2. In the drop-down menu that appears, select "Connect to a network."
3. In the next window, select "Polygon."
4. Click on the blue "Connect" button.
5. MetaMask will request your permission to connect to the Polygon network. Click on the green "Allow" button.
6. You will now be connected to the Polygon network.
Accessing the Polygon network via MetaMask
To access the Polygon network, you will need to install the MetaMask extension. Once installed, open MetaMask and click on the three lines in the top right corner. This will open the menu bar. Click on the "Add an account" button and enter the following information:
Name: Polygon
Email: [email protected]
Type: web3
Once you have completed this process, MetaMask will display a new tab with the Polygon network on it. To use the network, click on the "Connect" button and enter your MetaMask address and password.
Using MetaMask to access the Polygon network
To access the Polygon network, first install MetaMask.
Then open MetaMask and click on the three lines in the top right corner.
Next, select Add an account.
In the Add an account window, enter Polygon and click on Next.
Next, select Use a existing account and enter your Polygon account details.
Finally, click on Next.
Now, you will be prompted to verify your account.
Click on the I trust this site link and then click on the Verify account link.
When the verification process is complete, you will be able to access the Polygon network.
Connecting your MetaMask account to the Polygon network
1. Open MetaMask and click on the three lines in the top right corner.
2. Select "Connections."
3. Under "Connections to other dApps," click on Polygon.
4. Click on "Connect."
5. Enter your Polygon account details.
6. Click on "OK."
Adding a Polygon network connection to your MetaMask account
1. Open MetaMask and click on the three lines in the top right corner of the window.
2. Click on "Add Network"
3. In the "Add Network" window, select "Polygon" from the list of networks.
4. Enter your Polygon address into the "Address" field and click "Connect".
5. Your Polygon connection should now be active and ready to use!
Accessing the Polygon network through your MetaMask account
You can access the Polygon network through your MetaMask account.
1. Open your MetaMask account.
2. Click the three lines in the top right corner of the browser window.
3. Select "Settings."
4. Under "Advanced," click the "Network" tab.
5. Under "Connections," select "Polygon."
6. Click the "Connect" button.