"Set up Matic on Metamask."
This article tells you how to set up Matic on Metamask. You will need to have the Metamask extension installed in order to do this.
How to set up Matic on Metamask
1. Go to Metamask and click on the "Add a new account" button at the top of the page.
2. In the "Account type" drop-down menu, select "Matic."
3. In the "Name" field, enter your Matic username.
4. In the "Email" field, enter your Matic email address.
5. In the "Confirm email" field, confirm your email address.
6. Click the "Create account" button to finish setting up your Matic account.
Setting up Matic on Metamask – the easy way
If you don’t have Metamask yet, you can download it from the Metamask website. Once you have Metamask installed, follow these steps to set up Matic:
1. Click on the Metamask icon in the top right of your browser.
2. On the Metamask main screen, click on the “Add account” button.
3. Enter your Metamask credentials and click on the “sign in” button.
4. Under the “My Accounts” tab, click on the “Matic” account.
5. On the Matic account page, click on the “Add token” button.
6. Enter the Matic token details and click on the “generate” button.
7. Copy the Matic token and keep it safe! You will need it later on to access Matic.
8. Click on the “Activate” button to activate Matic on your Metamask account.
9. You are now ready to start using Matic!
A step by step guide to setting up Matic on Metamask
1. Open Metamask and click on the three lines in the top right hand corner.
2. Click on ‘Add account’ and enter your Metamask address.
3. Click on the three lines in the top left hand corner and select Matic from the list.
4. On the next screen, you will be asked to set up a password. Make sure that you remember this password as you will need it to access your Matic account.
5. Once you have entered your password, click on the ‘Create account’ button.
6. You will now be taken to the Matic account confirmation screen. Click on the ‘Create account’ button to continue.
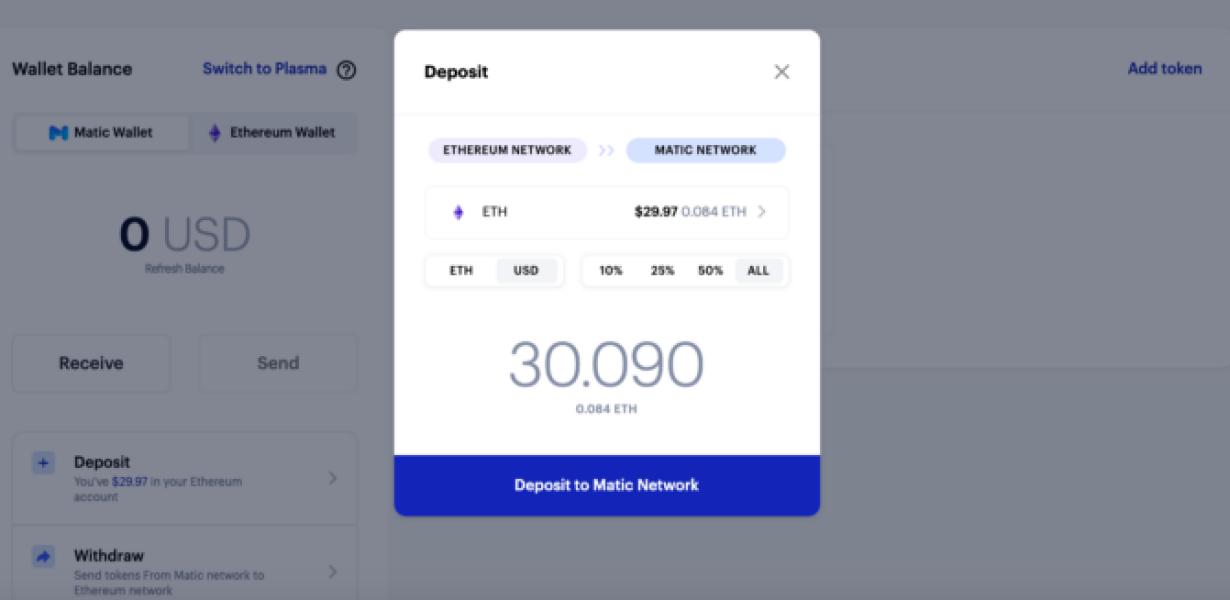
7. You will now be taken to the Matic account overview screen. On this screen, you can see your current balance, transactions and recent activity. You can also see how much Matic tokens you have left.
8. To deposit funds into your Matic account, click on the ‘Deposit’ button. You will be asked to enter the amount of money that you want to deposit.
9. Once you have entered the amount of money that you want to deposit, click on the ‘Deposit’ button.
10. You will now be taken to the Matic account confirmation screen. Click on the ‘Deposit’ button to continue.
11. You will now be taken to the Matic account overview screen. On this screen, you will see the details of your deposited money.
12. To withdraw funds from your Matic account, click on the ‘Withdraw’ button. You will be asked to enter the amount of money that you want to withdraw.
13. Once you have entered the amount of money that you want to withdraw, click on the ‘Withdraw’ button.
14. You will now be taken to the Matic account confirmation screen. Click on the ‘Withdraw’ button to continue.
15. You will now be taken to the Matic account overview screen. On this screen, you will see the details of your withdrawn money.
The ultimate guide to setting up Matic on Metamask
1. Open Metamask and click on the three lines in the top left corner.
2. In the "Settings" section, click on the "Add Account" button.
3. On the next screen, enter Matic in the "Name" field and click on the "Create Account" button.
4. You will be taken to the "Matic" account page. To learn more about Matic, click on the "About" button.
5. Next, click on the "Settings" button and under the "General" heading, click on the "Receive Payments" tab.
6. In the "Receive Payments" tab, you will need to add an address to receive payments from Matic. To do this, click on the "Add Address" button and enter the address of your choice in the "Address" field.
7. In the "Payment Method" field, you will need to select the payment method that you want Matic to use to receive payments. To do this, click on the "Select Payment Method" button and choose one of the options that is offered.
8. Finally, you will need to set a payment deadline for Matic. To do this, click on the "Set Payment Deadline" button and enter a date in the "Due Date" field.
How to get started with Matic on Metamask
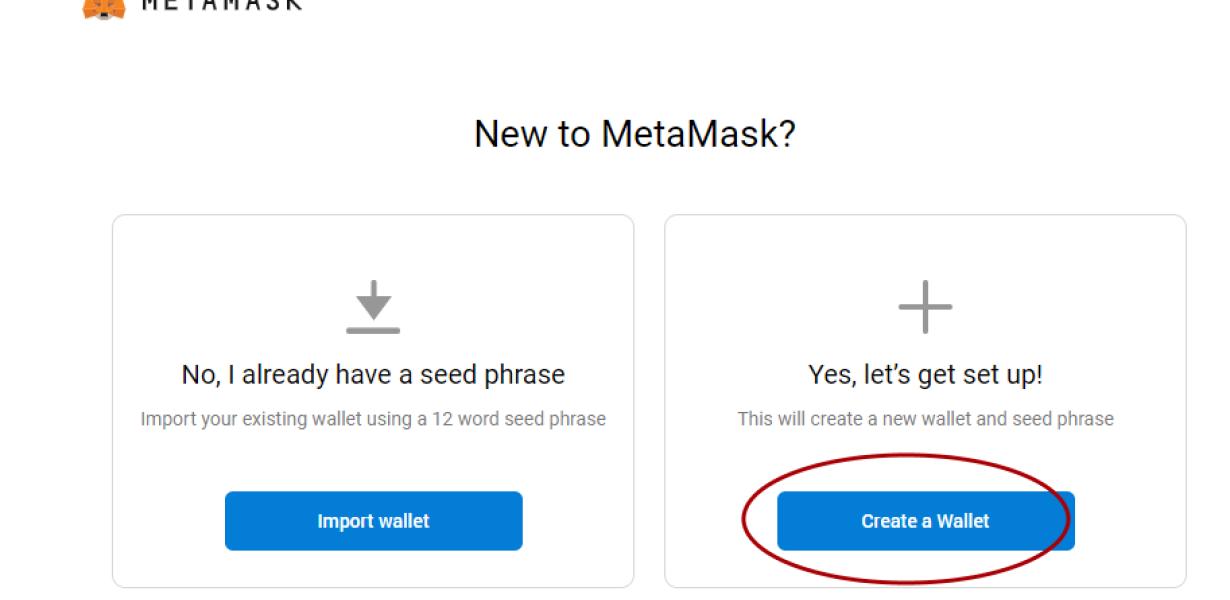
First, you will need to install Metamask. Metamask is a decentralized application that allows you to interact with the Ethereum network. After you have installed Metamask, open it and click on the “Add Account” button. From here, you will need to input your email address and create a password. Next, you will need to verify your email address by clicking on the “Verify Email” button. Once you have verified your email address, you will be able to move on to the next step.
Next, you will need to add an Ethereum wallet. Ethereum wallets are where you will store your Ether. There are a number of different Ethereum wallets available, but Matic is recommended because it is a secure and user-friendly option. To add an Ethereum wallet, click on the “Add Wallet” button and enter your wallet address. Next, you will need to create a password for your wallet and click on the “Create Password” button. After you have created your password, you will be able to move on to the next step.
Now, you will need to add Matic to your Metamask account. To do this, click on the “Add App” button and search for “Matic”. After you have found Matic, click on the “Add App” button and select Matic from the list. Finally, click on the “Activate App” button and you will be ready to start trading!
How to use Matic on Metamask
To use Matic on Metamask, first install the Matic extension. After that, open the Metamask app and click on the three dots in the upper right corner. In the menu that pops up, select "Settings". Under "Advanced", click on the "Add Extension" button and select Matic. Finally, click on the blue "Activate" button to finish.
Now, whenever you want to send a transaction, you'll need to open Matic and click on the "Send Transaction" button. On the next screen, you'll need to provide the address of the recipient, the amount of money you're sending, and the gas limit (in gas tokens). After that, click on the blue "Send Transaction" button to finish.
Getting the most out of Matic on Metamask
One of the most important things to do when using Matic is to get the most out of it. This means understanding how it works and how to use it to your advantage. Here are a few tips to help you do just that:
1. Use Matic to quickly and easily access your Ethereum holdings.
Matic allows you to easily access your Ethereum holdings by allowing you to view your balance, transactions, and more on a single screen. This makes it easy to stay up-to-date on your Ethereum holdings and make informed decisions about how to invest them.
2. Use Matic to manage your multiple accounts.
Matic allows you to manage multiple accounts in one place, which can be helpful if you want to keep track of different investments. You can also use Matic to easily transfer Ethereum between accounts, which can be a helpful way to manage your finances.
3. Use Matic to keep track of your portfolio performance.
Matic allows you to track your portfolio performance in real time, which can give you insight into the best ways to invest your Ethereum. This information can help you make informed decisions about your finances and improve your overall portfolio performance.